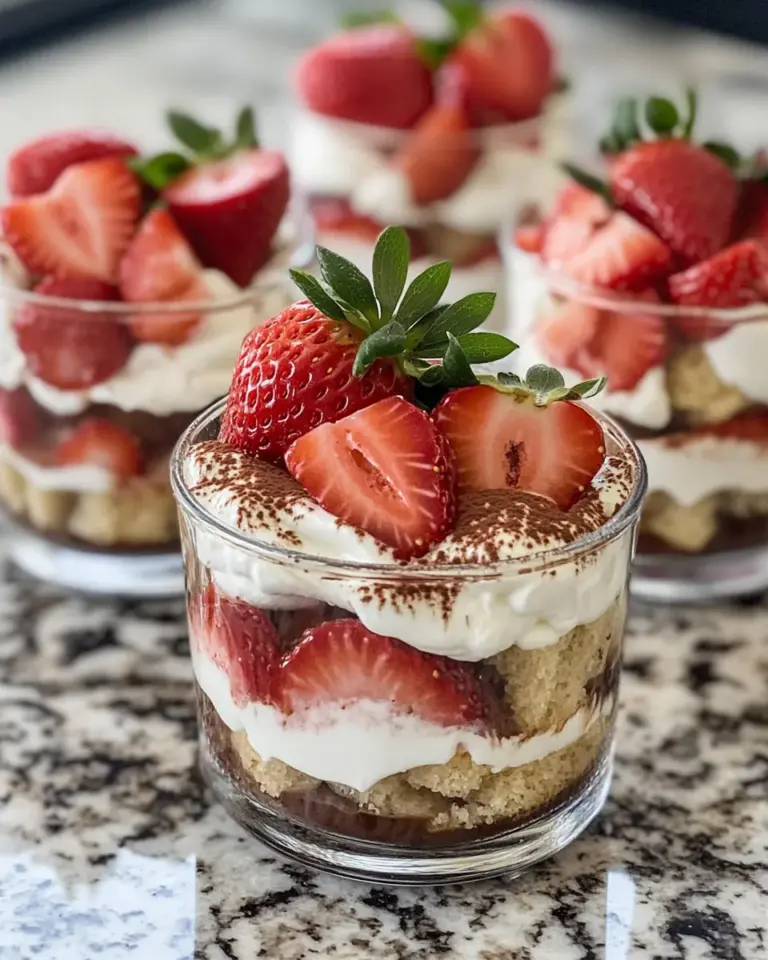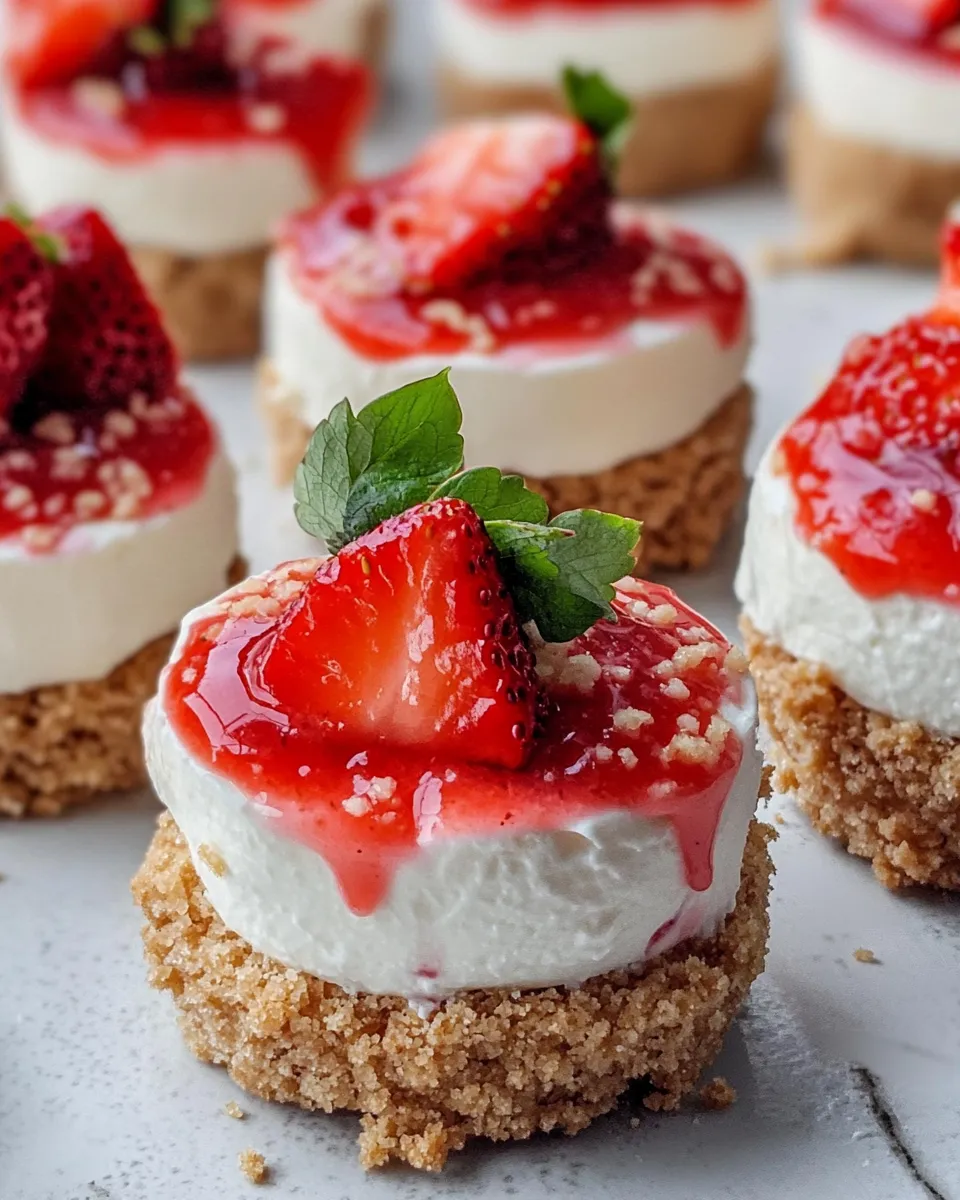
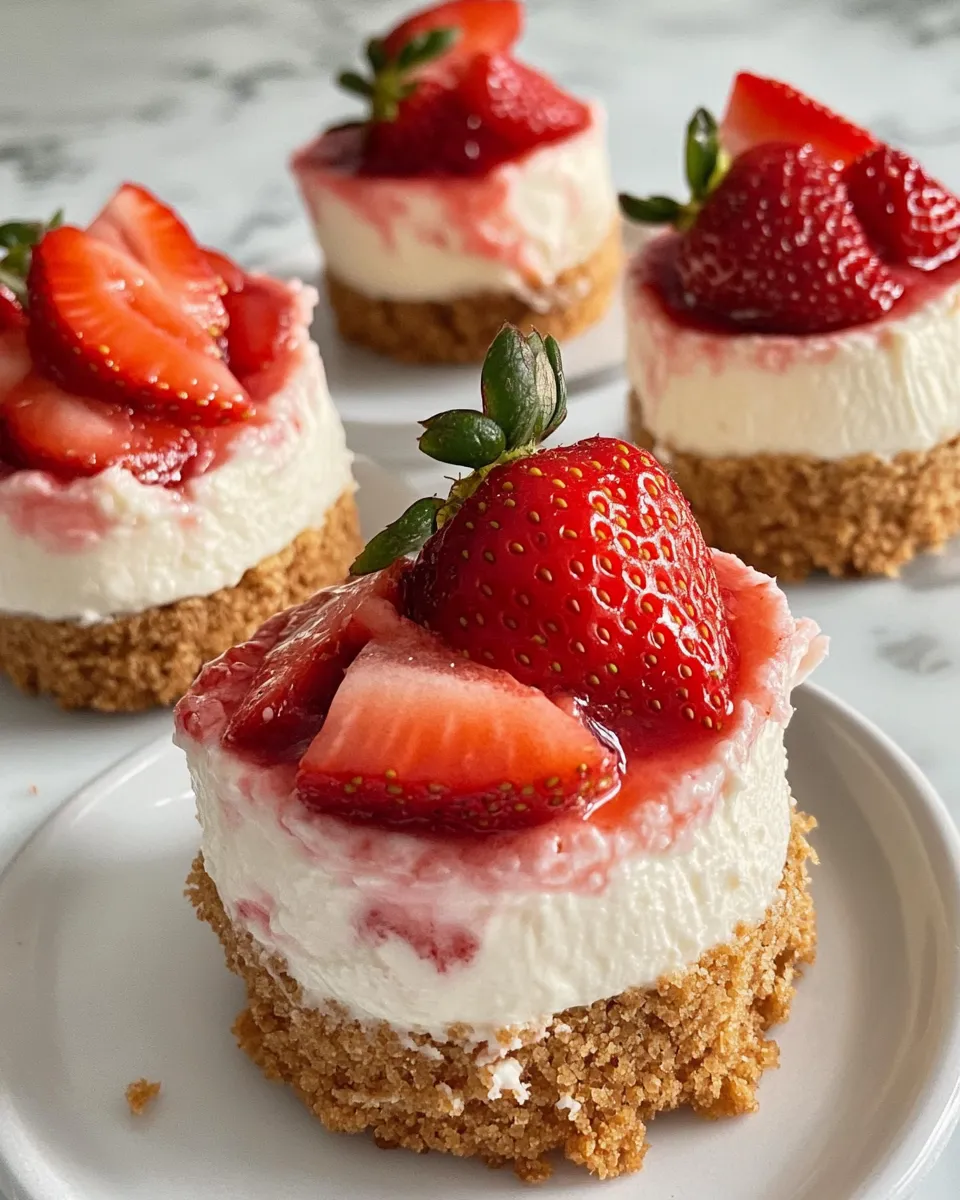
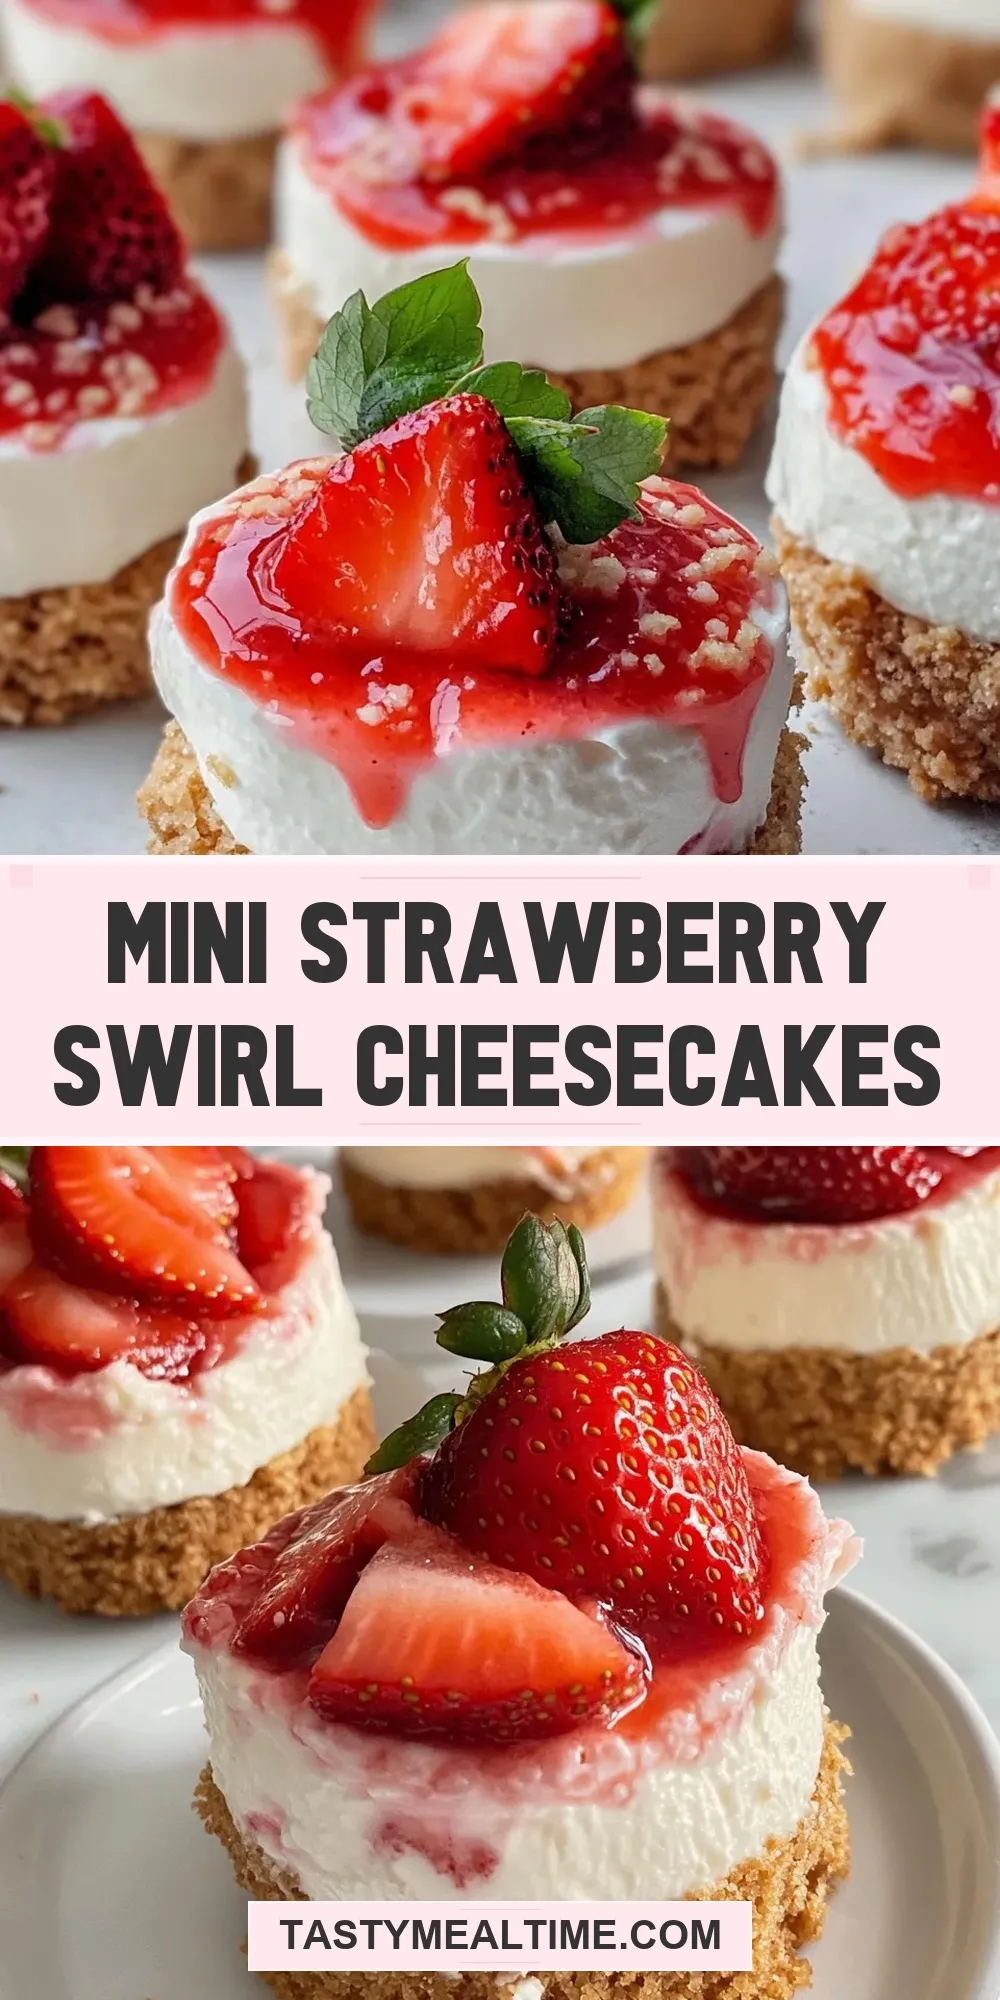
There’s something undeniably charming about Mini Strawberry Swirl Cheesecakes. These petite delights combine creamy, tangy cheesecake with the sweet and fresh essence of strawberries, all nestled on a buttery graham cracker crust. They’re perfect for parties, special occasions, or just a sweet treat to brighten your day. Whether you’re a cheesecake aficionado or a dessert novice, these mini cheesecakes are approachable, beautiful, and absolutely delicious.
Why It’s Crowd-Pleasing
These Mini Strawberry Swirl Cheesecakes are a crowd-pleaser for many reasons. First, their individual size makes them easy to serve and enjoy without any fuss — no cutting needed! The swirl of strawberry puree adds a pop of vibrant color and a naturally sweet fruit flavor that pairs perfectly with the rich, creamy cheesecake base. Plus, the crust provides a satisfying crunch that contrasts beautifully with the smooth filling. Their bite-sized nature invites second helpings, and you can be sure they’ll disappear fast at any gathering.
What Goes In

- 1 cup graham cracker crumbs – for a classic, buttery crust that holds everything together.
- 2 tablespoons sugar – adds sweetness and helps bind the crust.
- 1/2 cup melted butter – gives the crust its rich flavor and perfect texture.
- 16 oz cream cheese, softened – the star of the cheesecake, providing creamy body and tang.
- 1 cup sugar – sweetens the cheesecake filling just right.
- 1 teaspoon vanilla extract – enhances the overall flavor with warm, aromatic notes.
- 3 large eggs – bind the filling and give it structure.
- 1 cup fresh strawberries, pureed – creates the luscious strawberry swirl inside each mini cheesecake.
- 1 tablespoon lemon juice – balances sweetness with a hint of brightness.
- 1/4 cup fresh strawberries, chopped – for garnish, adding texture and a fresh burst of flavor.
Must-Have Equipment
- Muffin tin or mini cheesecake pan: Essential for creating perfectly sized mini cheesecakes.
- Parchment paper liners or silicone cupcake liners: Helps with easy removal and keeps the cheesecakes intact.
- Mixing bowls: For preparing crust and filling separately.
- Electric mixer or hand mixer: To achieve a smooth, lump-free cheesecake filling.
- Food processor or blender: For pureeing fresh strawberries smoothly.
- Spoon or small offset spatula: For swirling the strawberry puree into the cheesecake batter.
Cook Mini Strawberry Swirl Cheesecakes Like This
Step 1: Prepare the crust
Preheat your oven to 325°F (163°C). In a medium bowl, combine 1 cup graham cracker crumbs and 2 tablespoons sugar. Pour in the 1/2 cup melted butter and stir until the mixture resembles wet sand. Press about 1 tablespoon of this mixture into the bottom of each muffin cup lined with paper or silicone liners. Bake the crusts for 5 minutes, then remove them from the oven while you prepare the filling.
Step 2: Make the cheesecake filling
In a large bowl, beat the 16 oz softened cream cheese with 1 cup sugar using an electric mixer until creamy and smooth. Add 1 teaspoon vanilla extract and mix to combine. Add the eggs one at a time, beating well after each addition. This ensures a smooth texture without lumps.
Step 3: Prepare the strawberry swirl
In a blender or food processor, puree 1 cup fresh strawberries with 1 tablespoon lemon juice until smooth. Set aside.
Step 4: Assemble and swirl
Pour half of the cheesecake filling evenly over the baked crusts. Drop small spoonfuls of the strawberry puree onto the filling, then pour the remaining cheesecake filling over it. Add a few more drops of strawberry puree on top. Using a toothpick or skewer, gently swirl the strawberry puree through the cheesecake filling to create a marbled effect.
Step 5: Bake your mini cheesecakes
Bake the cheesecakes for 20-25 minutes, or until the centers are just set but still slightly jiggly. Avoid overbaking as this can cause cracks. Remove from the oven and let them cool to room temperature before refrigerating.
Step 6: Garnish and serve
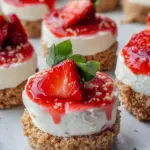
Once chilled for at least 4 hours or overnight, garnish each mini cheesecake with some chopped fresh strawberries for a fresh, colorful touch. Serve chilled and enjoy!
Dietary Customizations
- Gluten-free: Use gluten-free graham cracker crumbs or crushed gluten-free cookies for the crust.
- Lower sugar: Substitute sugar with a natural sweetener like stevia or erythritol, adjusting quantity to taste.
- Dairy-free: Replace cream cheese with a plant-based cream cheese alternative suitable for baking.
- Egg-free: Use a commercial egg replacer or mashed banana for a vegan-friendly option, but note this may affect texture.
Mistakes Even Pros Make
- Overmixing the cream cheese filling, which can incorporate too much air and cause cracks or holes.
- Using cold cream cheese straight from the fridge, leading to lumps in the batter. Always soften it first.
- Skipping the pre-bake of the crust, which can result in a soggy base.
- Overbaking the cheesecakes, which causes dryness and cracks. The centers should still jiggle slightly when done.
- Not swirling the strawberry puree gently enough, resulting in uneven or too blended coloring and flavor.
Make-Ahead & Storage
These mini cheesecakes are fantastic for making ahead of time. Prepare and bake them up to 2 days before your event, then store them covered in the refrigerator. They keep well for up to 5 days when refrigerated properly. For longer storage, freeze the cheesecakes in an airtight container for up to 2 months. Thaw overnight in the fridge before serving. Avoid leaving them at room temperature for extended periods to maintain freshness and texture.
Helpful Q&A
Can I use frozen strawberries for the puree?
Yes, frozen strawberries can be used as long as they are thawed and drained well to avoid excess water in the puree, which could affect the texture of the swirl.
How do I prevent cracks in my mini cheesecakes?
To avoid cracks, don’t overmix your batter, bake at a moderate temperature, and avoid overbaking. Cooling the cheesecakes gradually by turning off the oven and leaving them inside with the door ajar for 10 minutes can also help.
Can I double this recipe for a larger batch?
Absolutely! Just double all ingredients and bake in batches or use multiple muffin tins. Make sure not to overcrowd the oven for even baking.
What is the best way to remove mini cheesecakes from the pan?
Using parchment paper or silicone liners makes removal easy. Gently peel the liners away or pop the cheesecakes out with a small offset spatula or butter knife if they stick slightly to the pan.
Next Up in Your Queue
- For a different fruity twist, try the Pink Strawberry Cheesecake Crumble Cookies, a delightful companion dessert.
- If you love the idea of swirls in your baked goods, the Blueberry Lemon Cheesecake Swirl Cookies are a must-try for your recipe collection.
- Craving more strawberry treats? The Strawberry Shortcake Crumble Cookies offer a crumbly, fruity goodness that’s just as enticing.
In Closing
Mini Strawberry Swirl Cheesecakes are the perfect bite-sized indulgence that combines creamy cheesecake with fresh strawberry flavor in a delightful swirl. Their ease of preparation, stunning presentation, and balanced sweetness make them a favorite for any occasion. Whether you’re making them for a party, a casual gathering, or just a personal treat, these little cheesecakes will not disappoint. So grab those fresh strawberries, soften that cream cheese, and get ready to impress your friends and family with this irresistible, creamy dessert that’s as beautiful as it is delicious.
Share on Pinterest
Mini Strawberry Swirl Cheesecakes
Ingredients
For the Crust:
- 1 cup graham cracker crumbs for a classic, buttery crust
- 2 tablespoons sugar adds sweetness and helps bind the crust
- 1/2 cup melted butter gives the crust its rich flavor and perfect texture
For the Filling:
- 16 oz cream cheese softened
- 1 cup sugar sweetens the cheesecake filling
- 1 teaspoon vanilla extract enhances flavor
- 3 large eggs bind the filling and give it structure
For the Strawberry Swirl and Garnish:
- 1 cup fresh strawberries pureed
- 1 tablespoon lemon juice balances sweetness
- 1/4 cup fresh strawberries chopped, for garnish
Instructions
Prepare the crust
- Preheat your oven to 325°F (163°C). In a medium bowl, combine graham cracker crumbs and sugar. Pour in melted butter and stir until the mixture resembles wet sand. Press about 1 tablespoon of this mixture into the bottom of each muffin cup lined with paper or silicone liners. Bake the crusts for 5 minutes, then remove from the oven.
Make the cheesecake filling
- In a large bowl, beat softened cream cheese with sugar using an electric mixer until creamy and smooth. Add vanilla extract and mix to combine. Add eggs one at a time, beating well after each addition to ensure a smooth texture without lumps.
Prepare the strawberry swirl
- In a blender or food processor, puree fresh strawberries with lemon juice until smooth. Set aside.
Assemble and swirl
- Pour half of the cheesecake filling evenly over the baked crusts. Drop small spoonfuls of the strawberry puree onto the filling, then pour the remaining cheesecake filling over it. Add a few more drops of strawberry puree on top. Using a toothpick or skewer, gently swirl the strawberry puree through the cheesecake filling to create a marbled effect.
Bake your mini cheesecakes
- Bake the cheesecakes for 20-25 minutes, or until the centers are just set but still slightly jiggly. Avoid overbaking to prevent cracks. Remove from the oven and let them cool to room temperature before refrigerating.
Garnish and serve
- Once chilled for at least 4 hours or overnight, garnish each mini cheesecake with chopped fresh strawberries. Serve chilled and enjoy!
Equipment
- Muffin tin or mini cheesecake pan
- Parchment paper liners or silicone cupcake liners
- Mixing Bowls
- Electric mixer or hand mixer
- Food processor or blender
- Spoon or small offset spatula
Notes
- Use softened cream cheese for a smooth, lump-free filling.
- Do not overbake; centers should be slightly jiggly to avoid cracks.
- For easy removal, use parchment paper or silicone liners in the muffin tin.
- Frozen strawberries can be used if thawed and drained well before pureeing.
- Prepare up to 2 days ahead and refrigerate; they also freeze well for up to 2 months.