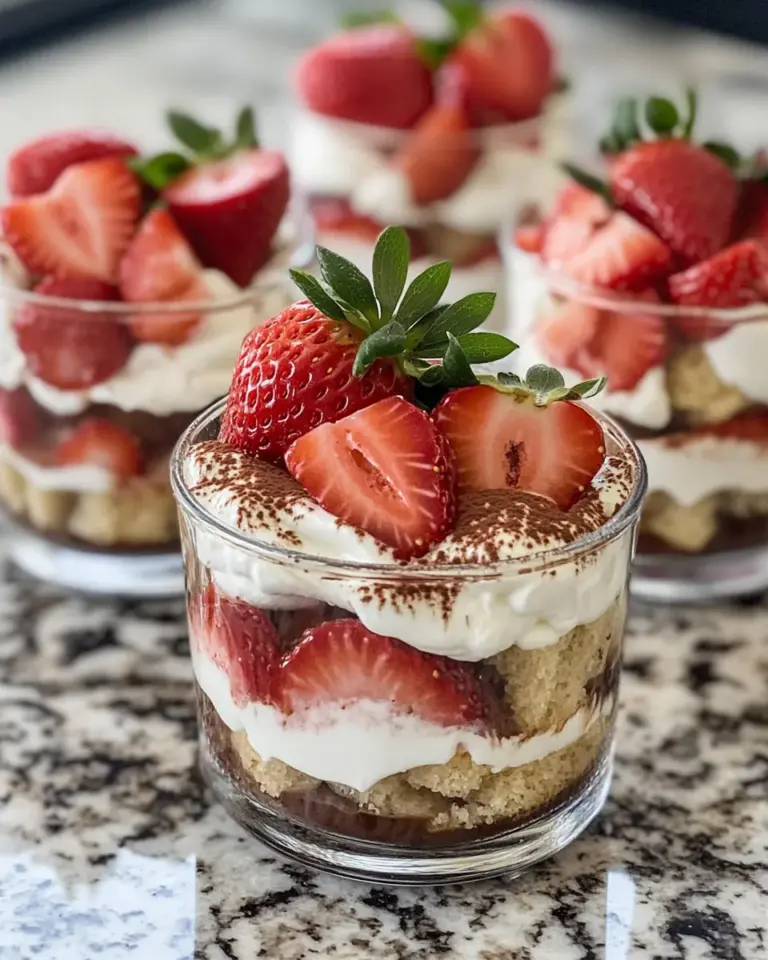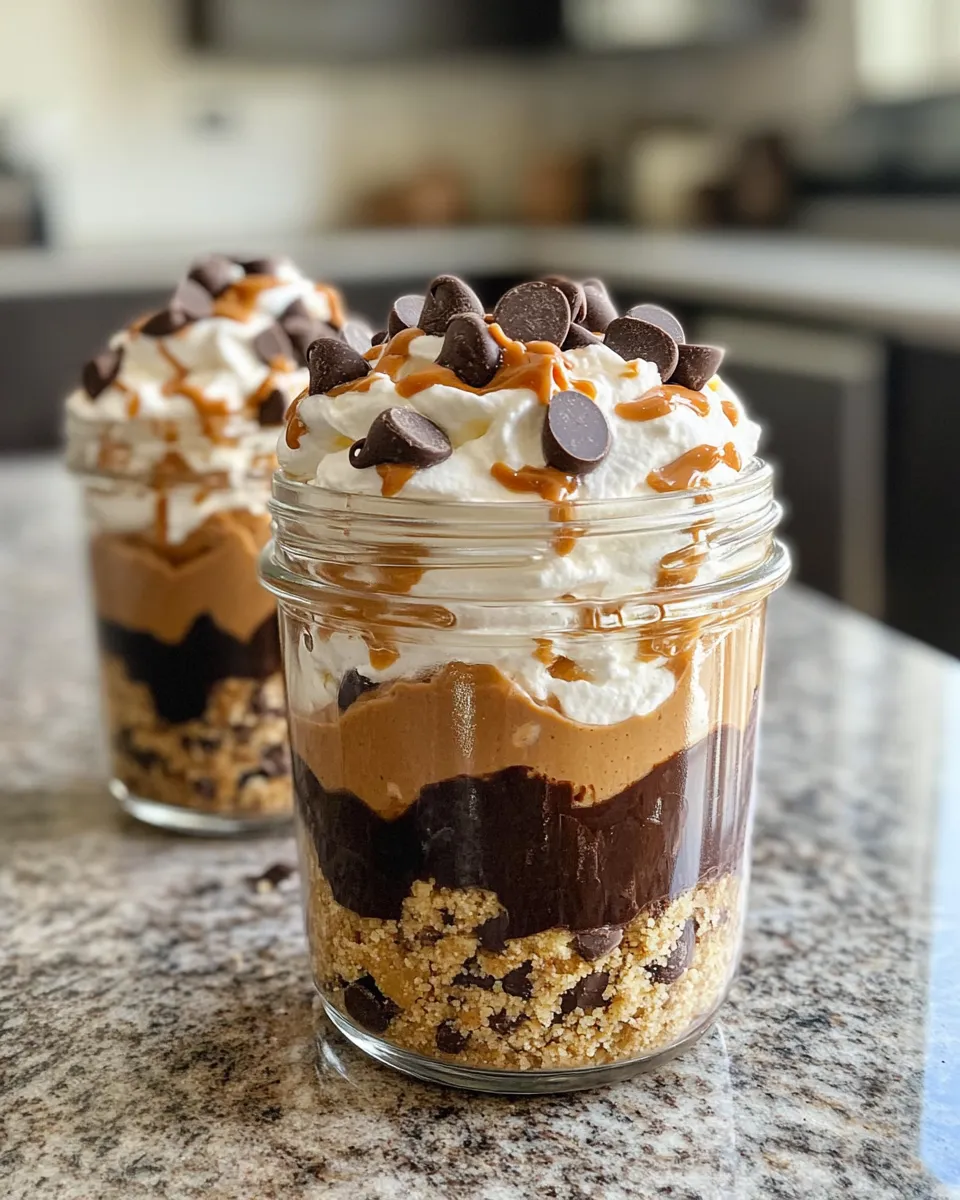
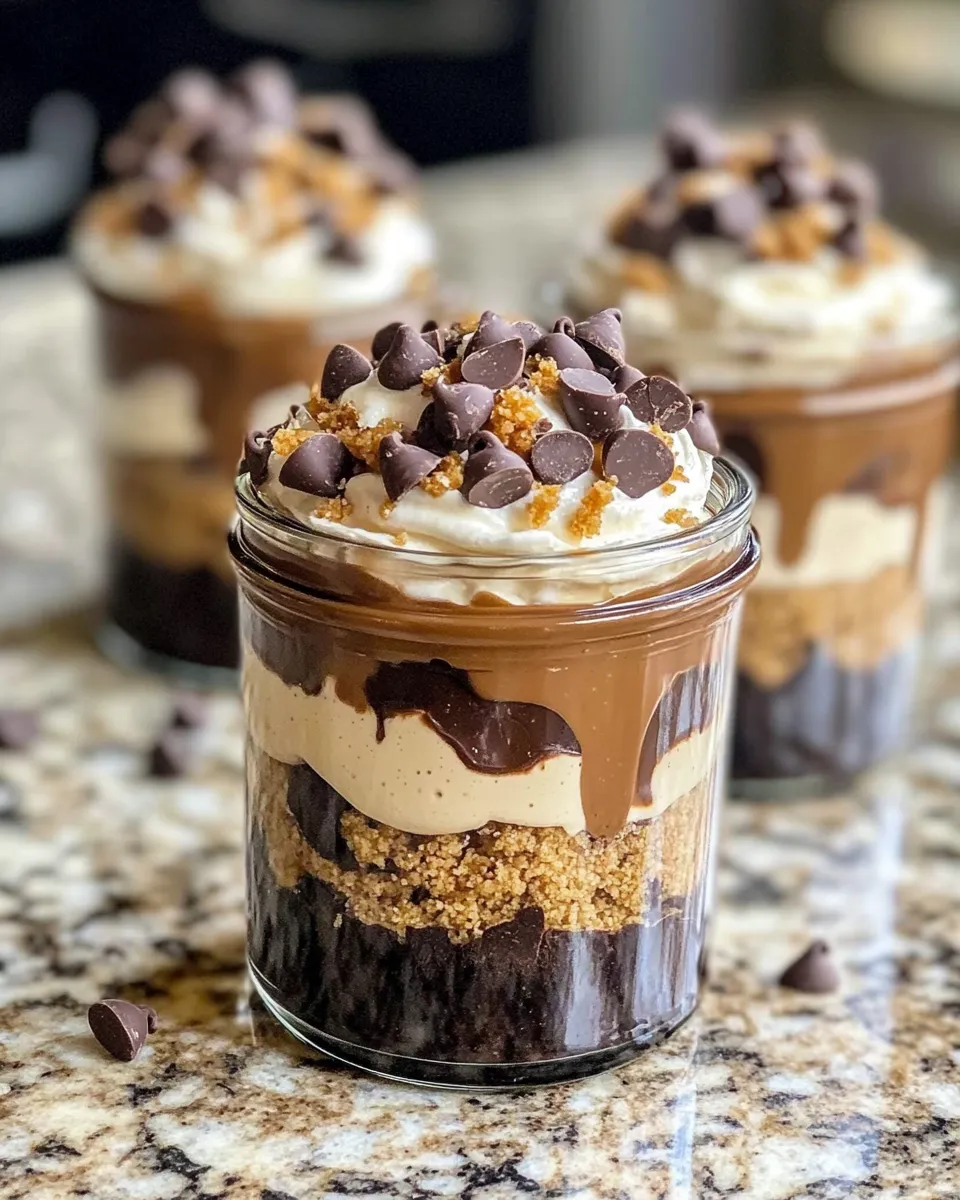
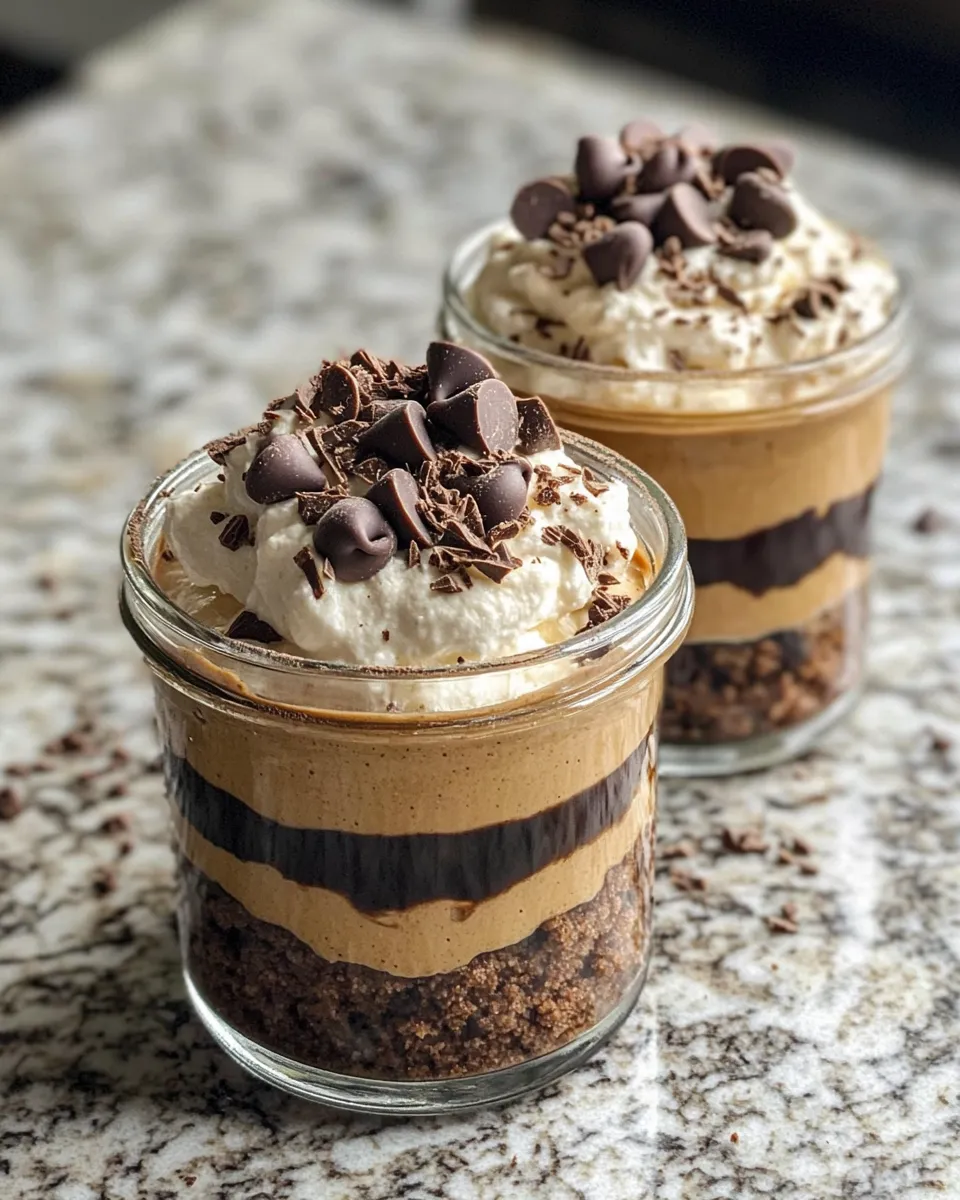
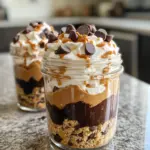
If you’re craving a luscious, creamy dessert that’s easy to whip up and perfect for any occasion, these No-Bake Peanut Butter Cup Pie Jars are exactly what you need. Imagine layers of rich peanut butter filling, velvety chocolate, and a crunchy graham cracker crust, all served in adorable individual jars. No oven required, just simple ingredients and a few minutes of your time to make a dessert that feels indulgent but is incredibly approachable. Whether you’re making a quick treat for yourself or impressing guests, these jars bring a fun twist to classic flavors everyone loves.
Why This Recipe Belongs in Your Rotation
There’s something undeniably charming about desserts served in jars – they’re portable, portion-controlled, and visually inviting. These No-Bake Peanut Butter Cup Pie Jars combine the best aspects of a peanut butter cup and a creamy pie, but in a fuss-free, no-bake format. Here’s why you’ll want to keep this recipe on your regular rotation:
- Speedy and simple: No baking means less time in the kitchen and more time enjoying dessert.
- Rich, indulgent flavor: Creamy peanut butter and chocolate are a timeless pairing that hits all the right notes.
- Perfectly portioned: Individual jars make serving easy and mess-free.
- Customizable: You can easily switch up toppings or layers to suit your mood or occasion.
- Great for gatherings: Whether it’s a picnic, potluck, or family dinner, these jars travel well and look impressive.
Once you master this recipe, you might want to check out some other peanut butter delights like the Double Peanut Butter Fudge Cookies or the gooey Peanut Butter Cup Melt Center Cookies for even more sweet inspiration.
What Goes In
To make these irresistible No-Bake Peanut Butter Cup Pie Jars, you’ll need just a handful of pantry staples that come together beautifully:
- 1 cup crushed graham crackers – for that perfect crunchy crust base
- 1/4 cup unsweetened cocoa powder – adds a subtle chocolate depth to the crust
- 1/2 cup melted unsalted butter – binds the crust ingredients and adds richness
- 1 cup creamy peanut butter – the star of the filling, smooth and flavorful
- 1/2 cup powdered sugar – sweetens the peanut butter filling just right
- 1 cup heavy cream – whipped into soft peaks for a light, airy texture
- 1/4 cup granulated sugar – sweetens the whipped cream for balance
- 1 teaspoon vanilla extract – enhances all the flavors with a warm note
- 1/2 cup chocolate chips – for sprinkling on top or melting into layers
These ingredients combine to create a dessert that’s creamy, crunchy, sweet, and rich without being overwhelming.
Hardware & Gadgets
You don’t need a fancy kitchen setup to make these pies, but a few tools will make the process smoother:
- Mixing bowls – for combining crust and filling ingredients
- Electric mixer or hand whisk – to whip the heavy cream to soft peaks
- Measuring cups and spoons – for accurate ingredient portions
- Jars or small dessert cups – ideal for individual servings and presentation
- Spatula or spoon – to layer the filling neatly
- Microwave-safe bowl (optional) – if you want to melt the chocolate chips for drizzling
Having these tools ready before you start will keep your process seamless and enjoyable.
No-Bake Peanut Butter Cup Pie Jars: Step-by-Step Guide
Step 1: Prepare the Crust
In a medium bowl, combine 1 cup crushed graham crackers and 1/4 cup unsweetened cocoa powder. Pour in 1/2 cup melted unsalted butter and stir until the mixture holds together when pressed. Divide the crust evenly among your jars, pressing down firmly to create a solid base layer. Pop the jars in the fridge to chill while you make the filling.
Step 2: Make the Peanut Butter Filling
In another bowl, mix together 1 cup creamy peanut butter and 1/2 cup powdered sugar until smooth and creamy. This mixture forms the rich, peanut buttery heart of your pie jars.
Step 3: Whip the Cream
In a chilled bowl, whip 1 cup heavy cream with 1/4 cup granulated sugar and 1 teaspoon vanilla extract until soft peaks form. This whipped cream lightens the dense peanut butter filling and adds a luscious texture.
Step 4: Combine Peanut Butter and Whipped Cream
Gently fold the whipped cream into the peanut butter mixture using a spatula. Take your time to keep the filling light and airy, which makes a perfect contrast against the crumbly crust.
Step 5: Assemble the Pie Jars
Spoon or pipe the peanut butter filling over the chilled crust layers in the jars. Smooth the tops and sprinkle with 1/2 cup chocolate chips. For an extra touch, you can melt the chocolate chips and drizzle them over the jars for a glossy finish.
Step 6: Chill and Serve
Refrigerate the jars for at least 2 hours to allow the filling to set properly. Once chilled, they’re ready to enjoy! These No-Bake Peanut Butter Cup Pie Jars can be served straight from the fridge and make a delightful treat any time of day.
Year-Round Variations
Keep your dessert game fresh by experimenting with these variations throughout the year:
- Summer: Add fresh sliced bananas or strawberries for a fruity twist.
- Fall: Mix in a pinch of cinnamon or pumpkin spice to the peanut butter filling.
- Winter: Top with crushed peppermint candies or a drizzle of caramel sauce.
- Spring: Incorporate chopped roasted peanuts or a sprinkle of toasted coconut on top.
Feel free to get creative and tailor these jars to whatever flavors inspire you.
Cook’s Notes
- For the best texture, make sure your heavy cream is well chilled before whipping.
- If you prefer a chunkier crust, reserve some crushed graham crackers to sprinkle on top before serving.
- Use creamy peanut butter for smooth filling; natural peanut butter can be grainy and less stable.
- If you want extra chocolate flavor, substitute some chocolate chips with mini peanut butter cups chopped up.
Storing Tips & Timelines
These pies keep beautifully in the refrigerator for up to 4 days. Make sure to cover the jars with lids or plastic wrap to prevent them from absorbing other odors. If you want to prepare them ahead of time for a party or event, assembling them the day before is perfect – just give them a quick stir before serving if needed.
Freezing is not recommended, as the texture of the cream filling can change when thawed.
Ask & Learn
Can I use crunchy peanut butter instead of creamy?
While you can substitute crunchy peanut butter for a more textured filling, the mixture might not be as smooth. For the creamiest results, creamy peanut butter is recommended.
Is it possible to make this recipe dairy-free?
Yes! To make a dairy-free version, use coconut cream instead of heavy cream and a dairy-free butter alternative for the crust.
Can I prepare these jars in larger containers instead?
Absolutely! You can assemble this dessert in a large pie dish or trifle bowl, but individual jars make for easier serving and charming presentation.
How can I make the chocolate chips melt smoothly for drizzling?
Microwave the chocolate chips in 20-second intervals, stirring in between until smooth. Be careful not to overheat to avoid burning the chocolate.
Desserts to Finish
- Double Peanut Butter Fudge Cookies – perfect for peanut butter lovers craving a chewy, fudgy bite.
- Peanut Butter Cup Melt Center Cookies – delightful cookies with a surprise melty center.
- Peanut Butter Pretzel Stuffed Cookies – a salty-sweet combo that’s simply irresistible.
Ready to Cook?
Gather your ingredients and tools, clear some space in your fridge, and prepare to make these charming No-Bake Peanut Butter Cup Pie Jars. With just a few simple steps, you’ll have a rich, creamy, and chocolatey dessert ready to impress. Whether it’s a weeknight treat or a party showstopper, these jars deliver on flavor and convenience.
These dessert jars are a testament to how easy it can be to create something special without turning on the oven. So go ahead, indulge your sweet tooth with this no-fuss recipe that brings peanut butter and chocolate together in a perfectly portable package. Happy dessert making!
Share on Pinterest
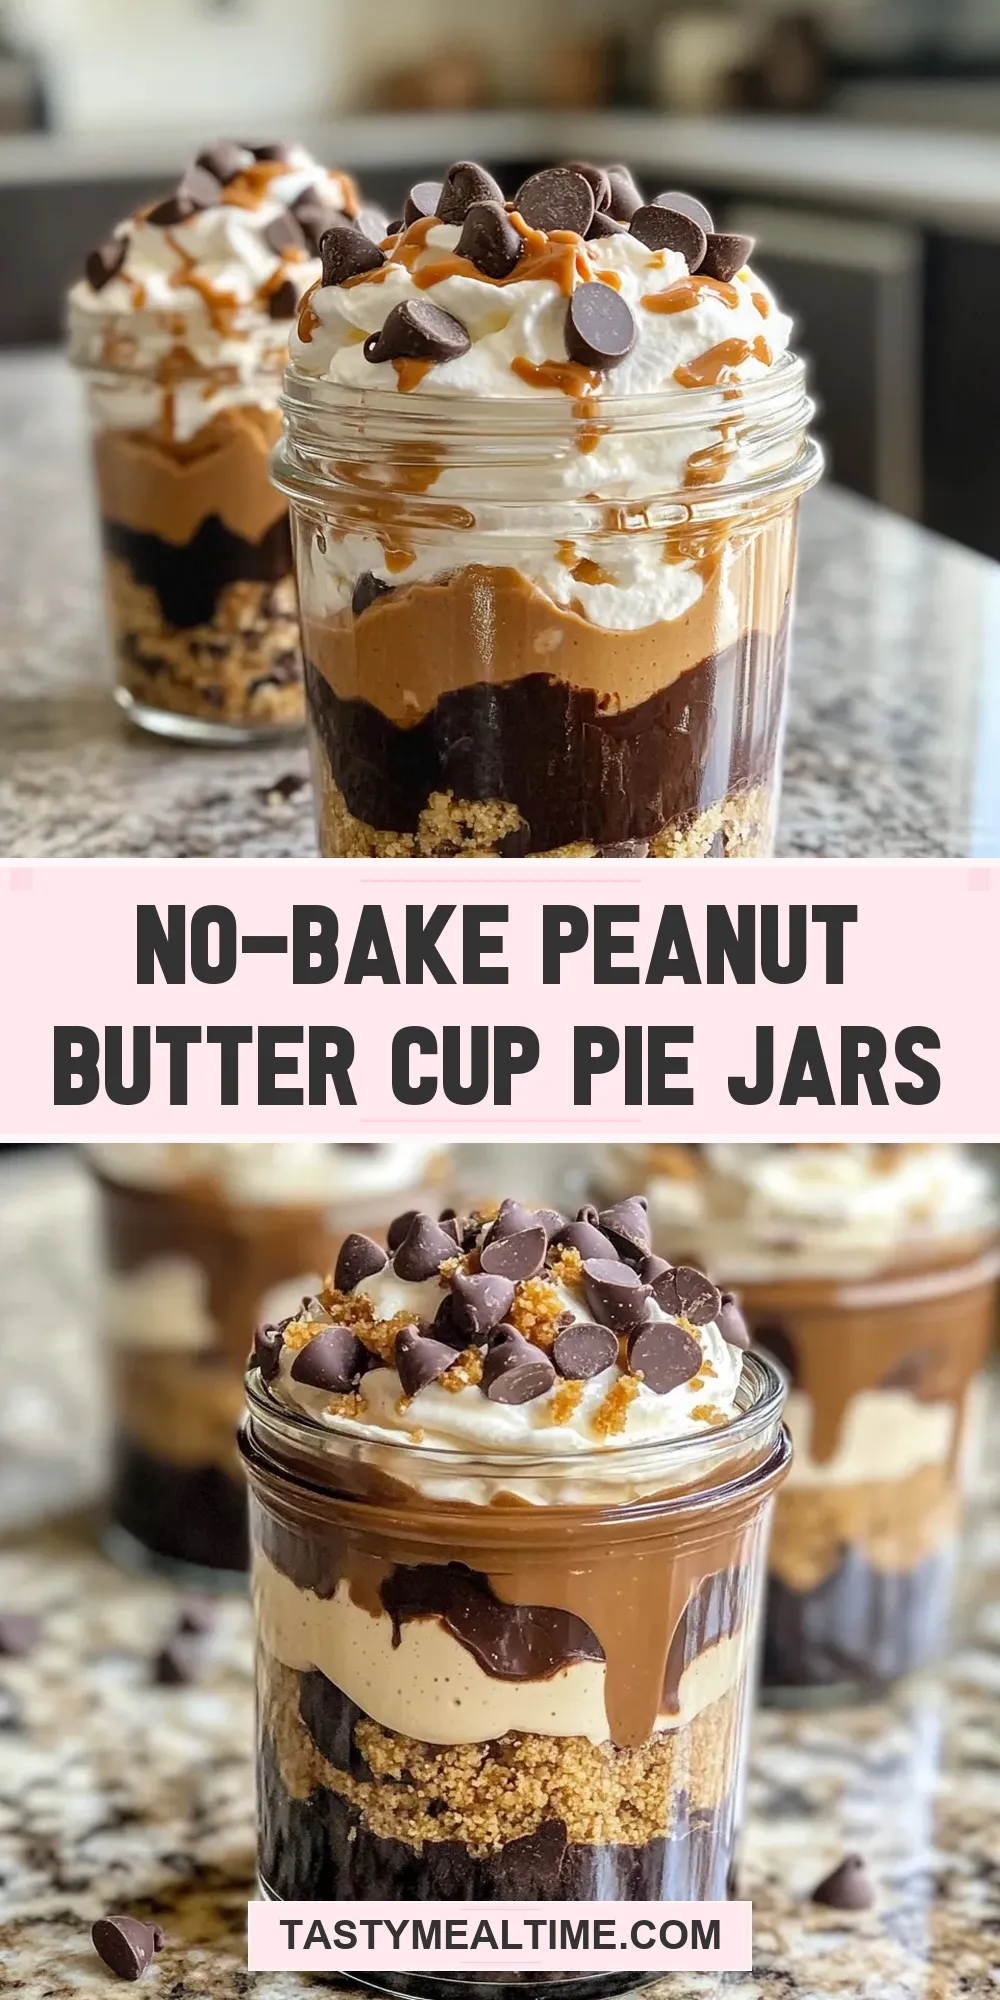
No-Bake Peanut Butter Cup Pie Jars
Ingredients
- 1 cup crushed graham crackers for crust
- 1/4 cup unsweetened cocoa powder for crust
- 1/2 cup unsalted butter melted, for crust
- 1 cup creamy peanut butter for filling
- 1/2 cup powdered sugar for filling
- 1 cup heavy cream for whipped cream
- 1/4 cup granulated sugar for whipped cream
- 1 teaspoon vanilla extract for whipped cream
- 1/2 cup chocolate chips for topping
Instructions
- In a medium bowl, combine crushed graham crackers and unsweetened cocoa powder. Pour in melted unsalted butter and stir until the mixture holds together when pressed.
- Divide the crust mixture evenly among jars, pressing down firmly to create a solid base layer. Refrigerate the jars to chill the crust.
- In another bowl, mix creamy peanut butter and powdered sugar until smooth and creamy.
- In a chilled bowl, whip heavy cream with granulated sugar and vanilla extract until soft peaks form.
- Gently fold the whipped cream into the peanut butter mixture until light and airy.
- Spoon or pipe the peanut butter filling over the chilled crust layers in the jars. Smooth the tops and sprinkle with chocolate chips. Optionally, melt the chocolate chips and drizzle over the jars.
- Refrigerate the jars for at least 2 hours to allow the filling to set properly before serving.
Equipment
- Mixing Bowls
- Electric mixer or hand whisk
- Measuring cups and spoons
- Jars or small dessert cups
- Spatula or Spoon
- Microwave-safe bowl (optional)
Notes
- Make sure heavy cream is well chilled before whipping for best texture.
- For a chunkier crust, reserve some crushed graham crackers to sprinkle on top before serving.
- Use creamy peanut butter for a smooth filling; natural peanut butter can be grainy and less stable.