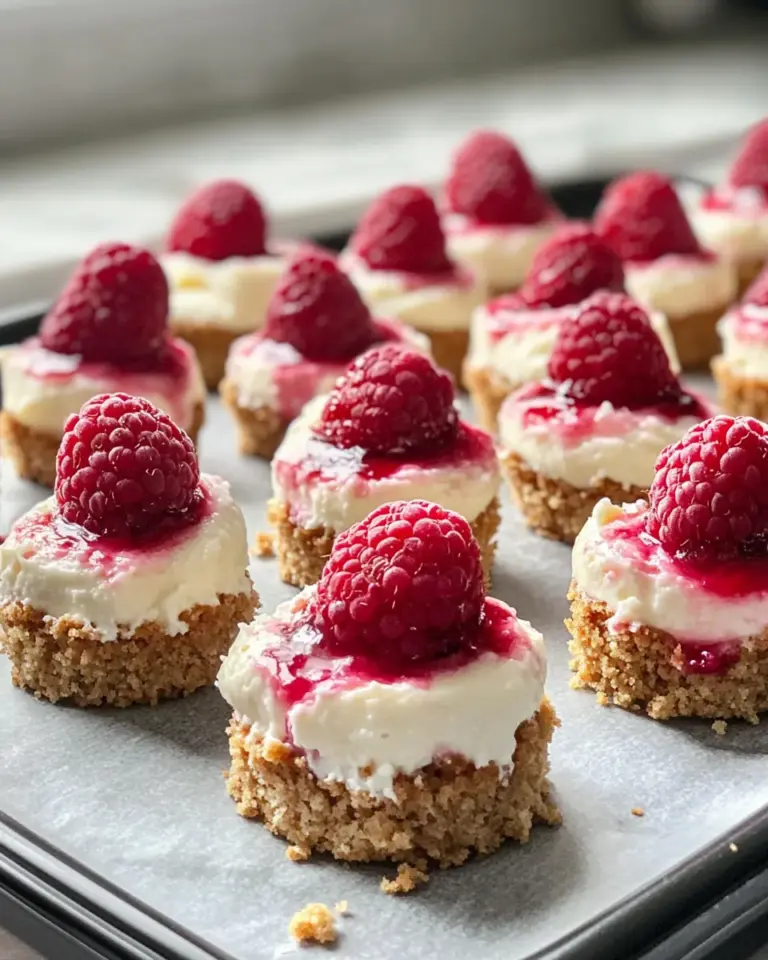
If you’re craving a dessert that’s both elegant and effortless, these No-Bake Raspberry Ripple Cheesecake Pots are about to become your new favorite. Layers of creamy cheesecake filling swirled with vibrant, fresh raspberry sauce, all resting on a buttery graham cracker base, come together without ever heating up your kitchen. Whether you’re short on time or simply want a fuss-free sweet treat to impress guests, these charming little pots are just the ticket. Light, luscious, and bursting with berry goodness, they hit the perfect balance between indulgent and fresh.
Top Reasons to Make No-Bake Raspberry Ripple Cheesecake Pots

- Quick and Easy: No baking required means you can whip these up in under 30 minutes.
- Fresh and Fruity: The raspberry ripple adds a tangy brightness that perfectly complements the creamy cheesecake.
- Perfect Portion Control: Individual pots make it easy to serve and enjoy without overindulging.
- Great for Any Occasion: Whether it’s a casual family dessert or a fancy dinner party, these pots fit the bill.
- Customizable: Swap raspberries for other berries or fruit to suit your taste or the season.
- Kid-Friendly: The sweet, creamy texture and pretty presentation make it a hit with kids and adults alike.
The Essentials

- 1 cup graham cracker crumbs: Forms the crunchy, buttery base for the cheesecake pots.
- 1/4 cup unsalted butter, melted: Binds the graham cracker crumbs together into a firm crust.
- 2 cups cream cheese, softened: The creamy heart of the cheesecake filling.
- 1/2 cup powdered sugar: Adds just the right amount of sweetness without graininess.
- 1 teaspoon vanilla extract: Enhances the cheesecake flavor with warm, aromatic notes.
- 1 cup heavy whipping cream: Whipped to stiff peaks to lighten the cheesecake filling.
- 1 cup fresh raspberries: For the fresh raspberry ripple and topping.
- 1/4 cup sugar: Sweetens the raspberry sauce for that perfect balance.
- 1 tablespoon lemon juice: Adds brightness and helps preserve the raspberry sauce’s vibrant color.
Must-Have Equipment

- Mixing bowls: For combining crust, filling, and raspberry sauce separately.
- Electric mixer or stand mixer: Essential for whipping cream to stiff peaks and smooth cheesecake filling.
- Small saucepan: To cook down the raspberries into a luscious ripple sauce.
- Spoons and spatulas: For folding ingredients together gently and layering the pots.
- Serving glasses or small jars: Perfect for assembling and presenting your cheesecake pots.
- Measuring cups and spoons: Accuracy is key for the best texture and flavor.
Directions: No-Bake Raspberry Ripple Cheesecake Pots
Step 1: Prepare the Graham Cracker Crust
In a medium bowl, combine 1 cup graham cracker crumbs with 1/4 cup melted unsalted butter. Stir until the crumbs are evenly coated and clump together when pressed. Spoon an even layer of this mixture into the bottom of your serving pots or jars, pressing down gently to form a firm crust. Place in the fridge while you prepare the filling.
Step 2: Make the Raspberry Ripple Sauce
In a small saucepan, combine 1 cup fresh raspberries, 1/4 cup sugar, and 1 tablespoon lemon juice. Cook over medium heat, stirring occasionally, until the raspberries break down and the mixture thickens slightly—about 5-7 minutes. Remove from heat and strain through a fine mesh sieve to remove seeds, leaving you with a smooth raspberry sauce. Let cool completely.
Step 3: Whip the Cheesecake Filling
In a large bowl, beat 2 cups softened cream cheese with 1/2 cup powdered sugar and 1 teaspoon vanilla extract until smooth and creamy. In a separate bowl, whip 1 cup heavy whipping cream until stiff peaks form. Gently fold the whipped cream into the cream cheese mixture, being careful not to deflate the airy texture.
Step 4: Assemble the Cheesecake Pots
Spoon a layer of the cheesecake filling over the chilled crust in each pot. Add dollops of the cooled raspberry ripple sauce and use a skewer or knife to swirl the sauce gently through the cheesecake layer, creating that beautiful ripple effect. Repeat with another layer if your pots are tall enough, finishing with a swirl of raspberry sauce on top.
Step 5: Chill and Serve
Cover the pots with lids or plastic wrap and refrigerate for at least 4 hours, or overnight if possible, to allow the cheesecake to set. Before serving, garnish with a few fresh raspberries or a sprig of mint for a pop of color.
Spring to Winter: Ideas
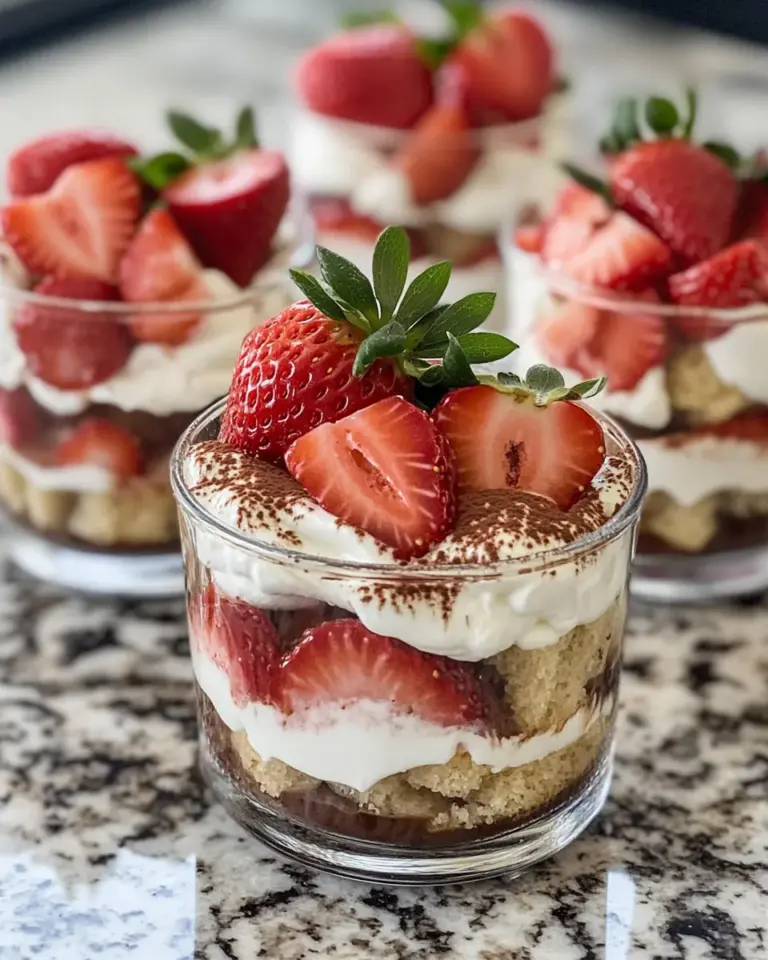
- In spring, swap raspberries for fresh strawberries to echo the flavors of Pink Strawberry Cheesecake Crumble Cookies.
- Summer calls for a tart twist—try mixing in a splash of lemon juice or zest to brighten your ripple, inspired by the Raspberry Lemonade Frosted Sugar Cookies.
- Fall welcomes the addition of warm spices like cinnamon or nutmeg to your crust or filling for cozy comfort.
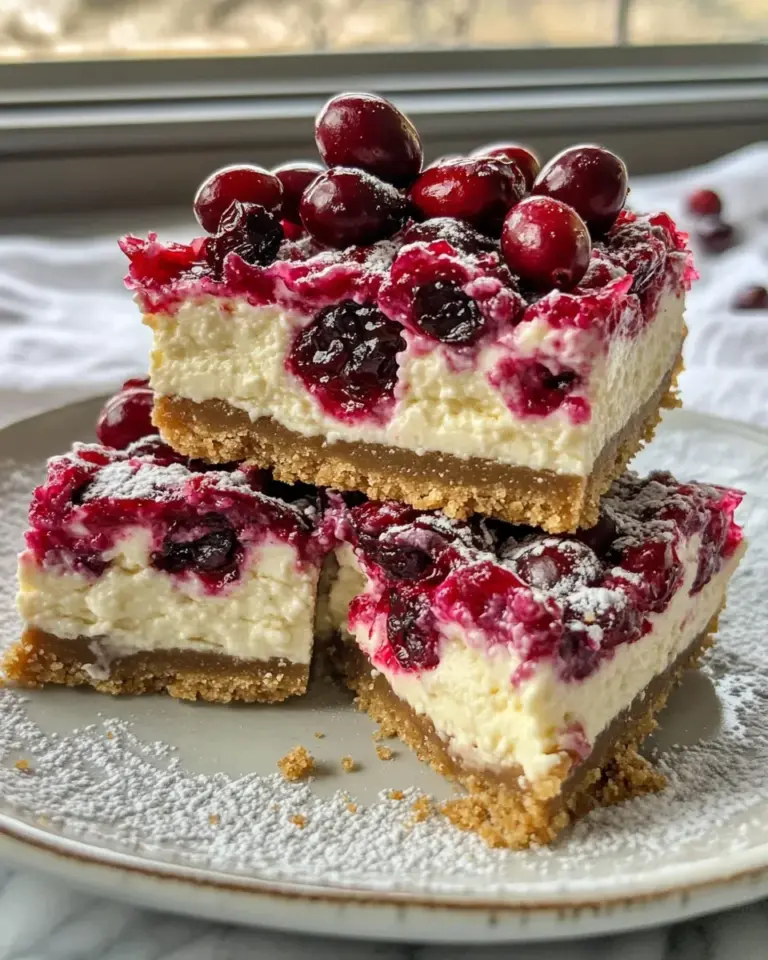
- In winter, incorporate blueberries with raspberries to create a festive berry swirl reminiscent of Lemon Blueberry Cheesecake Bar Cookies.
Insider Tips
- Make sure your cream cheese is at room temperature for the smoothest, lump-free filling.
- Don’t skip straining the raspberry sauce—it removes seeds and creates a silky texture perfect for swirling.
- Be gentle when folding whipped cream into the cream cheese to keep the filling light and airy.
- Use clear serving pots or glasses to show off the beautiful raspberry ripple effect.
- If you prefer a crunchier crust, add a pinch of sea salt to the graham cracker mixture.
Meal Prep & Storage Notes
These cheesecake pots keep wonderfully in the fridge for up to 3 days, making them ideal for meal prepping desserts ahead of time. For best texture, add fresh raspberry garnish just before serving. If you need to store them longer, freeze the pots without garnish for up to 2 weeks. Thaw overnight in the refrigerator before enjoying. Avoid leaving them at room temperature for extended periods to maintain freshness and texture.
Your Top Questions
Can I use frozen raspberries for the ripple sauce?
Absolutely! Frozen raspberries work well—just thaw them completely and drain any excess liquid before cooking down to avoid a watery sauce.
Is it possible to make this dessert dairy-free?
You can substitute the cream cheese and heavy cream with dairy-free alternatives such as coconut cream and vegan cream cheese, though the texture and flavor will be slightly different.
How can I make the crust gluten-free?
Simply swap the graham cracker crumbs for gluten-free graham-style crumbs or finely crushed gluten-free cookies. Ensure the butter you use is suitable for your dietary needs as well.
Can I prepare these cheesecake pots ahead of time for a party?
Yes! These pots actually taste better after a few hours in the fridge as the flavors meld and the filling firms up. Prepare them the day before your event for a stress-free dessert option.
Explore More
- Pink Strawberry Cheesecake Crumble Cookies – A delightful strawberry twist on cheesecake flavors in cookie form.
- Raspberry Lemonade Frosted Sugar Cookies – Bright and zesty cookies perfect for a sunny day.
- Lemon Blueberry Cheesecake Bar Cookies – A zesty and creamy bar cookie loaded with blueberries and lemon.
The Last Word
There’s something undeniably satisfying about a dessert that feels luxurious yet takes minimal effort to prepare. These No-Bake Raspberry Ripple Cheesecake Pots hit that sweet spot perfectly, combining creamy, tangy, and sweet all in one pretty package. Whether you’re new to cheesecake making or a seasoned pro, they’re a crowd-pleaser that’s ready whenever you are. Serve them chilled, savor every spoonful, and don’t forget to share with those you love!
Share on Pinterest


No-Bake Raspberry Ripple Cheesecake Pots
Ingredients
For the Graham Cracker Crust:
- 1 cup graham cracker crumbs
- 1/4 cup unsalted butter melted
For the Cheesecake Filling:
- 2 cups cream cheese softened
- 1/2 cup powdered sugar
- 1 teaspoon vanilla extract
- 1 cup heavy whipping cream
For the Raspberry Ripple Sauce:
- 1 cup fresh raspberries
- 1/4 cup sugar
- 1 tablespoon lemon juice
Instructions
Prepare the Graham Cracker Crust
- In a medium bowl, combine 1 cup graham cracker crumbs with 1/4 cup melted unsalted butter. Stir until the crumbs are evenly coated and clump together when pressed. Spoon an even layer of this mixture into the bottom of your serving pots or jars, pressing down gently to form a firm crust. Place in the fridge while you prepare the filling.
Make the Raspberry Ripple Sauce
- In a small saucepan, combine 1 cup fresh raspberries, 1/4 cup sugar, and 1 tablespoon lemon juice. Cook over medium heat, stirring occasionally, until the raspberries break down and the mixture thickens slightly—about 5-7 minutes. Remove from heat and strain through a fine mesh sieve to remove seeds, leaving you with a smooth raspberry sauce. Let cool completely.
Whip the Cheesecake Filling
- In a large bowl, beat 2 cups softened cream cheese with 1/2 cup powdered sugar and 1 teaspoon vanilla extract until smooth and creamy. In a separate bowl, whip 1 cup heavy whipping cream until stiff peaks form. Gently fold the whipped cream into the cream cheese mixture, being careful not to deflate the airy texture.
Assemble the Cheesecake Pots
- Spoon a layer of the cheesecake filling over the chilled crust in each pot. Add dollops of the cooled raspberry ripple sauce and use a skewer or knife to swirl the sauce gently through the cheesecake layer, creating that beautiful ripple effect. Repeat with another layer if your pots are tall enough, finishing with a swirl of raspberry sauce on top.
Chill and Serve
- Cover the pots with lids or plastic wrap and refrigerate for at least 4 hours, or overnight if possible, to allow the cheesecake to set. Before serving, garnish with a few fresh raspberries or a sprig of mint for a pop of color.
Equipment
- Mixing Bowls
- Electric Mixer or Stand Mixer
- Small Saucepan
- Spoons and spatulas
- Serving glasses or small jars
- Measuring cups and spoons
Notes
- Make sure your cream cheese is at room temperature for the smoothest, lump-free filling.
- Don’t skip straining the raspberry sauce—it removes seeds and creates a silky texture perfect for swirling.
- Be gentle when folding whipped cream into the cream cheese to keep the filling light and airy.
- Use clear serving pots or glasses to show off the beautiful raspberry ripple effect.
- If you prefer a crunchier crust, add a pinch of sea salt to the graham cracker mixture.