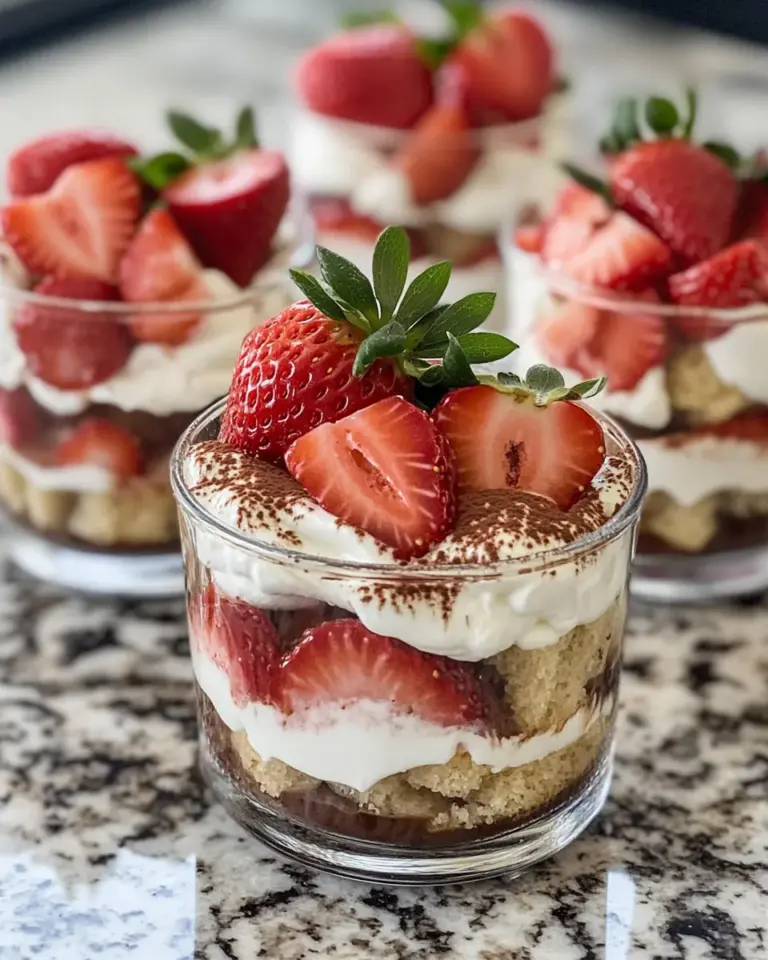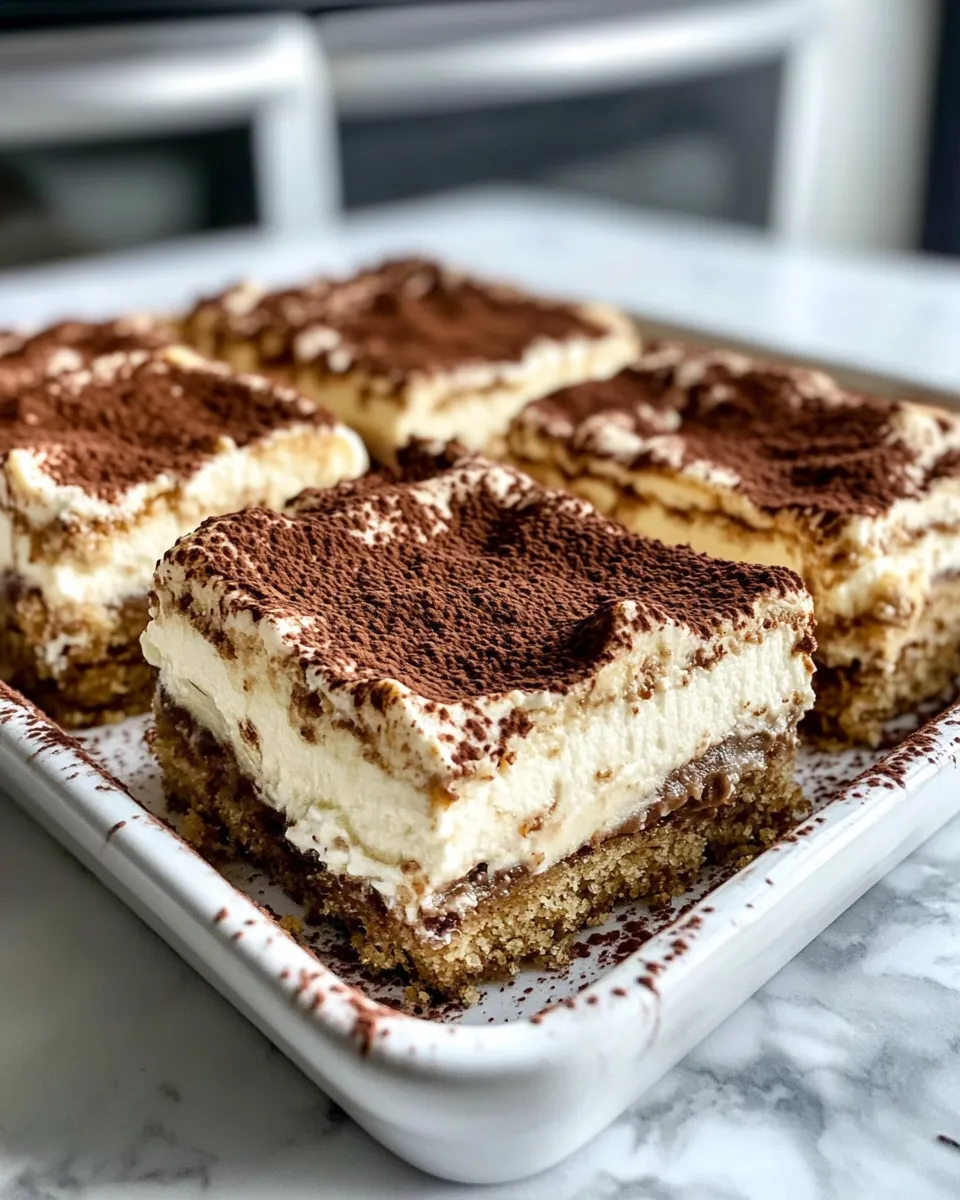
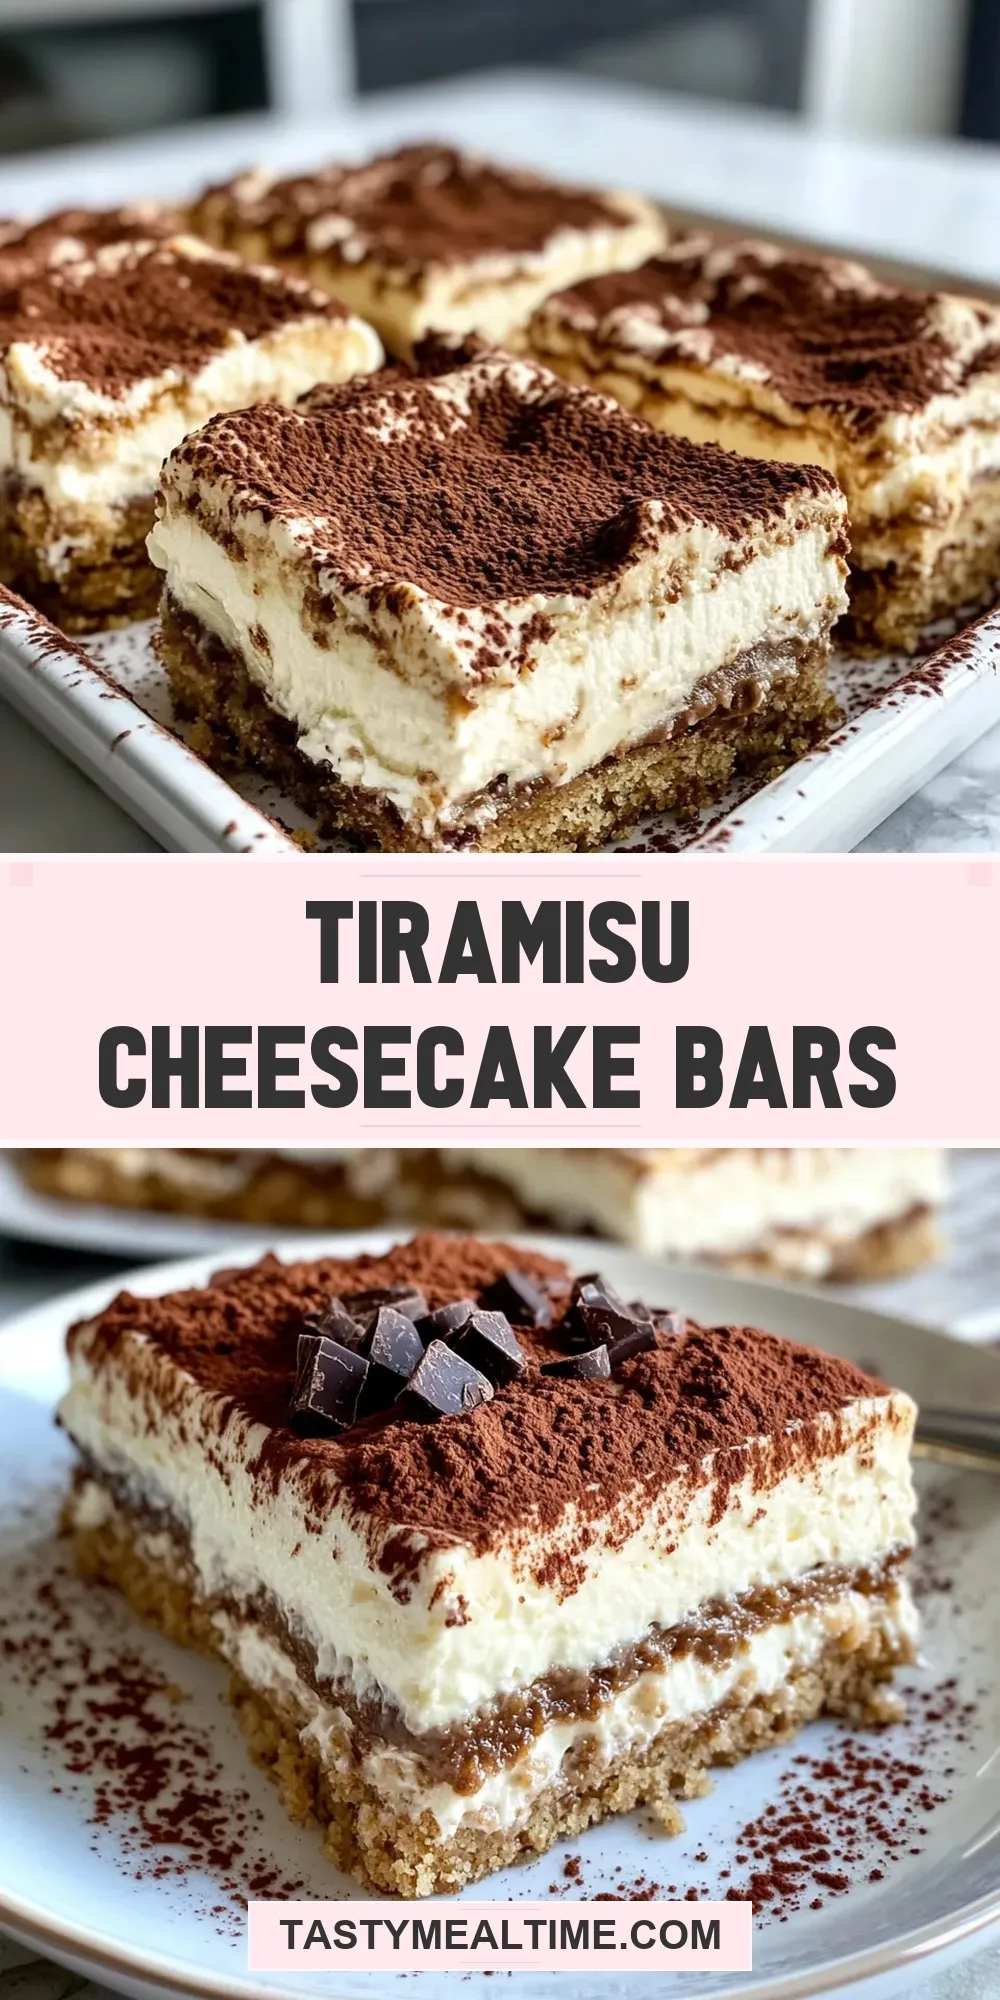
If you love the rich, creamy decadence of classic tiramisu but are looking for something a bit more portable and easy to serve, these Tiramisu Cheesecake Bars are about to become your new favorite dessert. Combining the luscious texture of cheesecake with the beloved coffee and cocoa flavors of tiramisu, these bars offer a delightful twist that’s perfect for parties, potlucks, or simply treating yourself after a long day. With a buttery graham cracker crust and a smooth, coffee-infused cream cheese filling, each bite melts in your mouth and leaves you craving more. Ready to impress your friends and family with minimal fuss? Let’s dive in!
Why Tiramisu Cheesecake Bars is Worth Your Time
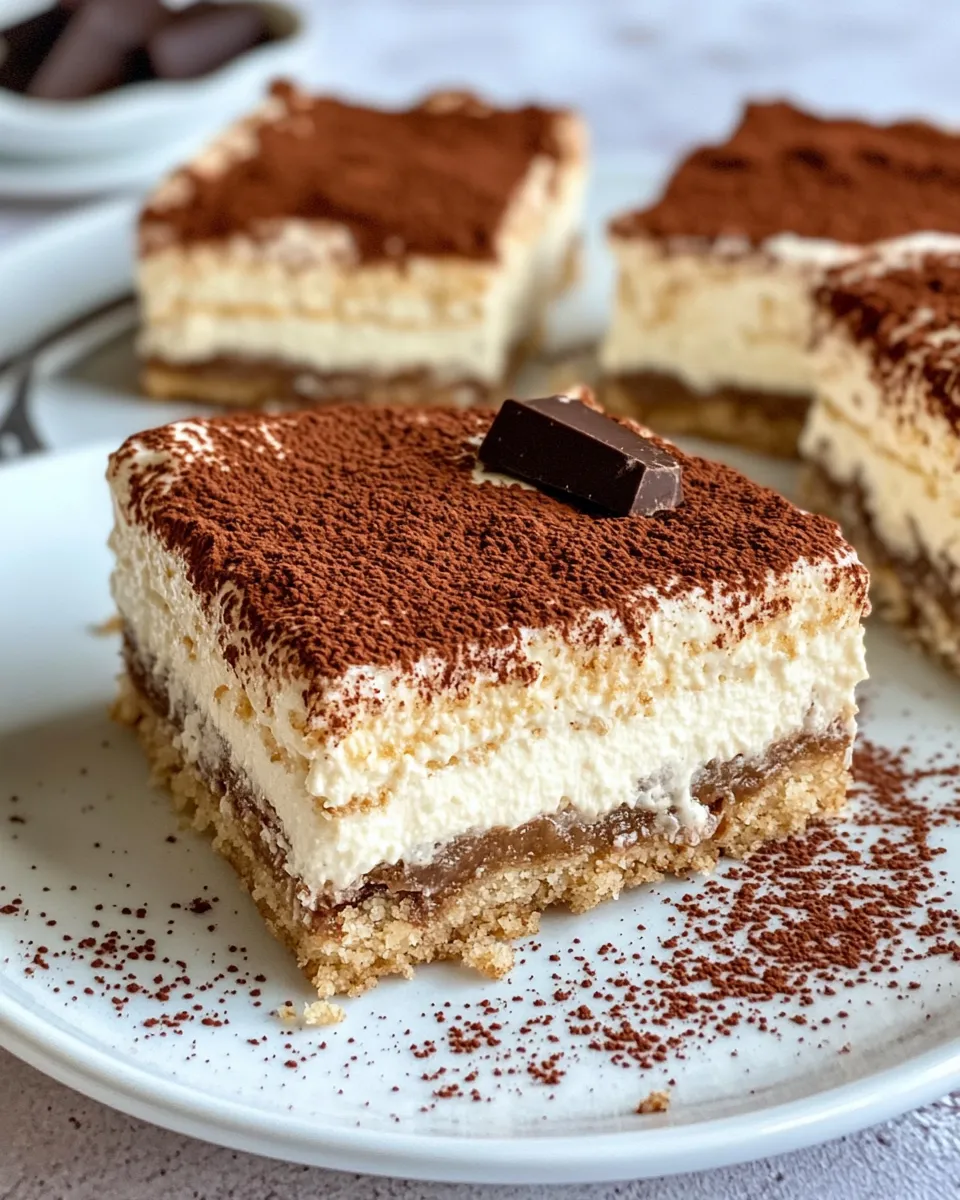
These Tiramisu Cheesecake Bars beautifully marry two classic desserts into one irresistible treat. The best part? They’re incredibly simple to make, yet they look and taste like you spent hours in the kitchen. The crust provides a crunchy, buttery base, while the coffee-infused cream cheese layer adds a silky richness that’s perfectly balanced by a dusting of cocoa powder. Whether you’re a fan of tiramisu or cheesecake—or both—these bars deliver on all fronts. Plus, they’re easy to slice and serve, making them a practical choice for gatherings or a sweet everyday pick-me-up. Trust me, once you make these, you’ll find yourself reaching for them again and again.
What’s in the Bowl
- 1 cup graham cracker crumbs – The crumbly, buttery base for that perfect crunch.
- 1/2 cup unsalted butter, melted – To bind the crust together and add richness.
- 2 cups cream cheese, softened – The star ingredient for that creamy, tangy filling.
- 3/4 cup granulated sugar – Sweetens the filling just right without overpowering.
- 2 large eggs – Helps set the cheesecake with a smooth texture.
- 1 teaspoon vanilla extract – Adds a warm, aromatic note to the filling.
- 1 cup heavy cream – Whipped to light, fluffy perfection for richness and volume.
- 1/2 cup strong brewed coffee, cooled – Infuses that classic tiramisu coffee flavor.
- 2 tablespoons cocoa powder – For dusting and that bittersweet finish.
- 1/4 cup chocolate shavings (optional) – Adds a decadent, decorative touch.
Equipment Breakdown
- 8×8 inch baking pan – Ideal size to get perfectly thick bars.
- Mixing bowls – For combining crust and filling ingredients separately.
- Electric mixer or stand mixer – To get the cream cheese and heavy cream fluffy and smooth.
- Spatula – For scraping down bowl sides and smoothing the filling.
- Measuring cups and spoons – Accuracy is key for perfect texture and flavor.
- Fine mesh sieve – For an even dusting of cocoa powder on top.
- Knife – To cut clean, neat bars once chilled.
Make Tiramisu Cheesecake Bars: A Simple Method
Step 1: Prepare the Crust
Start by preheating your oven to 325°F (163°C). In a medium bowl, combine the graham cracker crumbs with the melted butter. Stir until all crumbs are moistened and the mixture resembles wet sand. Press this mixture firmly into the bottom of your 8×8 baking pan. Use the back of a spoon or a flat-bottomed glass to create an even, compact layer. Bake for 10 minutes, then remove from the oven and let it cool while you prepare the filling.
Step 2: Make the Cream Cheese Filling
In a large bowl, beat the softened cream cheese with an electric mixer until smooth and creamy. Gradually add the sugar, mixing until fully combined and fluffy. Beat in the eggs one at a time, making sure each one is fully incorporated before adding the next. Stir in the vanilla extract and cooled brewed coffee, mixing just until blended. Set aside.
Step 3: Whip the Heavy Cream
In a separate bowl, whip the heavy cream until stiff peaks form. This will add lightness and volume to your cheesecake bars.
Step 4: Combine and Bake
Gently fold the whipped cream into the cream cheese mixture using a spatula. Be careful not to deflate the airy texture. Pour the filling over the cooled crust and spread it evenly with a spatula. Return the pan to the oven and bake for 35 to 40 minutes, or until the edges are set and the center slightly jiggles when you gently shake the pan.
Step 5: Chill and Finish
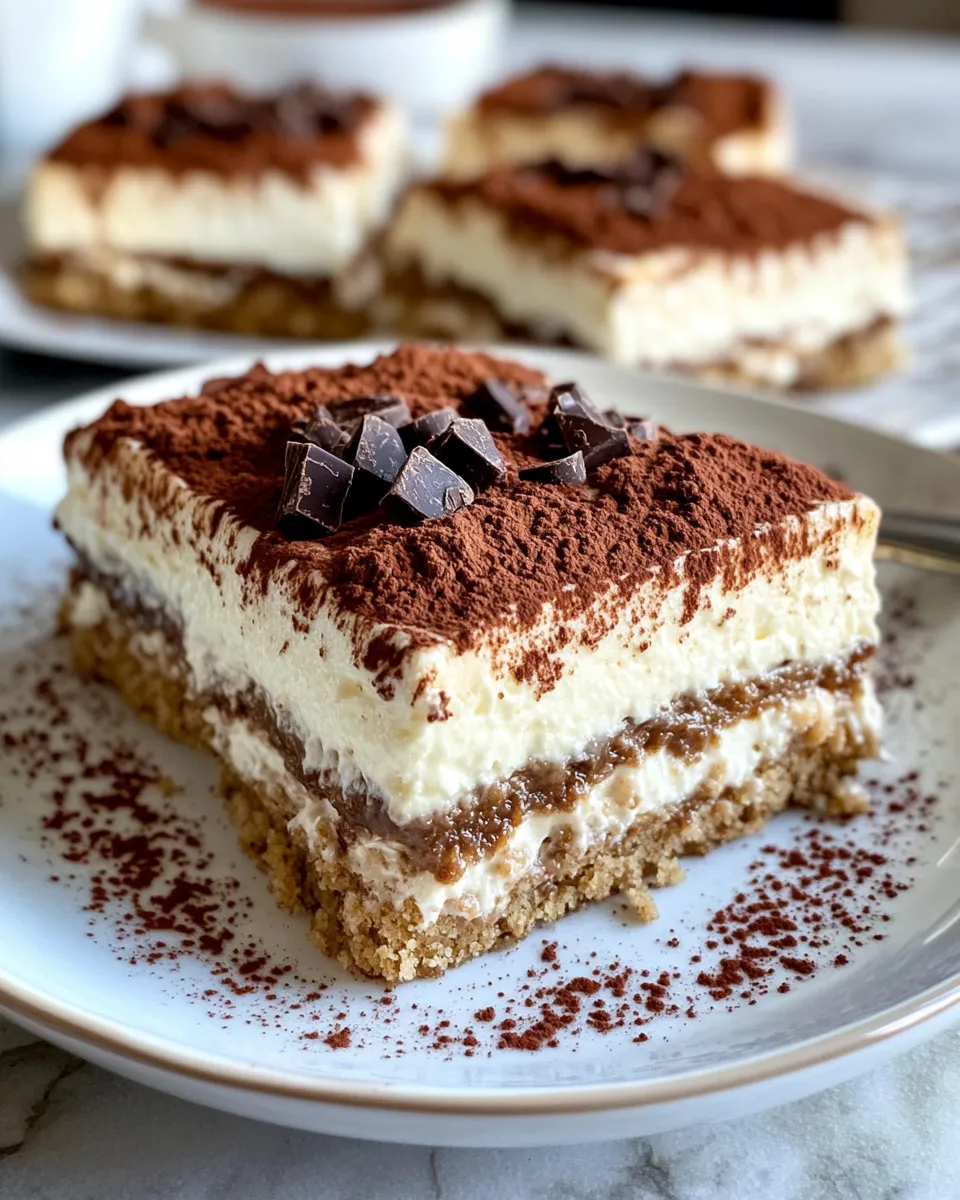
Remove the cheesecake bars from the oven and allow them to cool to room temperature. Once cooled, place the pan in the refrigerator and chill for at least 4 hours or overnight. Before serving, dust the top generously with cocoa powder using a fine mesh sieve. Add chocolate shavings for an extra touch of indulgence if desired. Slice into bars and enjoy!
Dietary Swaps & Alternatives
- Crust: Substitute graham cracker crumbs with crushed digestive biscuits or gluten-free cookies if needed.
- Butter: Use a plant-based butter alternative to make a dairy-free crust option.
- Cream Cheese: Try a lactose-free cream cheese for sensitive stomachs or a vegan cream cheese alternative for a dairy-free version.
- Heavy Cream: Coconut cream works well as a non-dairy substitute when whipped properly.
- Coffee: Replace with decaffeinated coffee or a strong brewed chicory root drink for a caffeine-free twist.
- Sugar: Use coconut sugar or a granulated sugar substitute to reduce refined sugar content.
Missteps & Fixes
- Crust too crumbly: If your crust falls apart, try adding a bit more melted butter to help it bind better.
- Filling cracks on top: This often happens if the oven temperature is too high or the cheesecake is overbaked. Bake at a lower temperature and watch closely near the end.
- Cheesecake too dense: Be careful not to overmix the cream cheese or overfold the whipped cream, as this can deflate the mixture and result in a heavy texture.
- Bars stick to pan: Line your baking pan with parchment paper, leaving an overhang on the sides for easy removal of bars.
Leftovers & Meal Prep
Once chilled, store your Tiramisu Cheesecake Bars in an airtight container in the refrigerator. They will stay fresh for up to 4 days, making them a convenient dessert to prepare in advance. For longer storage, wrap individual bars tightly in plastic wrap and freeze for up to 2 months. Thaw in the fridge before serving. These bars also travel well, making them a perfect option for picnics or potlucks. Just remember to keep them chilled until ready to serve!
Common Questions
Can I make these bars ahead of time?
Absolutely! In fact, chilling the bars overnight helps the flavors meld beautifully and makes slicing much easier. Just keep them refrigerated until ready to serve.
What kind of coffee works best for the filling?
Strong brewed coffee is ideal—espresso or a dark roast brewed coffee will give the bars that classic tiramisu punch. Just be sure it’s cooled before mixing into the filling.
Can I use instant coffee granules instead of brewed coffee?
You can, but brewed coffee tends to give a richer, smoother coffee flavor. If using instant coffee, dissolve it in a small amount of hot water first and let it cool completely before adding.
How do I prevent the cheesecake from cracking?
To avoid cracks, bake at a moderate temperature and avoid overbaking. Also, gently mixing the batter and not overwhipping the cream helps maintain a smooth texture. Cooling gradually at room temperature before refrigerating also minimizes cracking.
See You at the Table
These Tiramisu Cheesecake Bars are a guaranteed crowd-pleaser, combining the best of two beloved desserts into one easy-to-make, elegant treat. Whether you’re serving them for a special occasion or simply indulging on a quiet evening, they bring a little slice of café-style luxury right to your home. So grab your mixing bowls, fire up the oven, and get ready to enjoy every creamy, coffee-kissed bite. I can’t wait to hear how much you love these bars—and don’t forget to share them with friends! Happy baking and see you at the table.
Share on Pinterest

Tiramisu Cheesecake Bars
Ingredients
- 1 cup graham cracker crumbs crumbly, buttery base
- 1/2 cup unsalted butter melted
- 2 cups cream cheese softened
- 3/4 cup granulated sugar
- 2 large eggs
- 1 teaspoon vanilla extract
- 1 cup heavy cream
- 1/2 cup strong brewed coffee cooled
- 2 tablespoons cocoa powder for dusting
- 1/4 cup chocolate shavings optional
Instructions
- Start by preheating your oven to 325°F (163°C). In a medium bowl, combine the graham cracker crumbs with the melted butter. Stir until all crumbs are moistened and the mixture resembles wet sand. Press this mixture firmly into the bottom of your 8x8 baking pan. Use the back of a spoon or a flat-bottomed glass to create an even, compact layer. Bake for 10 minutes, then remove from the oven and let it cool while you prepare the filling.
- In a large bowl, beat the softened cream cheese with an electric mixer until smooth and creamy. Gradually add the sugar, mixing until fully combined and fluffy. Beat in the eggs one at a time, making sure each one is fully incorporated before adding the next. Stir in the vanilla extract and cooled brewed coffee, mixing just until blended. Set aside.
- In a separate bowl, whip the heavy cream until stiff peaks form. This will add lightness and volume to your cheesecake bars.
- Gently fold the whipped cream into the cream cheese mixture using a spatula. Be careful not to deflate the airy texture. Pour the filling over the cooled crust and spread it evenly with a spatula. Return the pan to the oven and bake for 35 to 40 minutes, or until the edges are set and the center slightly jiggles when you gently shake the pan.
- Remove the cheesecake bars from the oven and allow them to cool to room temperature. Once cooled, place the pan in the refrigerator and chill for at least 4 hours or overnight. Before serving, dust the top generously with cocoa powder using a fine mesh sieve. Add chocolate shavings for an extra touch of indulgence if desired. Slice into bars and enjoy!
Equipment
- 8x8-inch baking pan
- Mixing Bowls
- Electric Mixer or Stand Mixer
- Spatula
- Measuring cups and spoons
- Fine Mesh Sieve
- Knife
Notes
- Substitute graham cracker crumbs with gluten-free cookies for a gluten-free crust.
- Use plant-based or lactose-free alternatives to make a dairy-free version.
- Chill bars overnight for easier slicing and enhanced flavor melding.
- Line the baking pan with parchment paper for easy removal of bars.
- Store in an airtight container in the fridge for up to 4 days or freeze for up to 2 months.