
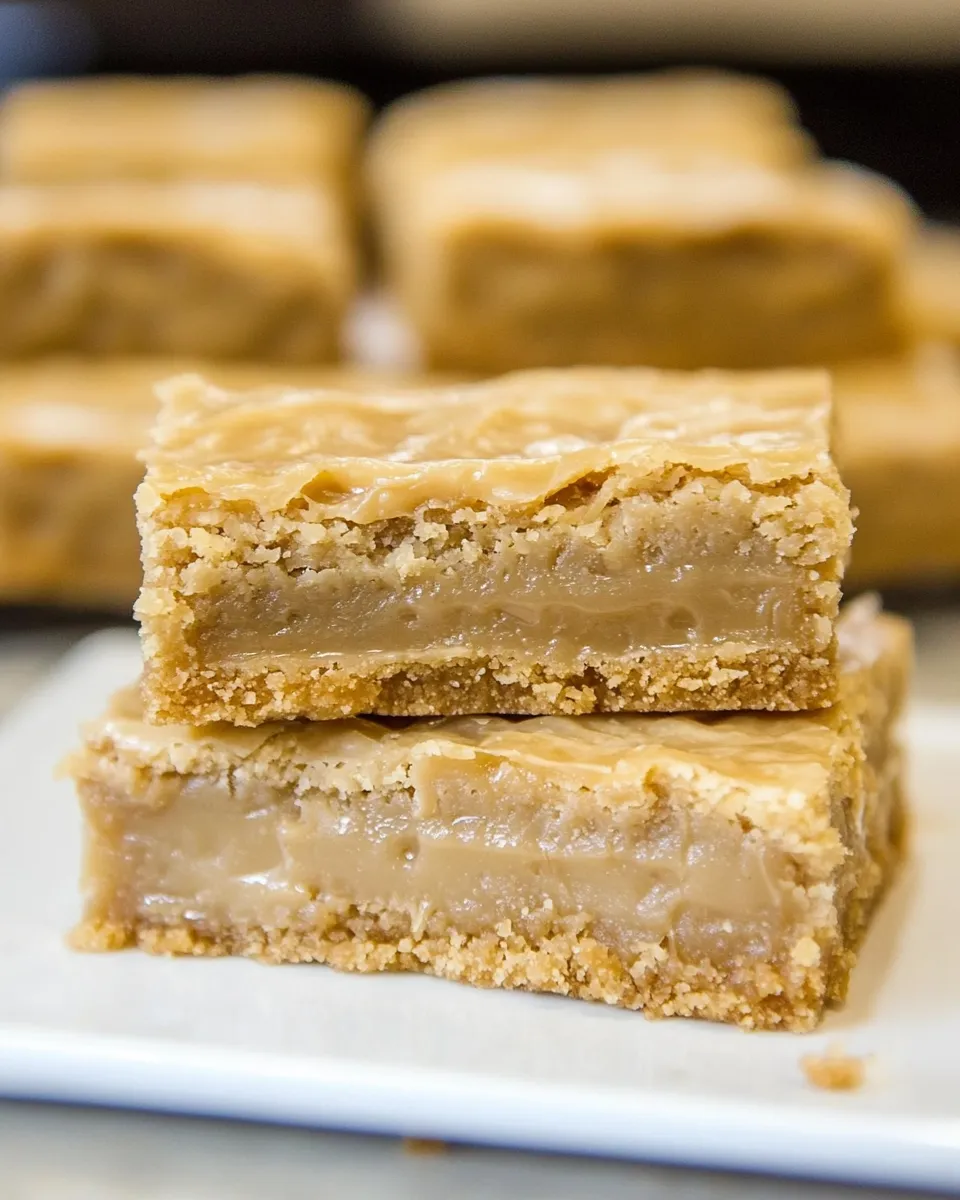
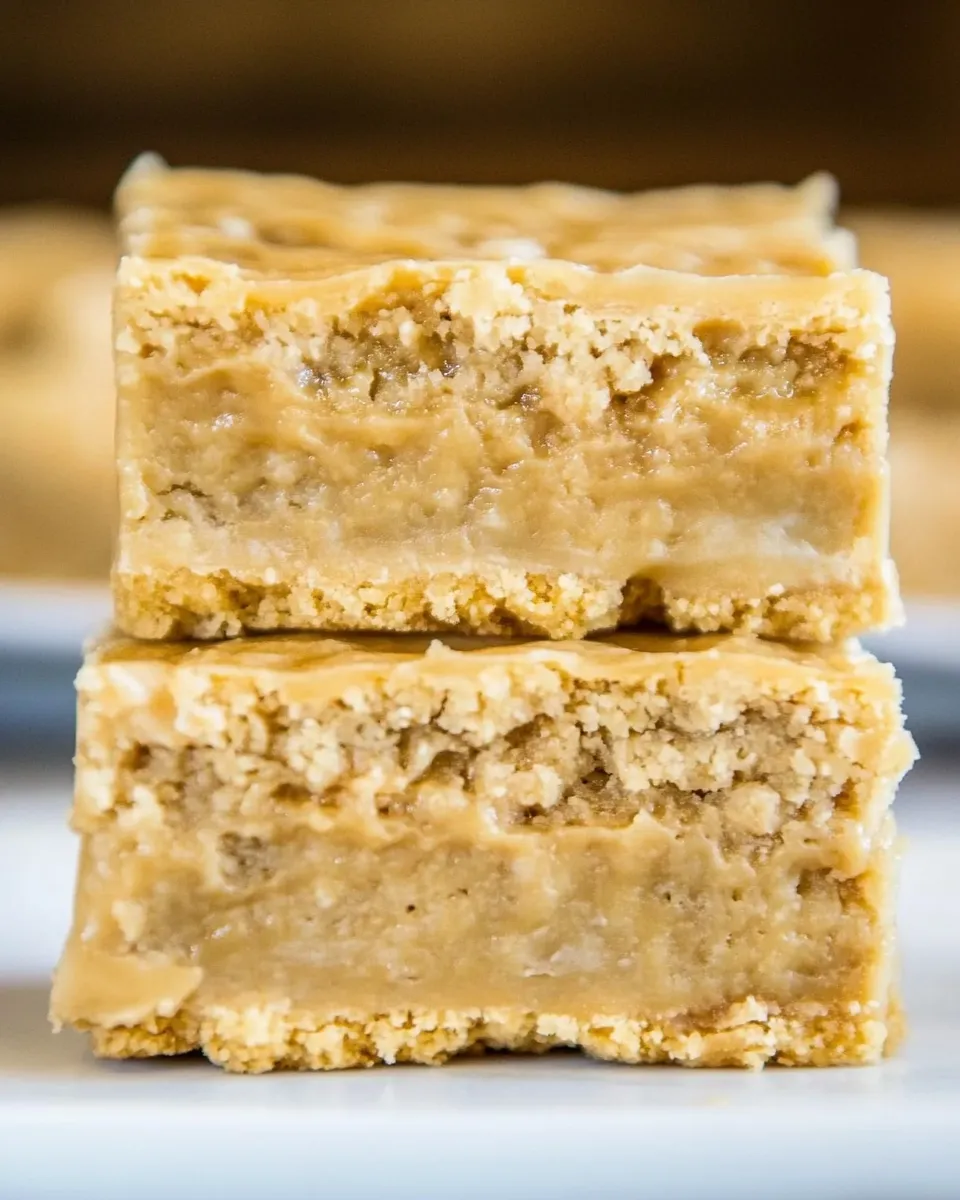
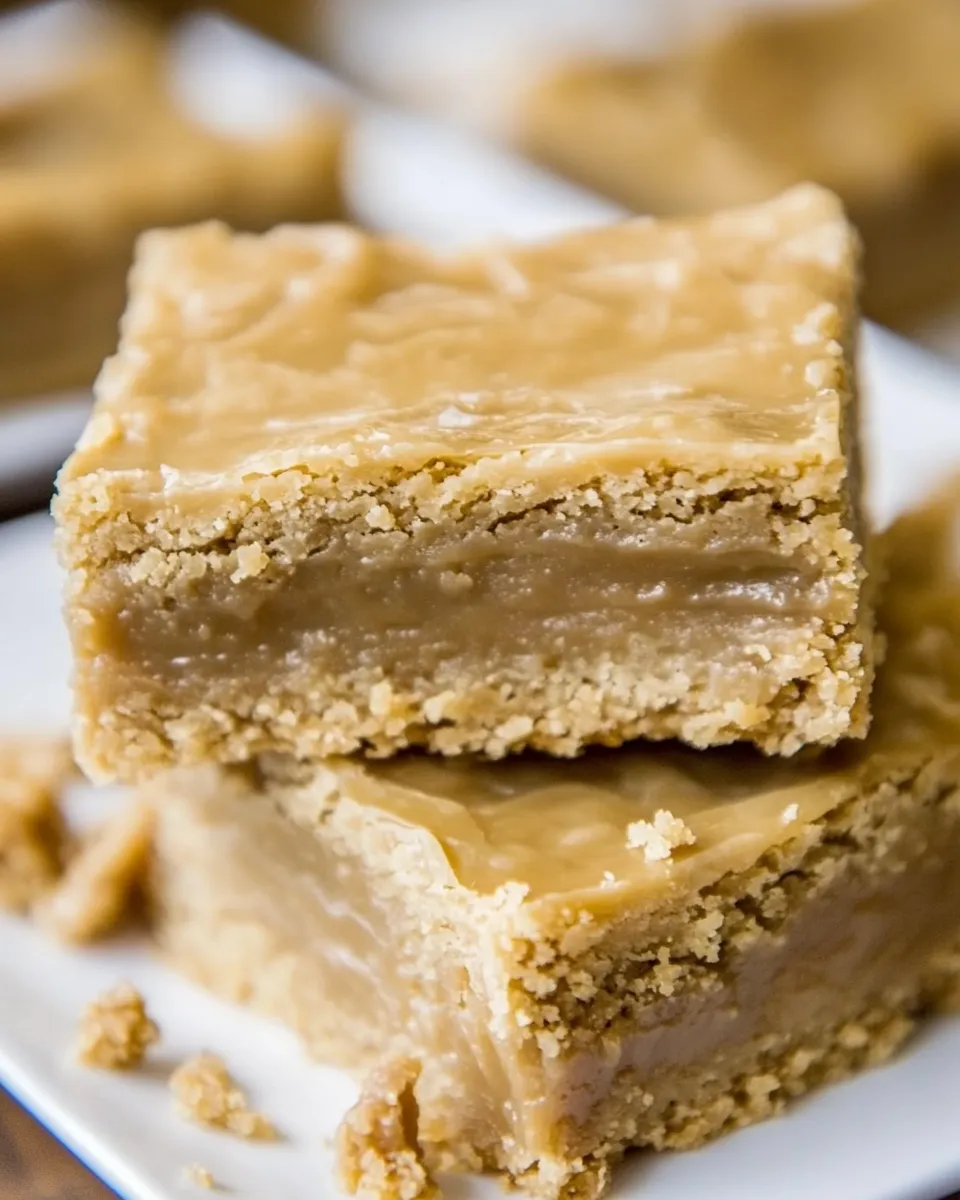
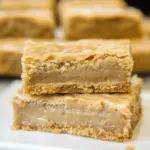
These Vanilla Bean Caramel Blondies are a decadent treat that combines the rich flavors of vanilla and caramel in every bite. With a chewy texture and a gooey caramel topping, they are perfect for any occasion, whether you’re hosting a gathering or simply indulging in a sweet snack. The combination of light brown sugar and vanilla bean paste enhances the sweetness and provides a comforting aroma that fills your kitchen.
Why It Deserves a Spot
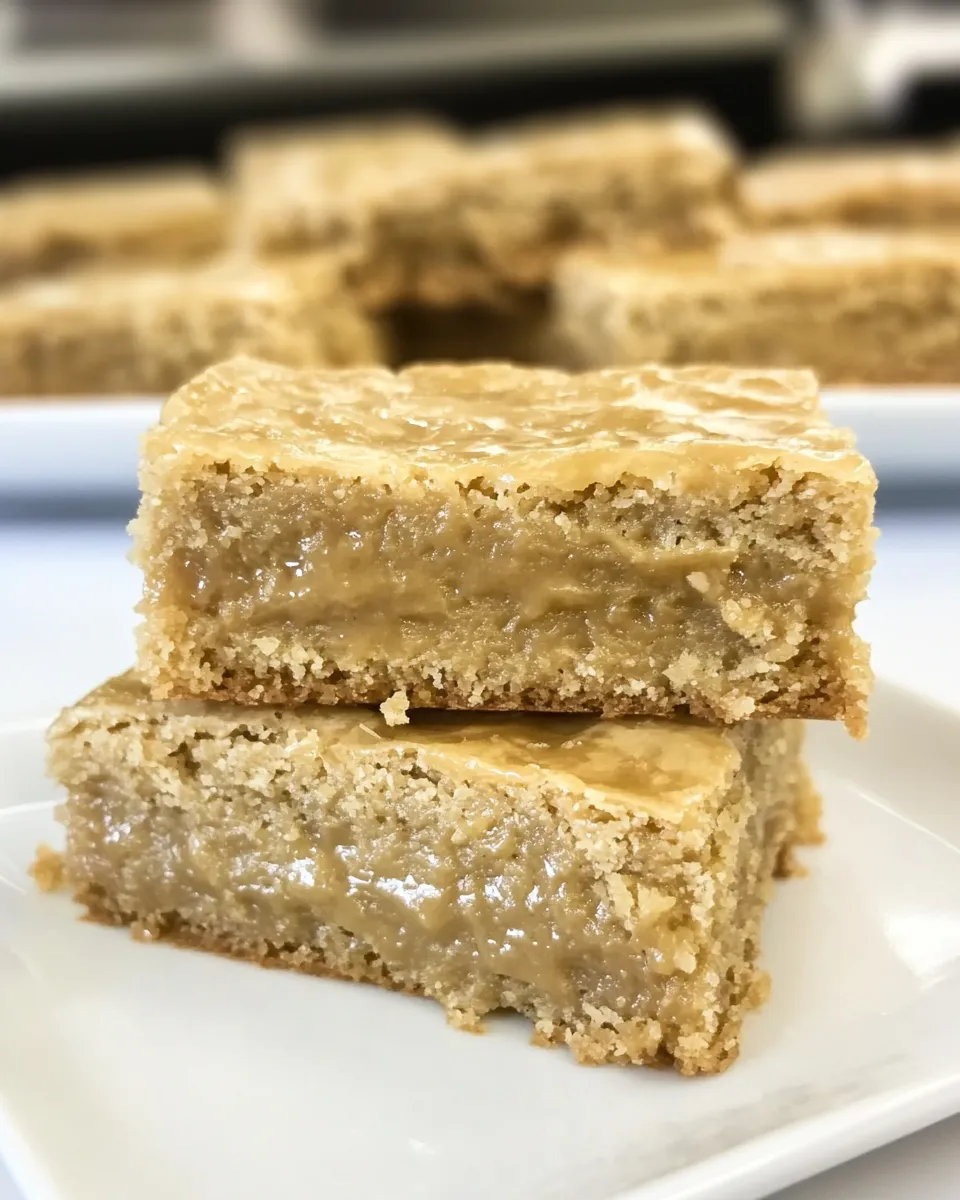
Blondies are a classic dessert that often get overshadowed by their chocolatey counterparts. However, these Vanilla Bean Caramel Blondies are here to change that narrative! They boast a buttery richness and sweet caramel drizzle that turns any ordinary day into something special. Whether you’re a fan of vanilla or just looking for a new dessert to impress your friends, these blondies are sure to steal the show.
Ingredients at a Glance
- ¾ cup unsalted butter, melted (1 ½ sticks total)
- 1 large egg
- 1 cup light brown sugar, packed
- 1 tablespoon vanilla extract
- 1 cup all-purpose flour
- ½ teaspoon salt, or to taste
- ¼ cup unsalted butter, melted (for the caramel)
- 1 cup light brown sugar, packed (for the caramel)
- 4 tablespoons half-and-half or cream
- 1 tablespoon vanilla bean paste
- 2 cups confectioners sugar, sifted (must be sifted)
- ½ teaspoon salt, optional
Gear Up: What to Grab
- Mixing bowls – For combining ingredients smoothly.
- 9×9 inch baking pan – Perfect size for blondies.
- Whisk – To mix everything together.
- Rubber spatula – For scraping down the sides and ensuring no ingredient is left behind.
- Measuring cups and spoons – Accuracy is key in baking!
- Cooling rack – To allow the blondies to cool properly.
Method: Vanilla Bean Caramel Blondies
Step 1: Preheat and Prep
Preheat your oven to 350°F (175°C). Grease a 9×9 inch baking pan or line it with parchment paper for easy removal.
Step 2: Combine Wet Ingredients
In a large mixing bowl, whisk together the melted butter and brown sugar until smooth. Then, add in the egg and vanilla extract. Mix until fully incorporated.
Step 3: Add Dry Ingredients
In another bowl, combine the flour and salt. Gradually add this dry mixture to the wet ingredients, stirring gently until just combined. Do not overmix; a few lumps are okay!
Step 4: Bake the Blondies
Pour the batter into the prepared baking pan, spreading it evenly. Bake in the preheated oven for about 20-25 minutes or until a toothpick inserted in the center comes out with a few moist crumbs (not wet batter).
Step 5: Prepare the Caramel Topping
While the blondies are baking, prepare the caramel topping. In a saucepan over medium heat, melt the ¼ cup of unsalted butter. Stir in the brown sugar and half-and-half, whisking until the mixture comes to a gentle boil. Continue to cook for about 2-3 minutes, stirring constantly until thickened.
Step 6: Add Vanilla Bean Paste
Remove the saucepan from heat and stir in the vanilla bean paste. Gradually whisk in the sifted confectioners sugar and optional salt until smooth. Set aside to cool slightly.
Step 7: Assemble and Serve
Once the blondies are finished baking, remove them from the oven and allow them to cool in the pan for about 10 minutes. Pour the caramel topping over the warm blondies, spreading it evenly with a spatula. Let it set for a few minutes before slicing into squares.
Allergy-Friendly Swaps
- Dairy-free butter: Use a plant-based butter alternative.
- Egg substitute: Use a flax egg (1 tablespoon ground flaxseed mixed with 2.5 tablespoons water).
- Gluten-free flour: Substitute with a 1:1 gluten-free baking blend.
Notes from the Test Kitchen
For the best texture, make sure to measure your flour properly by spooning it into the measuring cup and leveling it off. This prevents the blondies from becoming too dense. Also, allow your blondies to cool completely before slicing for cleaner edges.
Leftovers & Meal Prep
These Vanilla Bean Caramel Blondies can be stored in an airtight container at room temperature for up to 4 days. For longer storage, freeze them in a single layer, wrapped tightly, for up to 2 months. Just thaw at room temperature before enjoying!
Common Qs About Vanilla Bean Caramel Blondies
Can I use dark brown sugar instead of light brown sugar?
Yes, using dark brown sugar will give your blondies a deeper, more robust flavor with a hint of molasses.
What can I use instead of vanilla bean paste?
You can substitute it with additional vanilla extract, though the flavor will be slightly less intense.
Can I make these blondies ahead of time?
Absolutely! They can be made a day in advance. Store them covered at room temperature for the best flavor and texture.
Why are my blondies too dry?
Overbaking is usually the culprit. Keep an eye on them while baking; they should be slightly underbaked when you take them out, as they continue to set while cooling.
Save & Share
If you’re excited to try these Vanilla Bean Caramel Blondies, don’t forget to share your creation on social media! Tag your photos with #VanillaBeanBlondies. Baking is always more fun when you share it with friends and family.
Now that you have this delightful recipe, it’s time to gather your ingredients and get baking. Enjoy the sweet aroma of vanilla and caramel wafting through your kitchen as you create these blissful blondies. They’re bound to become a favorite in your dessert repertoire!
Vanilla Bean Caramel Blondies
Ingredients
- ¾ cup unsalted butter melted (1 ½ sticks total)
- 1 large egg
- 1 cup light brown sugar packed
- 1 tablespoon vanilla extract
- 1 cup all-purpose flour
- ½ teaspoon salt or to taste
- ¼ cup unsalted butter melted (for the caramel)
- 1 cup light brown sugar packed (for the caramel)
- 4 tablespoons half-and-half or cream
- 1 tablespoon vanilla bean paste
- 2 cups confectioners sugar sifted (must be sifted)
- ½ teaspoon salt optional
Instructions
- Preheat your oven to 350°F (175°C). Grease a 9x9 inch baking pan or line it with parchment paper for easy removal.
- In a large mixing bowl, whisk together the melted butter and brown sugar until smooth. Then, add in the egg and vanilla extract. Mix until fully incorporated.
- In another bowl, combine the flour and salt. Gradually add this dry mixture to the wet ingredients, stirring gently until just combined. Do not overmix; a few lumps are okay!
- Pour the batter into the prepared baking pan, spreading it evenly. Bake in the preheated oven for about 20-25 minutes or until a toothpick inserted in the center comes out with a few moist crumbs (not wet batter).
- While the blondies are baking, prepare the caramel topping. In a saucepan over medium heat, melt the ¼ cup of unsalted butter. Stir in the brown sugar and half-and-half, whisking until the mixture comes to a gentle boil. Continue to cook for about 2-3 minutes, stirring constantly until thickened.
- Remove the saucepan from heat and stir in the vanilla bean paste. Gradually whisk in the sifted confectioners sugar and optional salt until smooth. Set aside to cool slightly.
- Once the blondies are finished baking, remove them from the oven and allow them to cool in the pan for about 10 minutes. Pour the caramel topping over the warm blondies, spreading it evenly with a spatula. Let it set for a few minutes before slicing into squares.
Equipment
- Mixing Bowls
- 9x9-inch baking pan
- Whisk
- Rubber spatula
- Measuring cups and spoons
- Cooling Rack
Notes
- For the best texture, measure your flour properly to prevent dense blondies.
- Allow blondies to cool completely before slicing for cleaner edges.
- Store in an airtight container at room temperature for up to 4 days.


