
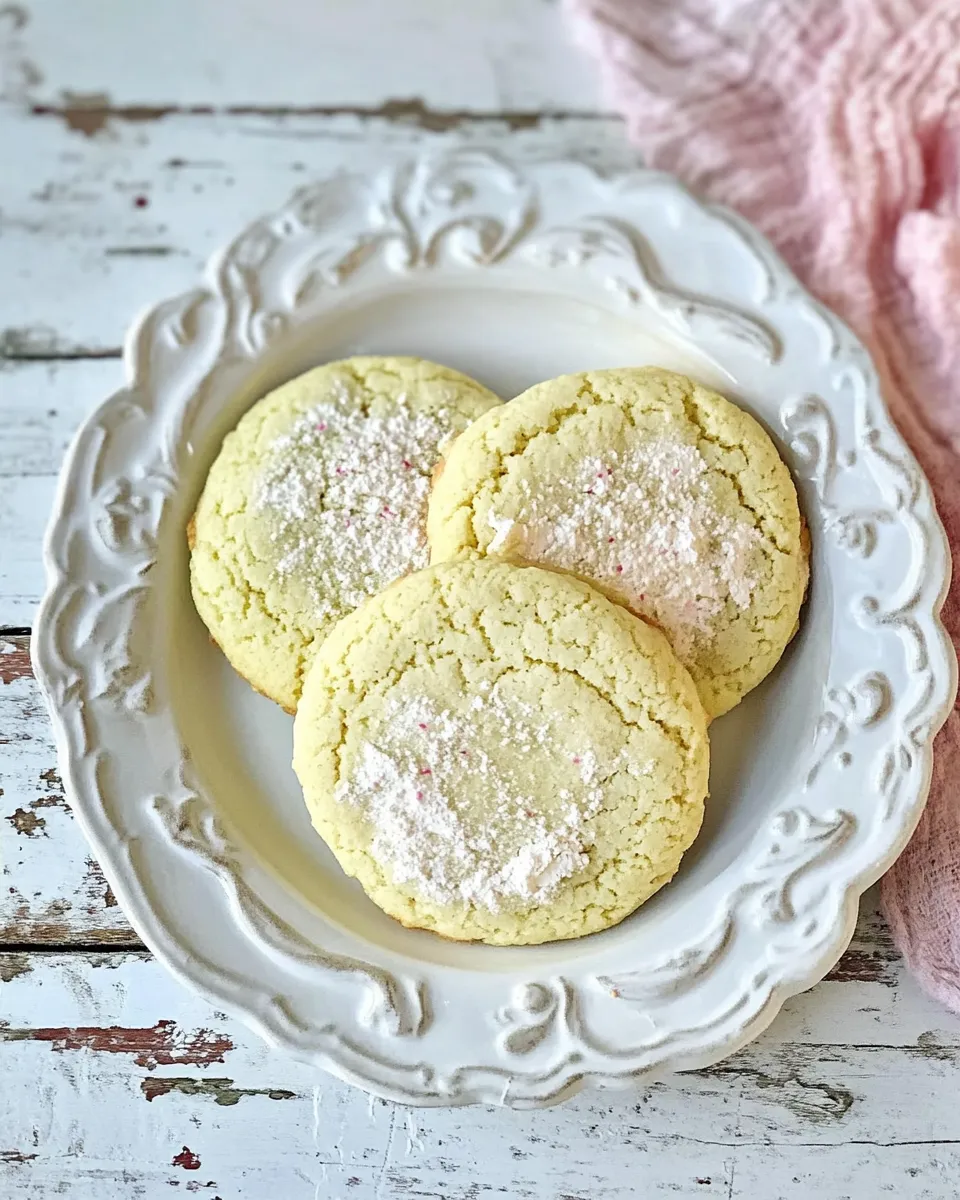
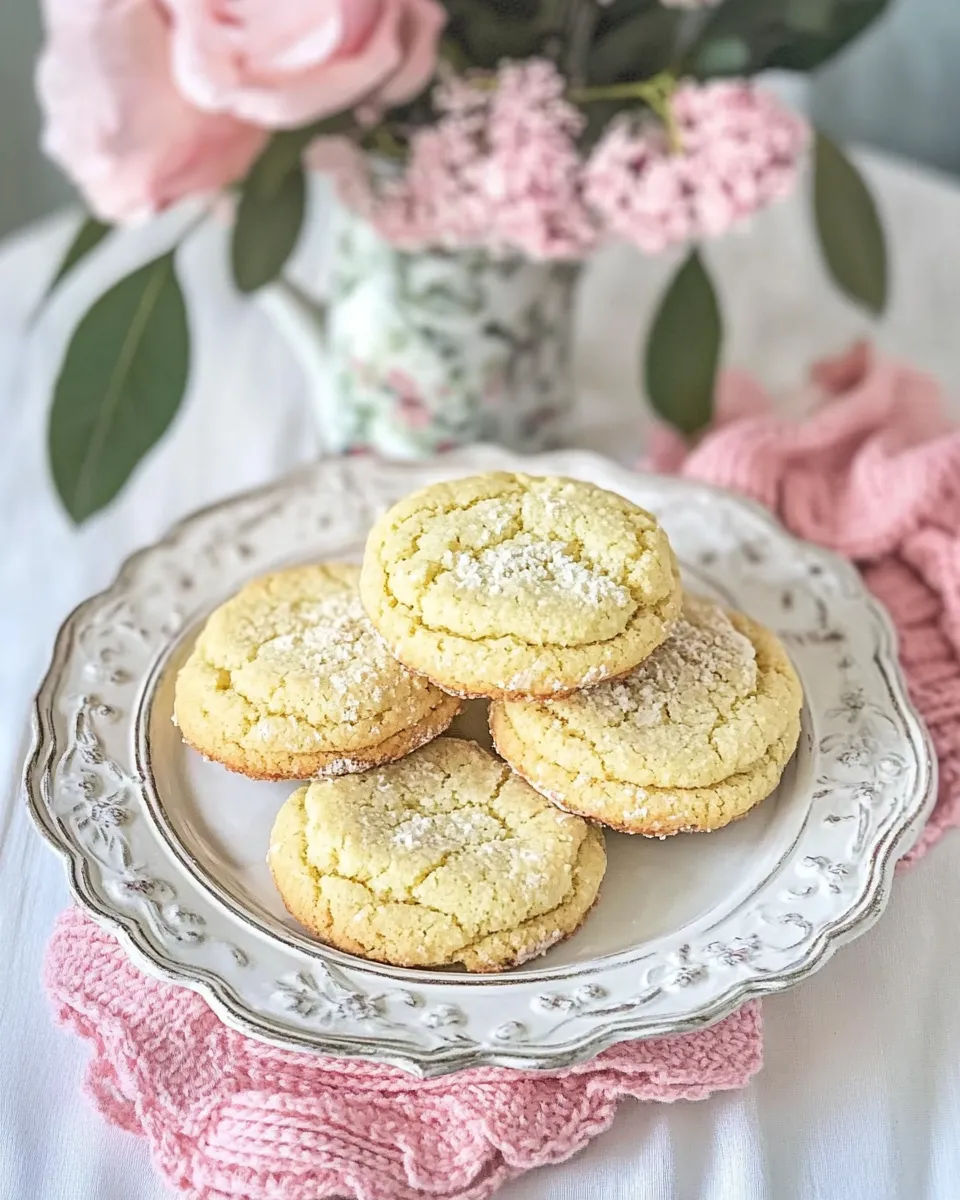
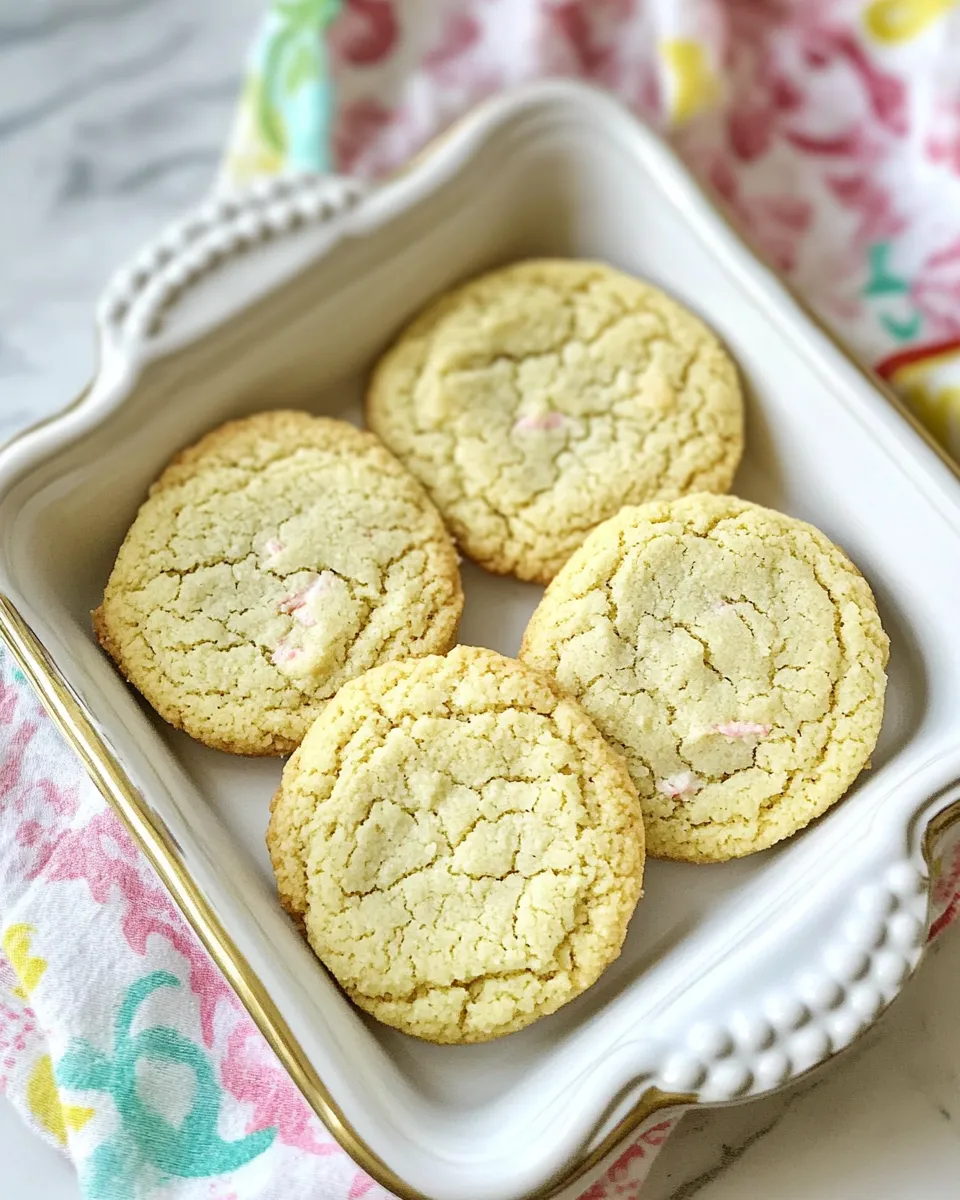
There’s something utterly heartwarming about baking cookies that remind us of our childhood. Granny’s Sour Cream Cookies are one such treat that brings nostalgia with every bite. Soft, tender, and lightly flavored with vanilla and almond, these cookies are a delightful way to indulge in a sweet moment. Whether you enjoy them with a cup of tea or share them at a gathering, each cookie tells a story of love and tradition. Let’s dive into this recipe that has been cherished across generations.
What Sets This Recipe Apart
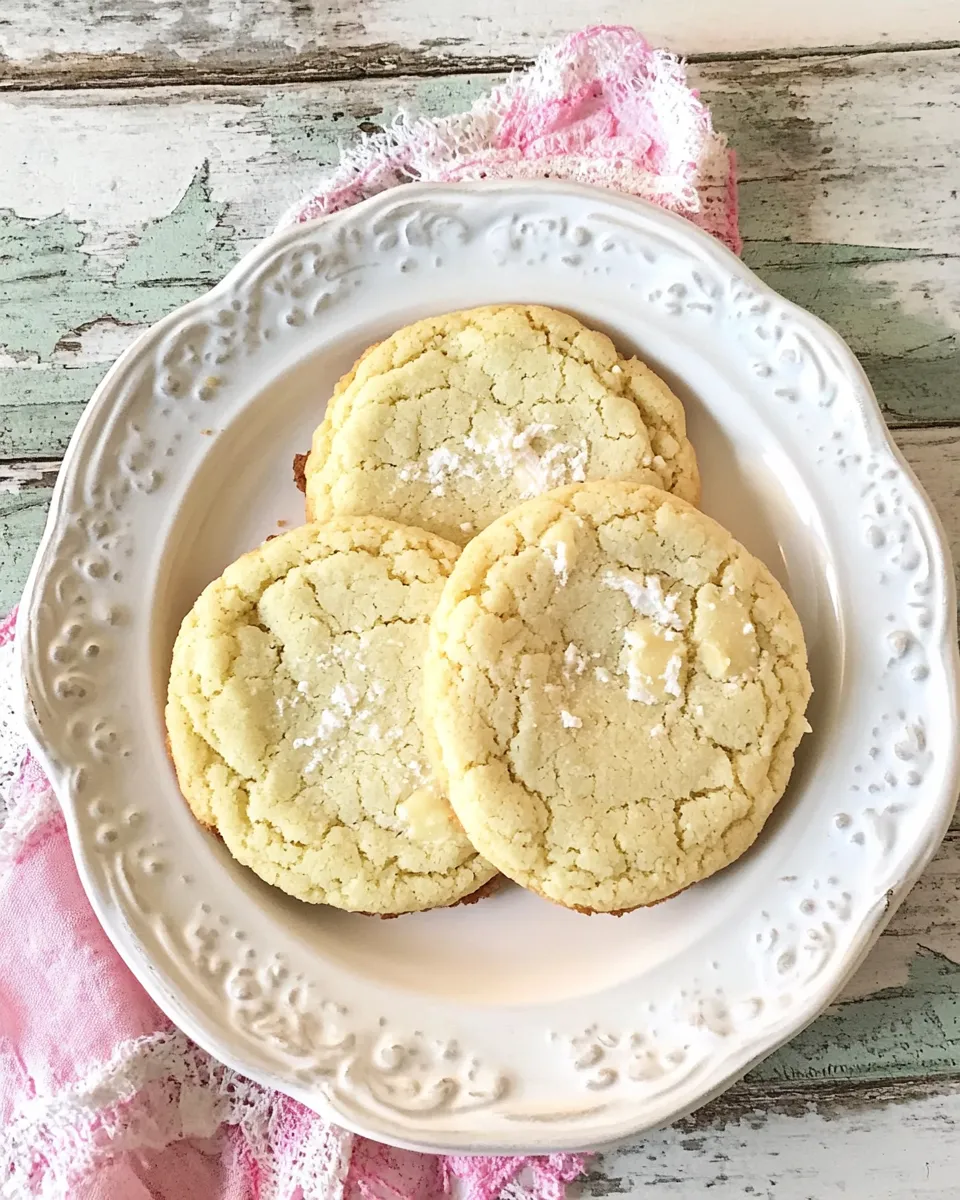
Granny’s Sour Cream Cookies stand out for their unique texture and flavor profile. The addition of sour cream not only provides moisture but also gives these cookies a subtle tang that balances perfectly with the sweetness. They’re soft yet sturdy enough to hold their shape, making them ideal for decorating or enjoying plain. The hint of nutmeg adds warmth, while the blend of vanilla and almond extracts creates a lovely aromatic experience. These cookies are not just treats; they are a celebration of family and tradition.
Ingredient Notes
- Butter: Use 1 cup of unsalted butter at room temperature for a rich flavor.
- Sugar: 1 cup of granulated sugar adds sweetness and helps create a tender texture.
- Egg: One large egg binds the ingredients together.
- Vanilla Extract: 1 teaspoon enhances the overall flavor.
- Almond Extract: 1/2 teaspoon brings a unique nuttiness.
- All-Purpose Flour: 2 cups provide the structure for the cookies.
- Baking Powder: 1 teaspoon helps the cookies rise.
- Baking Soda: 1/2 teaspoon aids in leavening.
- Kosher Salt: 1/2 teaspoon balances the sweetness.
- Table Salt: 1/4 teaspoon enhances flavor.
- Nutmeg: 1/4 teaspoon adds warmth and depth.
- Sour Cream: 1 cup keeps the cookies moist and flavorful.
For the cream cheese frosting:
- Cream Cheese: 1 block at room temperature for a smooth frosting base.
- Butter: 4 tablespoons at room temperature adds richness.
- Powdered Sugar: 4 oz provides sweetness and a smooth texture.
- Sour Cream: 1 tablespoon enhances flavor and creaminess.
- Vanilla Extract: 1/2 teaspoon for added flavor.
- Almond Extract: 1/4 teaspoon complements the frosting.
- Milk: A splash to thin the frosting, if necessary.
Equipment & Tools
- Mixing Bowls: A large bowl for mixing ingredients and a smaller one for the frosting.
- Electric Mixer: Makes creaming the butter and sugar effortless.
- Baking Sheet: A sturdy sheet pan to hold the cookie dough.
- Parchment Paper: For lining the baking sheet and easy cleanup.
- Cooling Rack: Essential for cooling the cookies after baking.
- Spatula: For spreading the frosting smoothly on the cookies.
Stepwise Method: Granny’s Sour Cream Cookies
Step 1: Preheat the Oven
Start by preheating your oven to 350°F (175°C). This ensures that your cookies bake evenly and achieve that perfect golden-brown color.
Step 2: Cream Butter and Sugar
In a large mixing bowl, combine 1 cup of room temperature butter with 1 cup of granulated sugar. Using an electric mixer, cream them together until the mixture is light and fluffy, about 3-5 minutes.
Step 3: Add Egg and Extracts
Add 1 large egg, 1 teaspoon of vanilla extract, and 1/2 teaspoon of almond extract to the butter mixture. Mix until well combined.
Step 4: Combine Dry Ingredients
In a separate bowl, whisk together 2 cups of all-purpose flour, 1 teaspoon of baking powder, 1/2 teaspoon of baking soda, 1/2 teaspoon of kosher salt, 1/4 teaspoon of table salt, and 1/4 teaspoon of nutmeg.
Step 5: Mix Dry Ingredients with Wet Ingredients
Gradually add the dry ingredients to the wet mixture, alternating with 1 cup of sour cream. Start and end with the dry mixture, mixing until just combined. Be careful not to overmix, as this can lead to tough cookies.
Step 6: Scoop and Bake
Using a cookie scoop or a tablespoon, drop spoonfuls of dough onto a baking sheet lined with parchment paper. Leave some space between each cookie, as they will spread while baking. Bake in the preheated oven for 10-12 minutes, or until the edges are lightly golden.
Step 7: Cool the Cookies
Once baked, remove the cookies from the oven and allow them to cool on the baking sheet for a few minutes before transferring them to a cooling rack to cool completely.
Step 8: Make the Cream Cheese Frosting
While the cookies cool, prepare the frosting. In a mixing bowl, combine 1 block of room temperature cream cheese and 4 tablespoons of room temperature butter. Beat until smooth. Gradually add 4 oz of powdered sugar, mixing until combined. Then, add 1 tablespoon of sour cream, 1/2 teaspoon of vanilla extract, and 1/4 teaspoon of almond extract. If the frosting is too thick, add a splash of milk to reach the desired consistency.
Step 9: Frost the Cookies
Once the cookies have cooled completely, generously frost each cookie with the cream cheese frosting using a spatula. Feel free to decorate with sprinkles or nuts for an added touch!
Make It Diet-Friendly
- Gluten-Free: Substitute all-purpose flour with a gluten-free blend.
- Lower Sugar: Use a sugar substitute like erythritol to reduce sugar content.
- Dairy-Free: Replace butter with a plant-based alternative and use a dairy-free cream cheese.
- Vegan: Substitute the egg with a flax egg and use dairy-free alternatives for butter and cream cheese.
Chef’s Rationale
The beauty of Granny’s Sour Cream Cookies lies in their versatility and simplicity. The sour cream not only enriches the flavor but also enhances the texture, keeping the cookies soft and moist even a few days after baking. The combination of vanilla and almond extracts adds depth, making each bite a delightful surprise. Plus, these cookies can be customized with various toppings or enjoyed plain, making them perfect for any occasion. They are a testament to the idea that comfort food doesn’t have to be complicated; sometimes, the simplest recipes are the most cherished.
Shelf Life & Storage
Granny’s Sour Cream Cookies can be stored in an airtight container at room temperature for up to one week. If you want to keep them fresh for a longer period, consider freezing them. Place the cookies in a single layer on a baking sheet, freeze until solid, then transfer them to a freezer-safe bag. They can be kept frozen for up to three months. To enjoy, simply let them thaw at room temperature or warm them in the microwave for a few seconds.
Your Questions, Answered
Can I substitute the sour cream with something else?
Yes, you can use plain Greek yogurt or buttermilk as a substitute. Both will provide similar moisture and tanginess to the cookies.
What can I do if my dough is too sticky?
If your cookie dough feels too sticky, try chilling it in the refrigerator for about 30 minutes. This will make it easier to scoop and shape.
Can I add chocolate chips to this recipe?
Absolutely! Feel free to fold in a cup of chocolate chips or nuts to the dough for an extra treat.
How can I make the frosting more flavorful?
For a more intense flavor, you can add a pinch of salt or a bit more vanilla and almond extract. For a different twist, consider incorporating a bit of citrus zest.
The Takeaway
Granny’s Sour Cream Cookies are more than just a recipe; they are a piece of culinary heritage that brings comfort and joy. With their soft texture, delightful flavor, and versatile nature, they are perfect for any occasion. Whether you choose to enjoy them as is, with frosting, or jazz them up with your favorite mix-ins, these cookies are sure to become a new favorite in your household. So gather your ingredients, channel your inner baker, and create a batch of these delicious cookies that will surely warm your heart and home.

Granny's Sour Cream Cookies
Ingredients
For the Cookies:
- 1 cup Butter unsalted, room temperature
- 1 cup Sugar granulated
- 1 Egg large
- 1 teaspoon Vanilla Extract
- 1/2 teaspoon Almond Extract
- 2 cups All-Purpose Flour
- 1 teaspoon Baking Powder
- 1/2 teaspoon Baking Soda
- 1/2 teaspoon Kosher Salt
- 1/4 teaspoon Table Salt
- 1/4 teaspoon Nutmeg
- 1 cup Sour Cream
For the Cream Cheese Frosting:
- 1 block Cream Cheese room temperature
- 4 tablespoons Butter room temperature
- 4 oz Powdered Sugar
- 1 tablespoon Sour Cream
- 1/2 teaspoon Vanilla Extract
- 1/4 teaspoon Almond Extract
- splash Milk to thin frosting if necessary
Instructions
Stepwise Method:
- Step 1: Preheat the Oven: Start by preheating your oven to 350°F (175°C). This ensures that your cookies bake evenly and achieve that perfect golden-brown color.
- Step 2: Cream Butter and Sugar: In a large mixing bowl, combine 1 cup of room temperature butter with 1 cup of granulated sugar. Using an electric mixer, cream them together until the mixture is light and fluffy, about 3-5 minutes.
- Step 3: Add Egg and Extracts: Add 1 large egg, 1 teaspoon of vanilla extract, and 1/2 teaspoon of almond extract to the butter mixture. Mix until well combined.
- Step 4: Combine Dry Ingredients: In a separate bowl, whisk together 2 cups of all-purpose flour, 1 teaspoon of baking powder, 1/2 teaspoon of baking soda, 1/2 teaspoon of kosher salt, 1/4 teaspoon of table salt, and 1/4 teaspoon of nutmeg.
- Step 5: Mix Dry Ingredients with Wet Ingredients: Gradually add the dry ingredients to the wet mixture, alternating with 1 cup of sour cream. Start and end with the dry mixture, mixing until just combined. Be careful not to overmix, as this can lead to tough cookies.
- Step 6: Scoop and Bake: Using a cookie scoop or a tablespoon, drop spoonfuls of dough onto a baking sheet lined with parchment paper. Leave some space between each cookie, as they will spread while baking. Bake in the preheated oven for 10-12 minutes, or until the edges are lightly golden.
- Step 7: Cool the Cookies: Once baked, remove the cookies from the oven and allow them to cool on the baking sheet for a few minutes before transferring them to a cooling rack to cool completely.
- Step 8: Make the Cream Cheese Frosting: While the cookies cool, prepare the frosting. In a mixing bowl, combine 1 block of room temperature cream cheese and 4 tablespoons of room temperature butter. Beat until smooth. Gradually add 4 oz of powdered sugar, mixing until combined. Then, add 1 tablespoon of sour cream, 1/2 teaspoon of vanilla extract, and 1/4 teaspoon of almond extract. If the frosting is too thick, add a splash of milk to reach the desired consistency.
- Step 9: Frost the Cookies: Once the cookies have cooled completely, generously frost each cookie with the cream cheese frosting using a spatula. Feel free to decorate with sprinkles or nuts for an added touch!
Equipment
- Mixing Bowls
- Electric Mixer
- Baking Sheet
- Parchment Paper
- Cooling Rack
- Spatula
Notes
- For a gluten-free version, substitute all-purpose flour with a gluten-free blend.
- To reduce sugar, consider using a sugar substitute like erythritol.
- Freeze for up to three months for longer storage; thaw at room temperature before enjoying.


