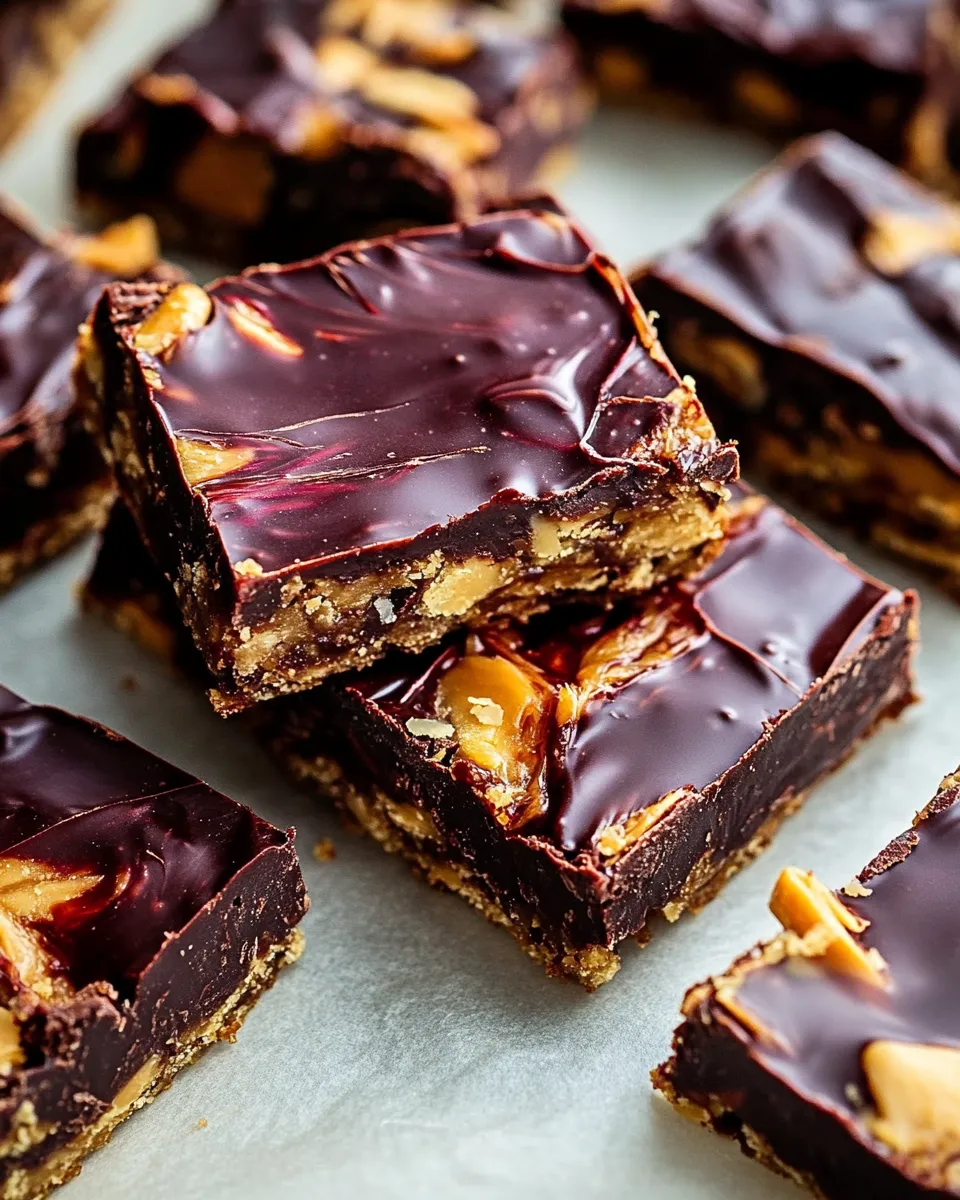
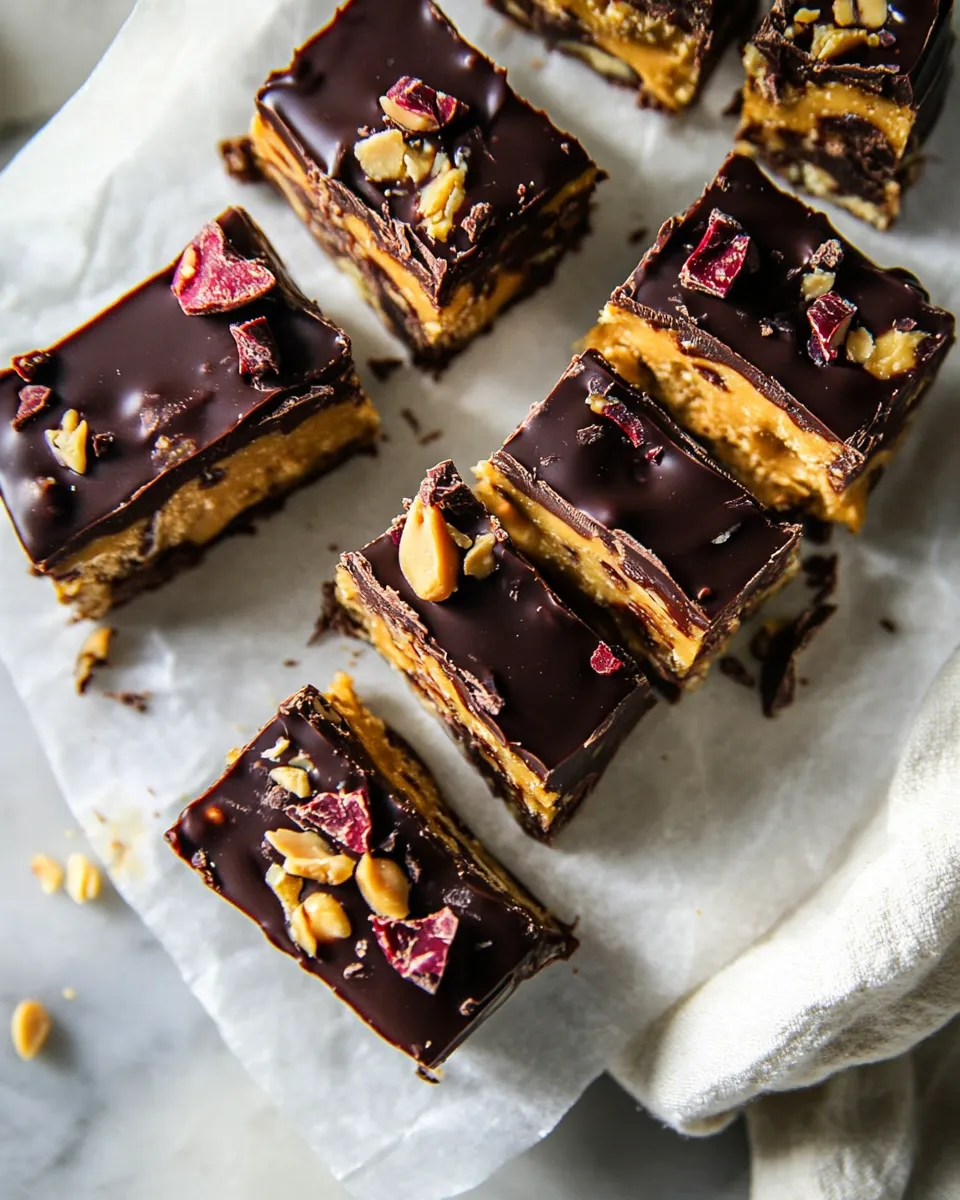
When you’re looking for a sweet treat that combines the rich flavors of chocolate and peanut butter with a satisfying crunch, these Chewy Chocolate Peanut Butter Crunch Bars are the ultimate answer. With their chewy texture, luscious chocolate coating, and a hint of salt, these bars are perfect for satisfying a sweet tooth or serving as a wholesome snack. Made with wholesome ingredients, they are easy to whip up and even easier to devour. Let’s dive into the details of this delightful recipe!
Why This Recipe Is Reliable
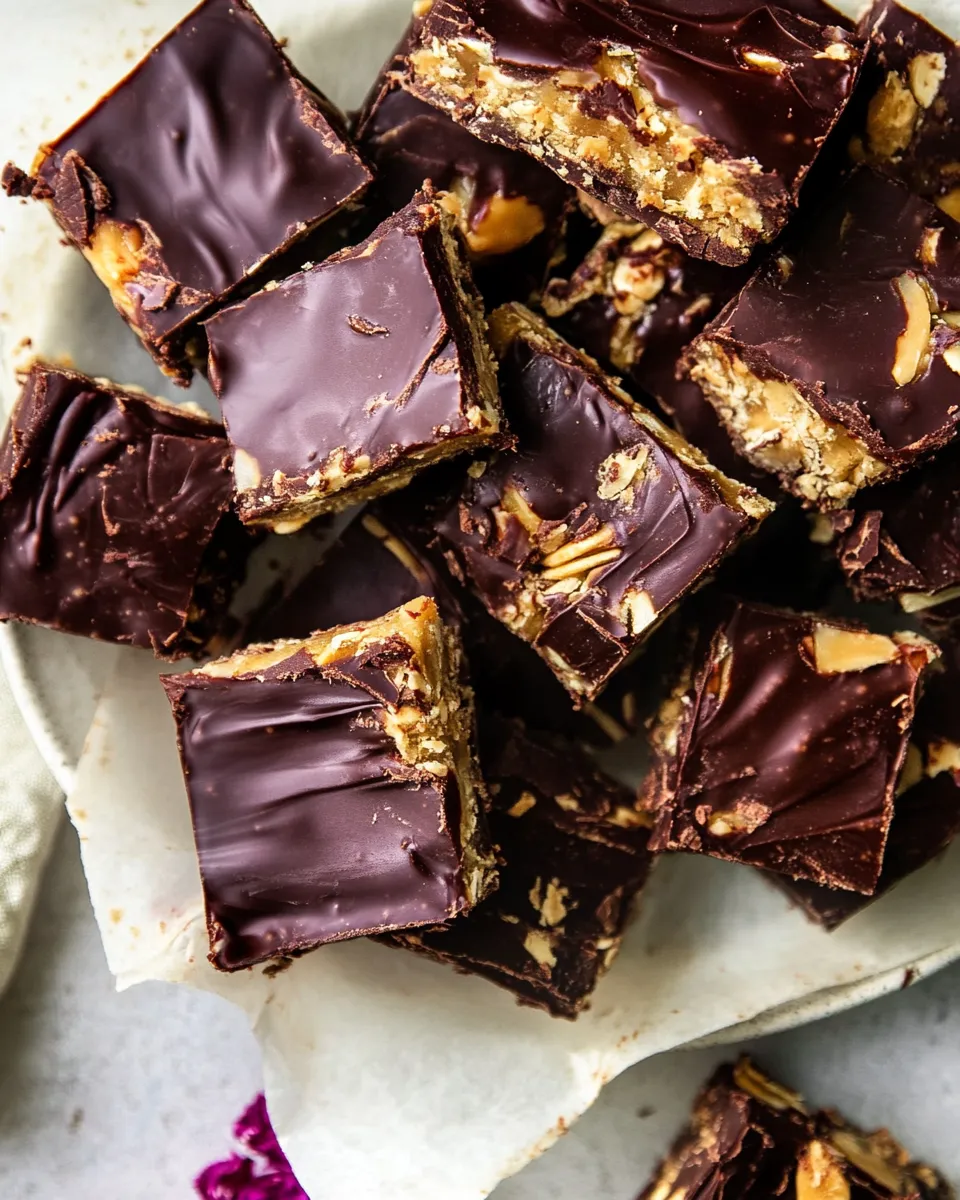
These Chewy Chocolate Peanut Butter Crunch Bars are not just delicious; they are also incredibly versatile and reliable. The combination of dates and peanut butter provides natural sweetness and creaminess, while the corn flakes or brown rice krispies add the perfect crunch. The melted chocolate creates a rich coating that ties everything together. Plus, this recipe is straightforward, making it accessible for bakers of all levels.
The Essentials
To make these bars, you’ll need the following ingredients:
- 2 tablespoons salted butter (optional): This adds a rich flavor and helps with the texture.
- 2 cups organic corn flakes or brown rice krispies: These are the crunchy base that gives the bars their delightful texture.
- 24 plump Medjool dates: These provide natural sweetness and a chewy texture. Make sure they are pitted!
- 3/4 cup creamy peanut butter: Warm this slightly to make it easier to mix and spread.
- 20 ounces semi-sweet or dark chocolate: Melted down to create a luscious coating for the bars.
- Flaky sea salt (optional): A sprinkle on top enhances the flavor and adds a gourmet touch.
Must-Have Equipment
To prepare your Chewy Chocolate Peanut Butter Crunch Bars, gather the following equipment:
- Mixing bowl: For combining the ingredients.
- Spatula: To mix and spread the mixture evenly.
- 9×9-inch baking pan: Perfect size for these bars; line it with parchment paper for easy removal.
- Double boiler or microwave-safe bowl: To melt the chocolate smoothly.
- Sharp knife: For cutting the bars into perfect squares.
Chewy Chocolate Peanut Butter Crunch Bars.: How It’s Done
Step 1: Prepare Your Baking Pan
Start by lining a 9×9-inch baking pan with parchment paper, allowing some overhang on the sides. This will make it easy to lift the bars out once they’re set.
Step 2: Combine the Crunchy Base
In a large mixing bowl, combine the corn flakes or brown rice krispies with the pitted Medjool dates. If you’re using salted butter, melt it and drizzle it over the mixture for an added layer of flavor. Gently fold the ingredients together until combined.
Step 3: Mix in the Peanut Butter
Warm the creamy peanut butter slightly in the microwave for about 20 seconds until it’s easier to stir. Pour the peanut butter over the crunchy base mixture and mix thoroughly until everything is evenly coated.
Step 4: Press the Mixture into the Pan
Transfer the mixture to the prepared baking pan. Using the back of a spatula, press the mixture down firmly to create an even layer. Make sure it’s compact so that the bars hold together well once set.
Step 5: Melt the Chocolate
Using a double boiler or a microwave, melt the semi-sweet or dark chocolate until it’s smooth and glossy. If using the microwave, heat in 30-second intervals, stirring in between to prevent burning.
Step 6: Coat the Crunch Bars
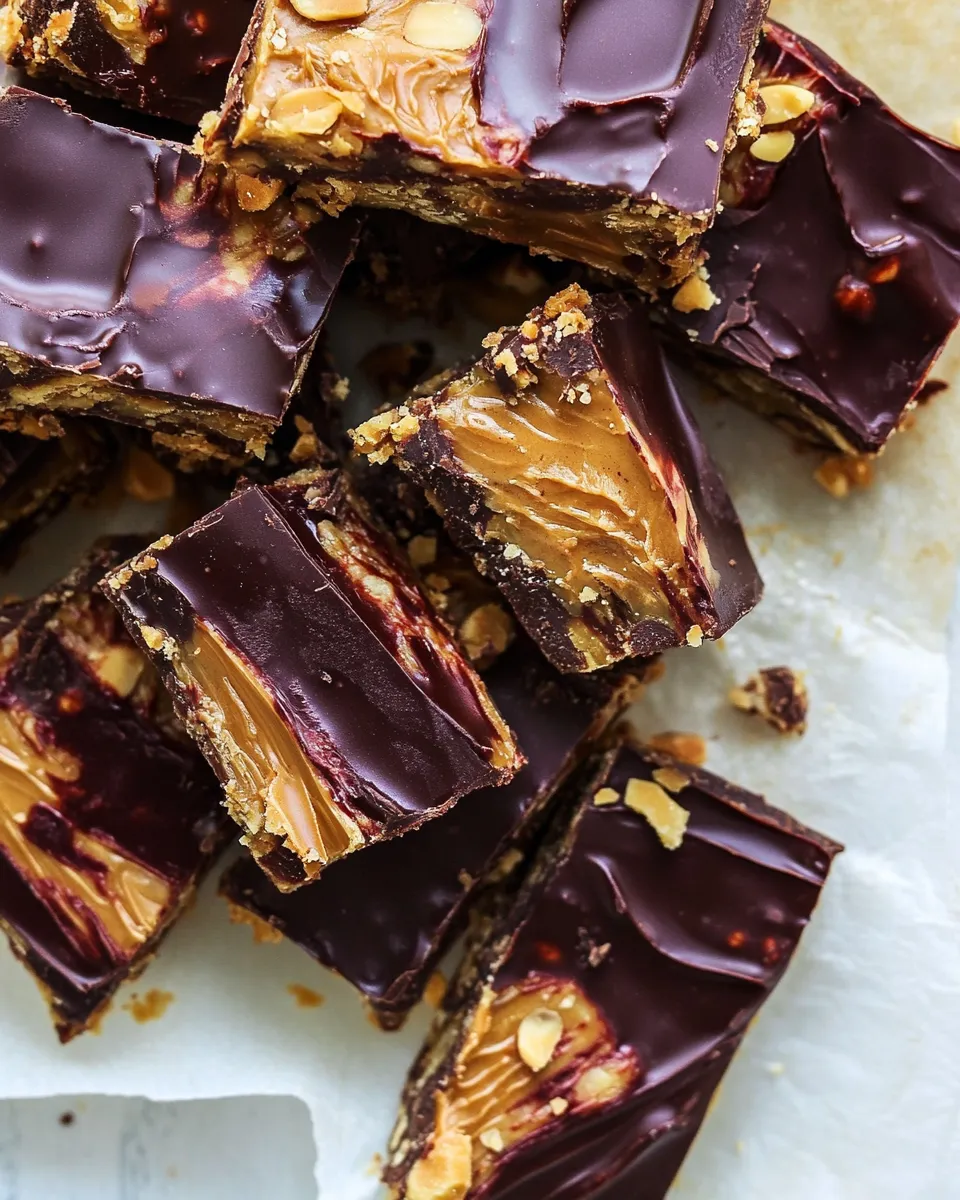
Pour the melted chocolate over the pressed mixture in the baking pan. Use a spatula to spread it evenly across the top. If desired, sprinkle flaky sea salt on top for a delightful contrast.
Step 7: Chill and Set
Place the pan in the refrigerator for about 1-2 hours or until the chocolate is set and the bars are firm to the touch.
Step 8: Cut and Serve
Once set, lift the bars out of the pan using the parchment paper overhang. Use a sharp knife to cut them into squares or rectangles. Enjoy your Chewy Chocolate Peanut Butter Crunch Bars!
Seasonal Twists
These bars are perfect for customization! Here are some seasonal twists you can try:
- Fall: Add a teaspoon of pumpkin spice to the mixture for a cozy autumn flavor.
- Winter: Mix in crushed peppermint candies for a festive touch.
- Spring: Fold in dried cranberries or chopped nuts for added texture and flavor.
- Summer: Incorporate shredded coconut for a tropical twist.
Troubleshooting Tips
If you encounter any issues while making your Chewy Chocolate Peanut Butter Crunch Bars, consider these tips:
- If the mixture feels too dry, try adding a bit more peanut butter or a splash of almond milk to help bind it together.
- If the chocolate is too thick, add a teaspoon of coconut oil when melting for a smoother consistency.
- If the bars are crumbly after cutting, ensure you pressed the mixture firmly in the pan.
- For easier cutting, let the bars sit at room temperature for a few minutes before slicing.
Save It for Later
These Chewy Chocolate Peanut Butter Crunch Bars are perfect for meal prep! Here’s how to store them:
- Keep them in an airtight container in the refrigerator for up to a week.
- You can also freeze the bars. Just wrap them individually in plastic wrap and place them in a freezer-safe bag. They will last for up to 3 months!
- To enjoy frozen bars, simply let them thaw in the fridge for a few hours before serving.
Frequently Asked Questions
Can I use a different type of nut butter?
Absolutely! Almond butter, cashew butter, or any nut butter of your choice can be used in place of peanut butter. Just ensure it’s creamy for the best texture.
Are these bars gluten-free?
Yes, if you use brown rice krispies and ensure your chocolate is gluten-free, these Chewy Chocolate Peanut Butter Crunch Bars can be gluten-free.
Can I make these bars vegan?
To make this recipe vegan, simply omit the butter or use a plant-based alternative, and ensure the chocolate is dairy-free.
How do I make them more chocolatey?
If you prefer a richer chocolate flavor, feel free to add cocoa powder to the mixture or use chocolate chips mixed into the crunchy base.
If you loved making these Chewy Chocolate Peanut Butter Crunch Bars, consider trying these delicious recipes:
Time to Try It
Now that you have all the details on how to make these delectable Chewy Chocolate Peanut Butter Crunch Bars, it’s time to roll up your sleeves and get started! With minimal effort and maximum flavor, these bars are bound to be a hit with family and friends. Whether you’re making them for a special occasion or just as a treat for yourself, they’re sure to bring smiles. Enjoy every chewy, crunchy, chocolatey bite!

Chewy Chocolate Peanut Butter Crunch Bars.
Ingredients
- 2 tablespoons salted butter (optional)
- 2 cups organic corn flakes or brown rice krispies
- 24 Medjool dates (pitted)
- 3/4 cup creamy peanut butter (warmed slightly)
- 20 ounces semi-sweet or dark chocolate (melted)
- Flaky sea salt (optional)
Instructions
- Start by lining a 9x9-inch baking pan with parchment paper, allowing some overhang on the sides.
- In a large mixing bowl, combine the corn flakes or brown rice krispies with the pitted Medjool dates. If using salted butter, melt it and drizzle it over the mixture for added flavor. Gently fold together.
- Warm the creamy peanut butter in the microwave for about 20 seconds, then pour it over the mixture and mix thoroughly until evenly coated.
- Transfer the mixture to the prepared baking pan and press it down firmly with a spatula.
- Melt the semi-sweet or dark chocolate using a double boiler or microwave until smooth.
- Pour the melted chocolate over the pressed mixture and spread it evenly. Sprinkle flaky sea salt on top if desired.
- Refrigerate for 1-2 hours until the chocolate is set and the bars are firm.
- Lift the bars out using the parchment paper overhang and cut them into squares or rectangles.
Equipment
- Mixing Bowl
- Spatula
- 9x9-inch baking pan
- Double boiler or microwave-safe bowl
- Sharp knife
Notes
- Store in an airtight container in the refrigerator for up to a week.
- Wrap individual bars in plastic wrap and freeze for up to 3 months.
- Let frozen bars thaw in the fridge for a few hours before serving.