

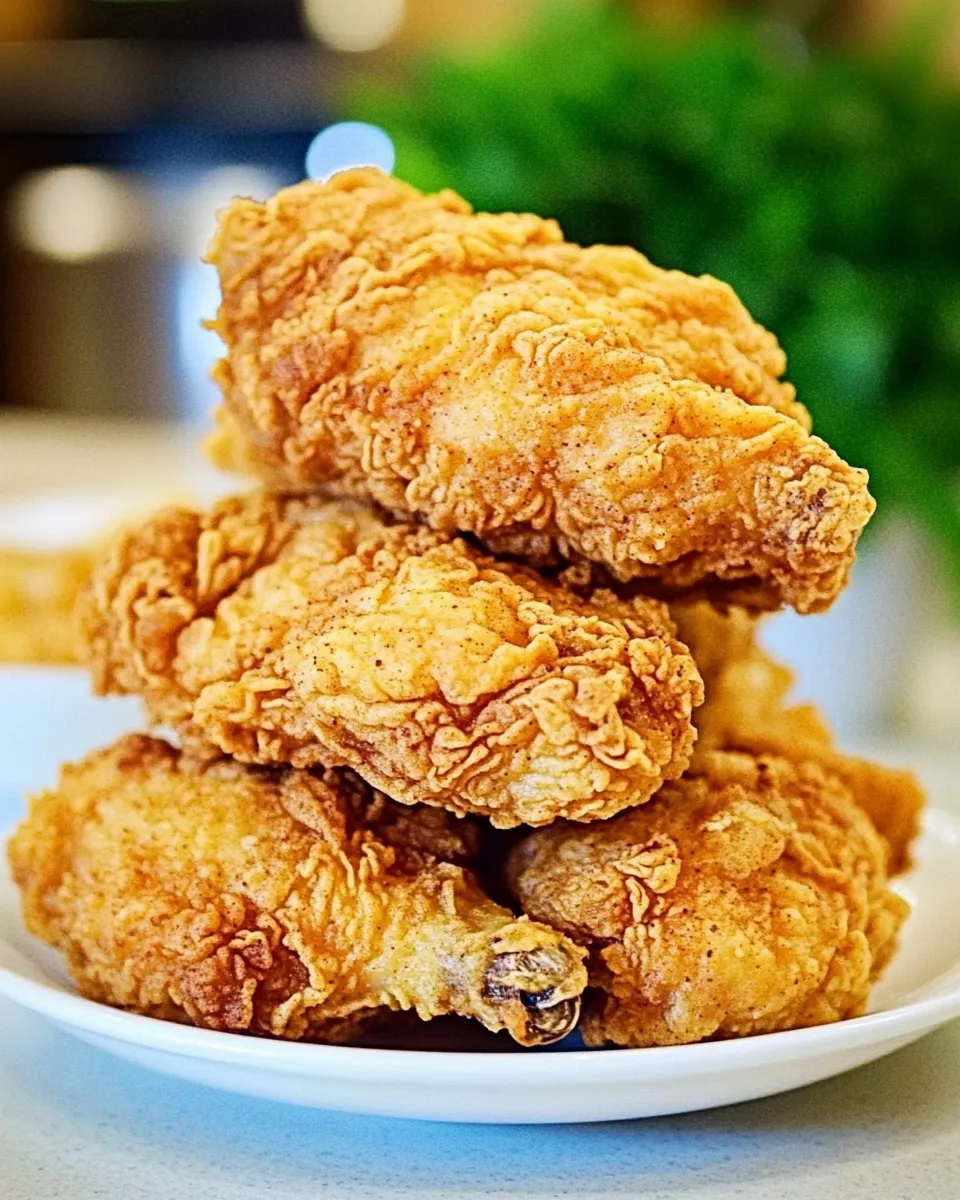
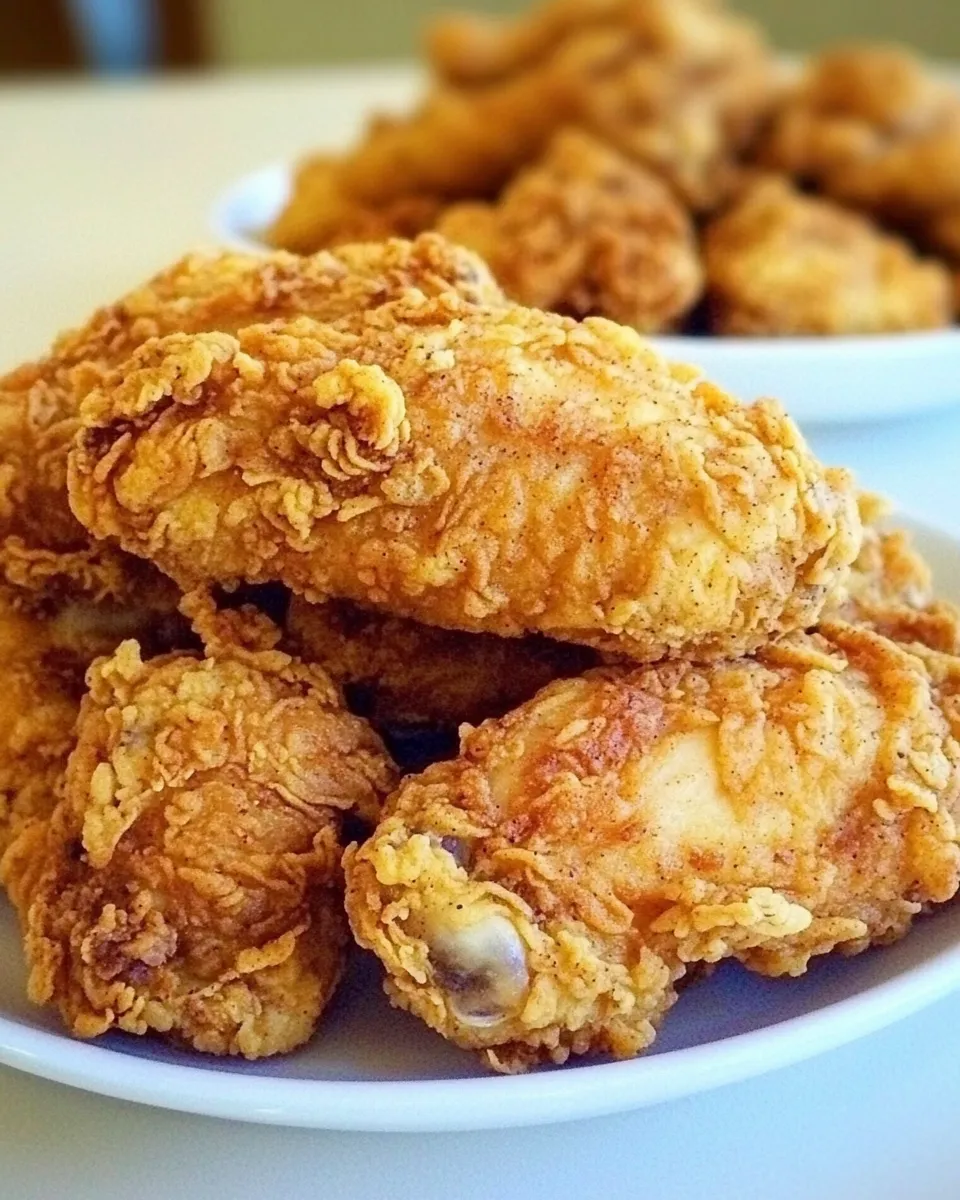
When it comes to comfort food, few dishes can compete with a plate of crispy, juicy fried chicken. The Pioneer Woman’s Buttermilk Fried Chicken takes this classic recipe to new heights with its flavorful marinade and perfectly seasoned coating. This dish is not just a meal; it’s an experience that brings family and friends together around the table, filling the air with mouthwatering aromas and the sound of delighted munching. So, roll up your sleeves and get ready to elevate your fried chicken game!
Why You’ll Keep Making It
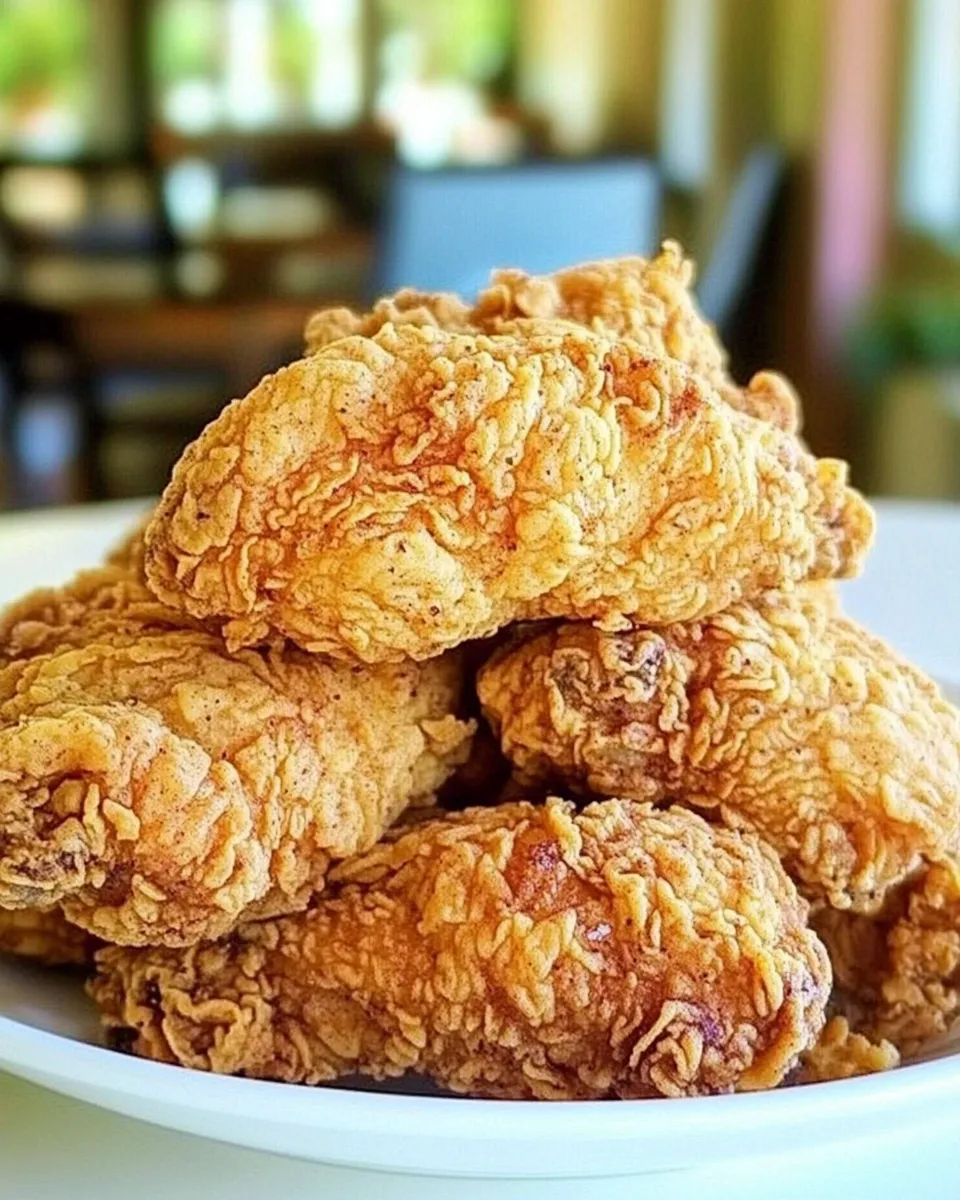
There are countless reasons to keep returning to this recipe. First, the buttermilk marinade tenderizes the chicken, resulting in a juicy, succulent bite every time. The seasoned flour creates a crispy crust that’s simply irresistible. Plus, you can easily adjust the spice levels to cater to your family’s preferences. Whether you’re preparing a cozy dinner or hosting a backyard barbecue, Pioneer Womans Buttermilk Fried Chicken will have your guests clamoring for seconds, if not thirds!
Ingredient Checklist
To make this delicious dish, gather the following ingredients:
- 2 cut-up fryer chickens
- 1 quart plus 1/4 cup buttermilk, divided
- 5 cups all-purpose flour
- 3 tablespoons seasoned salt (like Lawry’s)
- 2 teaspoons black pepper
- 2 teaspoons dried thyme
- 2 teaspoons paprika
- 1 teaspoon cayenne pepper
- 1/4 cup milk
- Canola or vegetable oil for frying
Essential Tools for Success
Before you dive into the frying process, ensure you have these essential tools:
- Large mixing bowls: For marinating the chicken and mixing the flour coating.
- Frying pan or Dutch oven: A heavy-bottomed pan helps maintain the oil temperature for even frying.
- Cooking thermometer: To check the oil temperature and ensure perfectly crispy chicken.
- Tongs: For easy handling of the chicken while frying.
- Wire rack: To drain excess oil after frying and keep the chicken crispy.
From Start to Finish: Pioneer Womans Buttermilk Fried Chicken
Getting your hands on this succulent fried chicken is easier than you think! Follow these simple steps:
Step 1: Marinate the Chicken
In a large mixing bowl, combine 1 quart of buttermilk with the cut-up chicken. Make sure each piece is well-coated. Cover and refrigerate for at least 4 hours, or overnight if you have the time. This step is crucial for flavor and tenderness!
Step 2: Prepare the Coating
In another large bowl, whisk together the flour, seasoned salt, black pepper, dried thyme, paprika, and cayenne pepper. This blend is where the magic happens, giving your chicken that signature flavor.
Step 3: Set Up Your Frying Station
Place the bowl of seasoned flour next to the bowl of marinated chicken. In a separate bowl, pour in the remaining 1/4 cup of buttermilk and the 1/4 cup of milk, whisking until smooth. This will be used for dipping.
Step 4: Dredge the Chicken
Remove each piece of chicken from the buttermilk marinade, allowing excess liquid to drip off. Dip it into the buttermilk and milk mixture, then into the seasoned flour, making sure to coat each piece thoroughly. Shake off any excess flour and set aside on a wire rack.
Step 5: Heat the Oil
In a large frying pan or Dutch oven, pour in enough oil to cover the bottom of the pan by about 1.5 inches. Heat the oil over medium heat until it reaches 350°F (175°C). If you don’t have a thermometer, drop a small piece of the flour mixture into the oil; if it bubbles immediately, you’re ready to fry!
Step 6: Fry the Chicken
Carefully add the coated chicken pieces to the hot oil, making sure not to overcrowd the pan. Fry in batches if necessary. Cook for about 12-15 minutes on one side, or until golden brown, then flip and fry for another 10-12 minutes. The internal temperature should reach 165°F (74°C).
Step 7: Drain and Serve
Once cooked, transfer the chicken to a wire rack placed over a baking sheet to drain excess oil. Let it rest for a few minutes before serving. This will help keep the coating crispy!
Easy Ingredient Swaps
If you’re missing some ingredients or want to customize your fried chicken, consider these easy swaps:
- Use buttermilk substitute: Mix regular milk with a tablespoon of vinegar or lemon juice for a quick homemade buttermilk.
- Flour alternatives: For a gluten-free option, use a gluten-free all-purpose flour blend.
- Seasoned salt substitute: If you don’t have seasoned salt, mix regular salt with garlic powder, onion powder, and a pinch of paprika.
- Oil alternatives: You can use peanut or avocado oil for frying if you prefer.
Pitfalls & How to Prevent Them
To ensure a successful frying experience, keep these common pitfalls in mind:
- Overcrowding the pan: This can lower the oil temperature, resulting in soggy chicken. Fry in batches for best results.
- Oil temperature: If the oil is too hot, the coating will burn before the chicken cooks through. If it’s too low, the chicken will absorb too much oil. Use a thermometer for accuracy.
- Skipping the marinade: Marinating is essential for flavor and tenderness. Don’t rush this step!
- Not letting the chicken rest: Allowing the chicken to rest after frying helps maintain its crispiness.
Freezer-Friendly Notes
Pioneer Womans Buttermilk Fried Chicken can be a great dish to prepare in advance. Here are some tips for freezing:
Once the chicken has cooled completely, wrap it tightly in plastic wrap and then in aluminum foil. This method will help prevent freezer burn. You can freeze the chicken for up to 3 months. To reheat, bake it in a preheated oven at 400°F (200°C) until heated through and crispy, about 25-30 minutes.
Quick Questions
Can I use chicken thighs or drumsticks instead of a whole fryer chicken?
Absolutely! Feel free to use any cut of chicken you prefer. Just adjust the cooking time based on the size of the chicken pieces.
How do I know when my chicken is fully cooked?
The best way to check is by using a meat thermometer. The internal temperature should reach 165°F (74°C) for safe consumption.
Can I make this recipe ahead of time?
Yes! You can marinate the chicken a day in advance and fry it just before serving. You can also freeze fried chicken for later enjoyment.
What should I serve with Pioneer Womans Buttermilk Fried Chicken?
This fried chicken pairs wonderfully with classic sides like coleslaw, mashed potatoes, or cornbread. Don’t forget a drizzle of honey for a sweet contrast!
Before You Go
The journey of making Pioneer Womans Buttermilk Fried Chicken is a rewarding one, filled with delightful flavors and joyous moments. This dish not only satisfies your cravings but also brings people together. So, whether you’re cooking for a special occasion or just a casual weeknight dinner, this recipe is sure to impress.
Let the crispy, flavorful chicken take center stage at your table, and watch as everyone digs in with smiles on their faces. Happy cooking!
Pioneer Womans Buttermilk Fried Chicken
Ingredients
For the Chicken:
- 1 quart plus 1/4 cup buttermilk divided
- 5 cups all-purpose flour
- 3 tablespoons seasoned salt (like Lawry's)
- 2 teaspoons black pepper
- 2 teaspoons dried thyme
- 2 teaspoons paprika
- 1 teaspoon cayenne pepper
- 1/4 cup milk
- Canola or vegetable oil for frying
Instructions
Marinating and Frying:
- In a large mixing bowl, combine 1 quart of buttermilk with the cut-up chicken. Cover and refrigerate for at least 4 hours, or overnight.
- In another bowl, whisk together the flour, seasoned salt, black pepper, dried thyme, paprika, and cayenne pepper.
- Set up your frying station with the bowl of seasoned flour and a mixture of the remaining buttermilk and milk in a separate bowl.
- Dredge the chicken pieces in the buttermilk mixture, then coat in the seasoned flour and set aside on a wire rack.
- Heat oil in a large frying pan or Dutch oven over medium heat until it reaches 350°F (175°C).
- Carefully add the coated chicken pieces to the hot oil and fry for about 12-15 minutes on one side, then flip and fry for another 10-12 minutes.
- Transfer the chicken to a wire rack placed over a baking sheet to drain excess oil and let it rest before serving.
Equipment
- Large mixing bowls
- Frying pan or Dutch oven
- Cooking thermometer
- Tongs
- Wire Rack
Notes
- Make sure to marinate the chicken for tenderness and flavor.
- Fry in batches to avoid overcrowding the pan.
- Use a thermometer to ensure the oil is at the right temperature for frying.


