

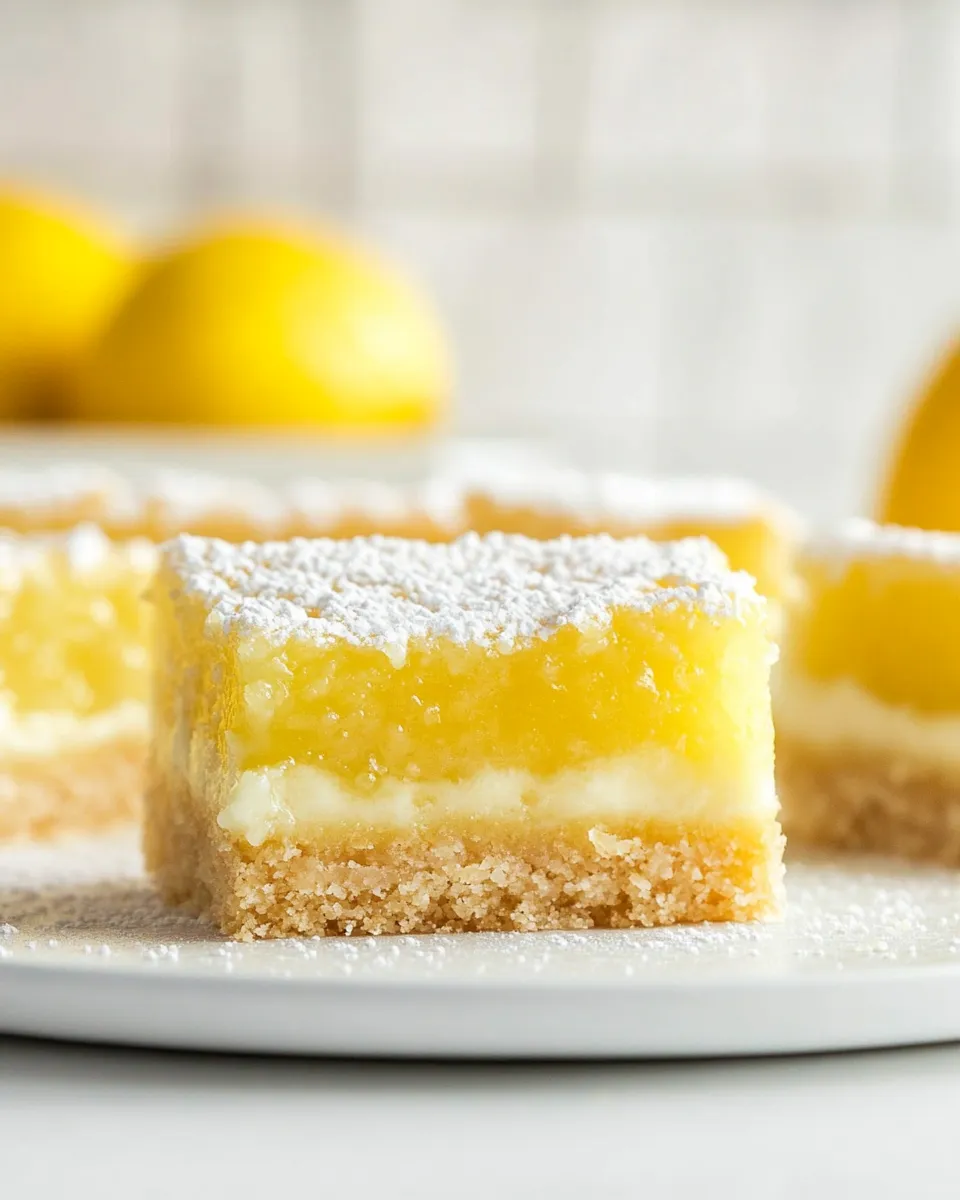
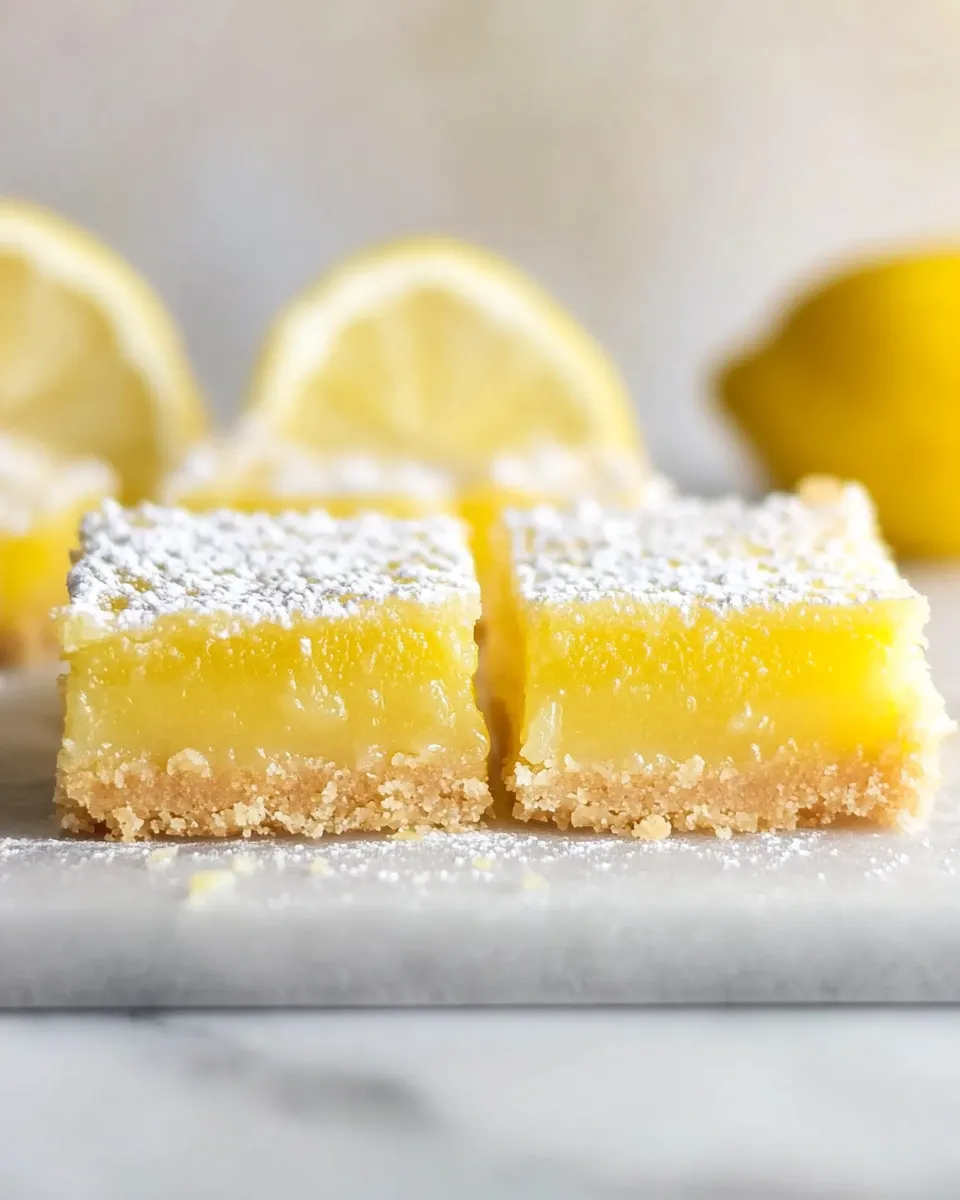
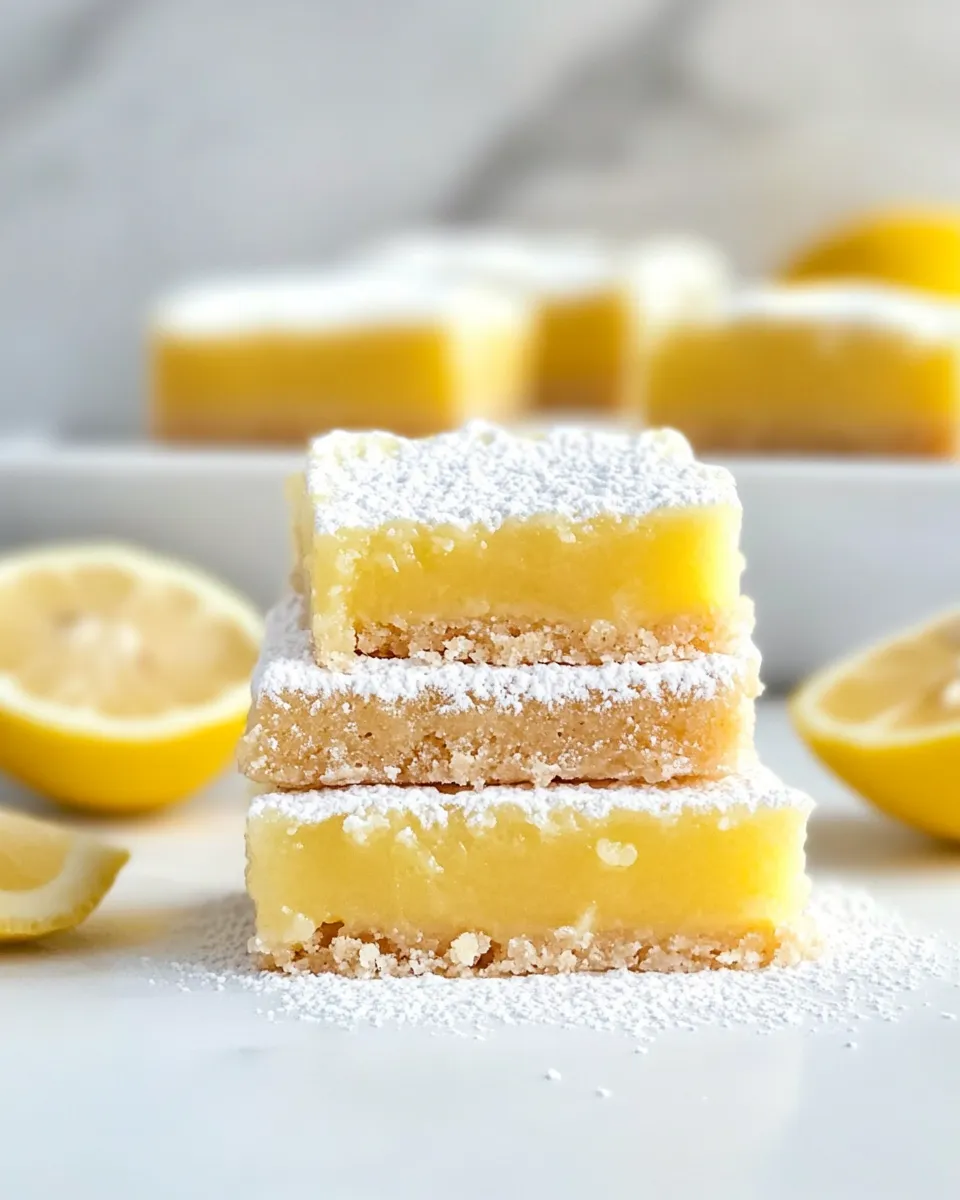
There’s something undeniably refreshing about a bright, zesty lemon bar, especially when it’s gluten-free. These Gluten Free Lemon Bars are not just a delicious treat for those with dietary restrictions; they are a delightful dessert that everyone will love. With a buttery crust and a tangy lemon filling, these bars are perfect for any occasion, whether it’s a summer picnic or a cozy evening at home. Let’s dive into the details of this fabulous recipe!
Why This Recipe Belongs in Your Rotation
Gluten Free Lemon Bars are a must-have in any dessert repertoire. They are simple to make, require minimal ingredients, and offer a delightful balance of sweetness and tartness. Moreover, they can be enjoyed by anyone, regardless of dietary preferences. Here are a few reasons why you should add them to your baking rotation:
- Easy to make: The recipe is straightforward, making it perfect for both novice and experienced bakers.
- Versatile: Serve them at parties, picnics, or just as a sweet treat at home.
- Customizable: Adjust the sweetness or experiment with flavors like coconut or ginger for a unique twist.
- Healthier option: With gluten-free ingredients, they cater to various dietary needs while still being indulgent.
Gather These Ingredients
Before you start baking these scrumptious Gluten Free Lemon Bars, make sure you have the following ingredients on hand:
- 1 cup gluten free flour (222 grams) – This forms the base of both the crust and the filling.
- 1/2 cup granulated sugar (100 grams) – Sweetens the crust and balances the tartness of the lemon.
- 1 cup salted butter (113 grams, cold and cut into pieces) – Provides richness and helps bind the crust.
- 2 tablespoons water (28 grams) – Helps bring the crust together.
- 1 cup granulated sugar (300 grams) – Used in the filling for sweetness.
- 1/2 cup lemon juice (114 grams, from about 4 lemons) – The star ingredient that gives the bars their tangy flavor.
- 2 tablespoons grated lemon zest (12 grams, from about 2 lemons) – Enhances the lemon flavor.
- 4 large eggs (200 grams, lightly beaten) – Provides structure and richness to the filling.
- 1/4 cup gluten free flour (37 grams) – Helps thicken the filling.
- Powdered sugar (optional) – For dusting on top before serving.
Tools of the Trade
Gather the following tools to make your baking experience smoother:
- Mixing bowls: For combining ingredients easily.
- Whisk: Perfect for beating the eggs and mixing the filling.
- 9×9 inch baking pan: Ideal for baking your lemon bars to perfection.
- Parchment paper: Helps with easy removal of the bars from the pan.
- Measuring cups and spoons: Ensures accurate ingredient measurements for the best results.
Gluten Free Lemon Bars Made Stepwise
Let’s get to the fun part: baking! Follow these steps to create your delicious Gluten Free Lemon Bars:
Step 1: Prepare the Crust
Preheat your oven to 350°F (175°C). In a medium bowl, mix together 1 cup of gluten free flour and 1/2 cup of granulated sugar. Add the cold, cut-up salted butter and use your fingers or a pastry cutter to blend until the mixture resembles coarse crumbs. Add 2 tablespoons of water and mix until the dough comes together. Press the dough into the bottom of a greased 9×9 inch baking pan, ensuring an even layer.
Step 2: Bake the Crust
Place the pan in the preheated oven and bake for 15-20 minutes until lightly golden. Keep an eye on it to prevent over-browning.
Step 3: Prepare the Filling
While the crust is baking, whisk together 1 cup of granulated sugar, 1/2 cup of lemon juice, 2 tablespoons of lemon zest, and 4 lightly beaten eggs in a large bowl. Add 1/4 cup of gluten free flour and mix until smooth and well combined.
Step 4: Combine and Bake
Once the crust is done, pour the lemon filling over the hot crust. Return the pan to the oven and bake for an additional 20-25 minutes, or until the filling is set and slightly firm to the touch.
Step 5: Cool and Serve
Remove the bars from the oven and let them cool in the pan. Once cool, refrigerate for at least 2 hours to allow them to firm up. When ready to serve, dust with powdered sugar if desired, cut into squares, and enjoy!
Smart Substitutions
If you’re looking to customize your Gluten Free Lemon Bars, consider these substitutions:
- Butter: Use coconut oil or a dairy-free butter alternative for a dairy-free version.
- Sugar: Replace granulated sugar with coconut sugar or a sugar substitute if you prefer lower glycemic options.
- Lemon Juice: Lime juice can be used for a different citrus flavor.
- Eggs: Substitute eggs with flaxseed meal mixed with water (1 tablespoon ground flaxseed + 2.5 tablespoons water for each egg) for a vegan version.
Flavor Logic
The beauty of Gluten Free Lemon Bars lies in their harmonious flavor profile. The sweetness of the sugar balances the tartness of the lemon, while the butter adds a richness that rounds out the overall taste. The lemon zest infuses the bars with a vibrant aroma, making every bite a delightful experience.
- Acidity: The lemon juice provides a refreshing tartness that cuts through the sweetness.
- Texture: The buttery crust contrasts beautifully with the smooth lemon filling, creating a satisfying bite.
- Freshness: Using fresh lemons enhances the flavor far beyond bottled juice.
Store, Freeze & Reheat
To keep your Gluten Free Lemon Bars fresh and delicious, follow these storage tips:
Store the bars in an airtight container in the refrigerator for up to a week. For longer storage, you can freeze them. Wrap individual bars in plastic wrap and place them in a freezer-safe container. They will last up to 3 months in the freezer. To reheat, simply thaw in the refrigerator overnight and enjoy cold, or warm them in the microwave for a few seconds for a cozy treat.
Ask the Chef
Can I use a different type of flour?
Yes, you can use other gluten-free flours, but make sure they are suitable for baking. A blend of almond flour and coconut flour can work well, though the texture may vary.
What if I don’t have fresh lemons? Can I use bottled lemon juice?
While fresh lemons provide the best flavor, bottled lemon juice can be used in a pinch. Just be aware that the flavor may not be as vibrant.
How can I tell when the filling is set?
The filling should be slightly firm to the touch and not jiggle when you gently shake the pan. It will continue to set as it cools.
Can I make these lemon bars ahead of time?
Absolutely! These bars can be made a day in advance. Just be sure to refrigerate them and allow them to cool completely before serving.
If you love these Gluten Free Lemon Bars, here are some more delightful recipes to try:
Let’s Eat
Now that your Gluten Free Lemon Bars are ready, it’s time to dig in! Serve them chilled, dusted with powdered sugar, and enjoy the burst of citrus flavor with every delightful bite. Whether for a special occasion or just a treat for yourself, these bars are sure to brighten your day. Happy baking!

Gluten Free Lemon Bars
Ingredients
For the Crust:
- 1 cup gluten free flour
- 1/2 cup granulated sugar
- 1 cup salted butter cold and cut into pieces
- 2 tablespoons water
For the Filling:
- 1 cup granulated sugar
- 1/2 cup lemon juice from about 4 lemons
- 2 tablespoons grated lemon zest from about 2 lemons
- 4 large eggs lightly beaten
- 1/4 cup gluten free flour for thickening the filling
- Powdered sugar optional, for dusting on top before serving
Instructions
Instructions:
- Preheat your oven to 350°F (175°C). In a medium bowl, mix together 1 cup of gluten free flour and 1/2 cup of granulated sugar. Add the cold, cut-up salted butter and use your fingers or a pastry cutter to blend until the mixture resembles coarse crumbs. Add 2 tablespoons of water and mix until the dough comes together. Press the dough into the bottom of a greased 9x9 inch baking pan, ensuring an even layer.
- Place the pan in the preheated oven and bake for 15-20 minutes until lightly golden. Keep an eye on it to prevent over-browning.
- While the crust is baking, whisk together 1 cup of granulated sugar, 1/2 cup of lemon juice, 2 tablespoons of lemon zest, and 4 lightly beaten eggs in a large bowl. Add 1/4 cup of gluten free flour and mix until smooth and well combined.
- Once the crust is done, pour the lemon filling over the hot crust. Return the pan to the oven and bake for an additional 20-25 minutes, or until the filling is set and slightly firm to the touch.
- Remove the bars from the oven and let them cool in the pan. Once cool, refrigerate for at least 2 hours to allow them to firm up. When ready to serve, dust with powdered sugar if desired, cut into squares, and enjoy!
Equipment
- Mixing Bowls
- Whisk
- 9x9-inch baking pan
- Parchment Paper
- Measuring cups and spoons
Notes
- Store bars in an airtight container in the refrigerator for up to a week.
- Freeze individually wrapped bars for up to 3 months.
- Enjoy cold or warm them in the microwave for a cozy treat.


