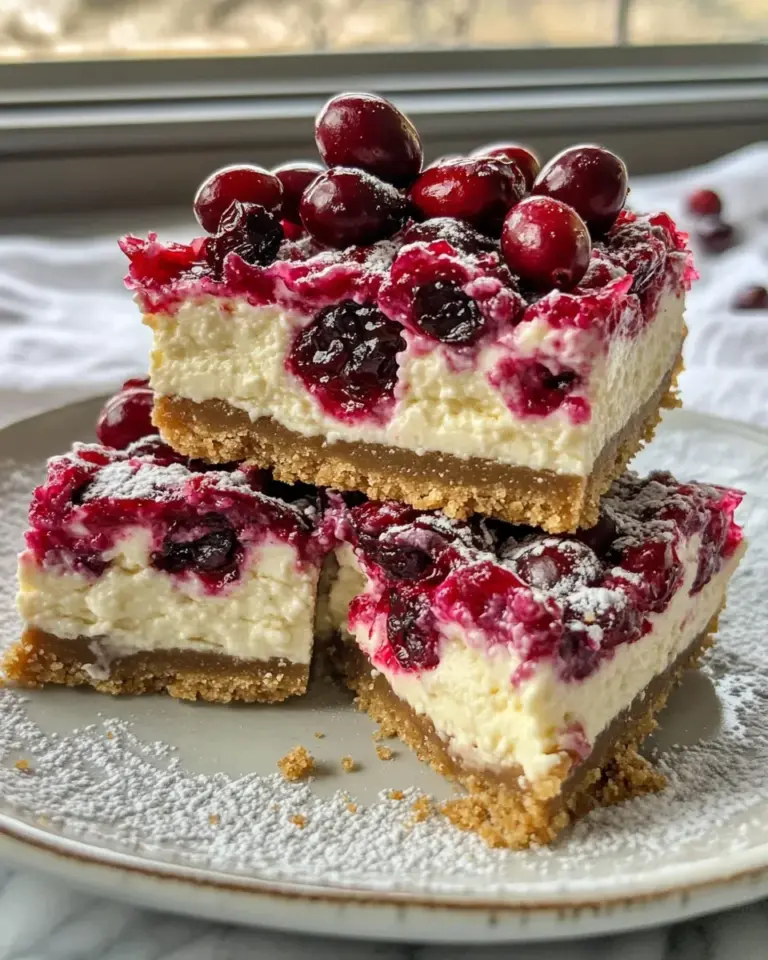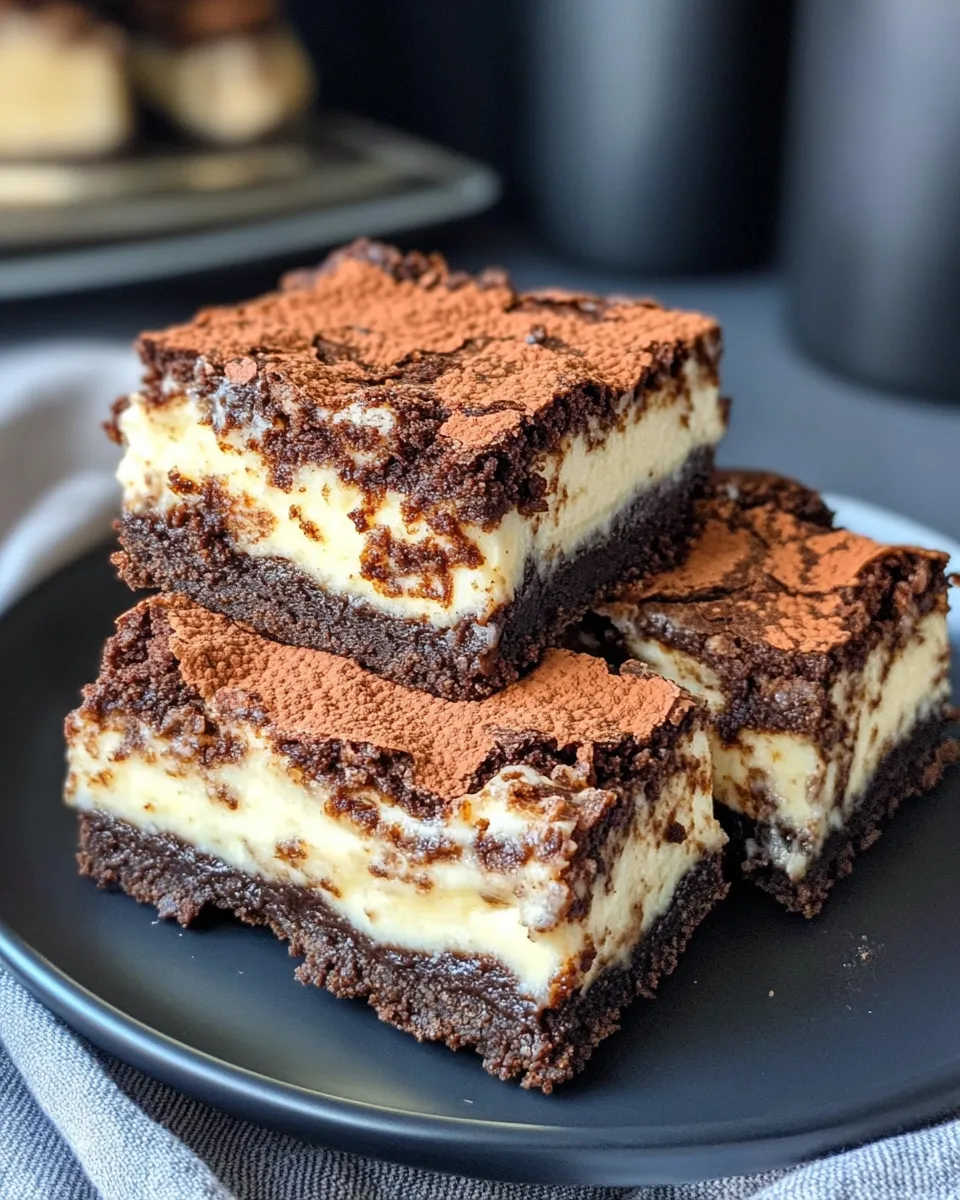
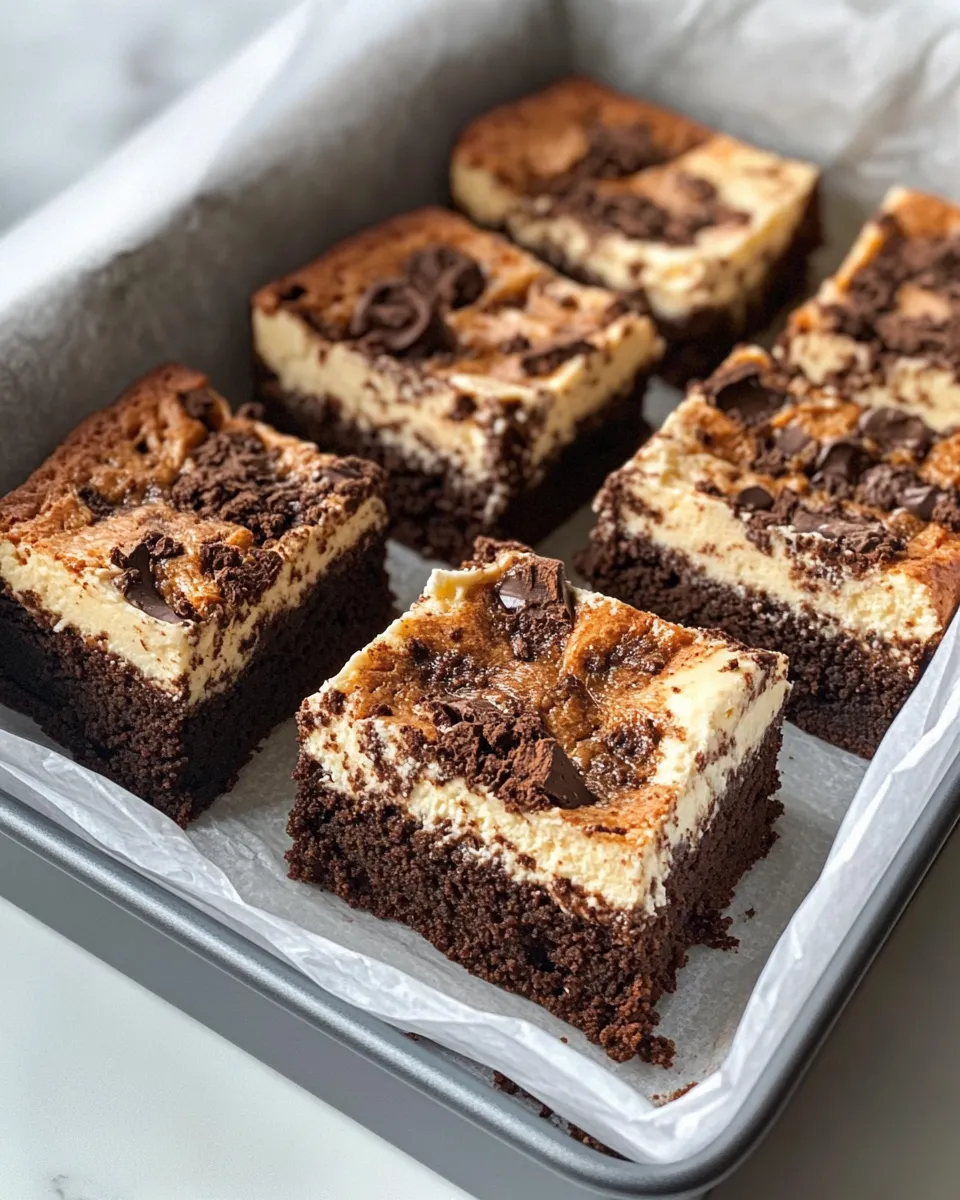
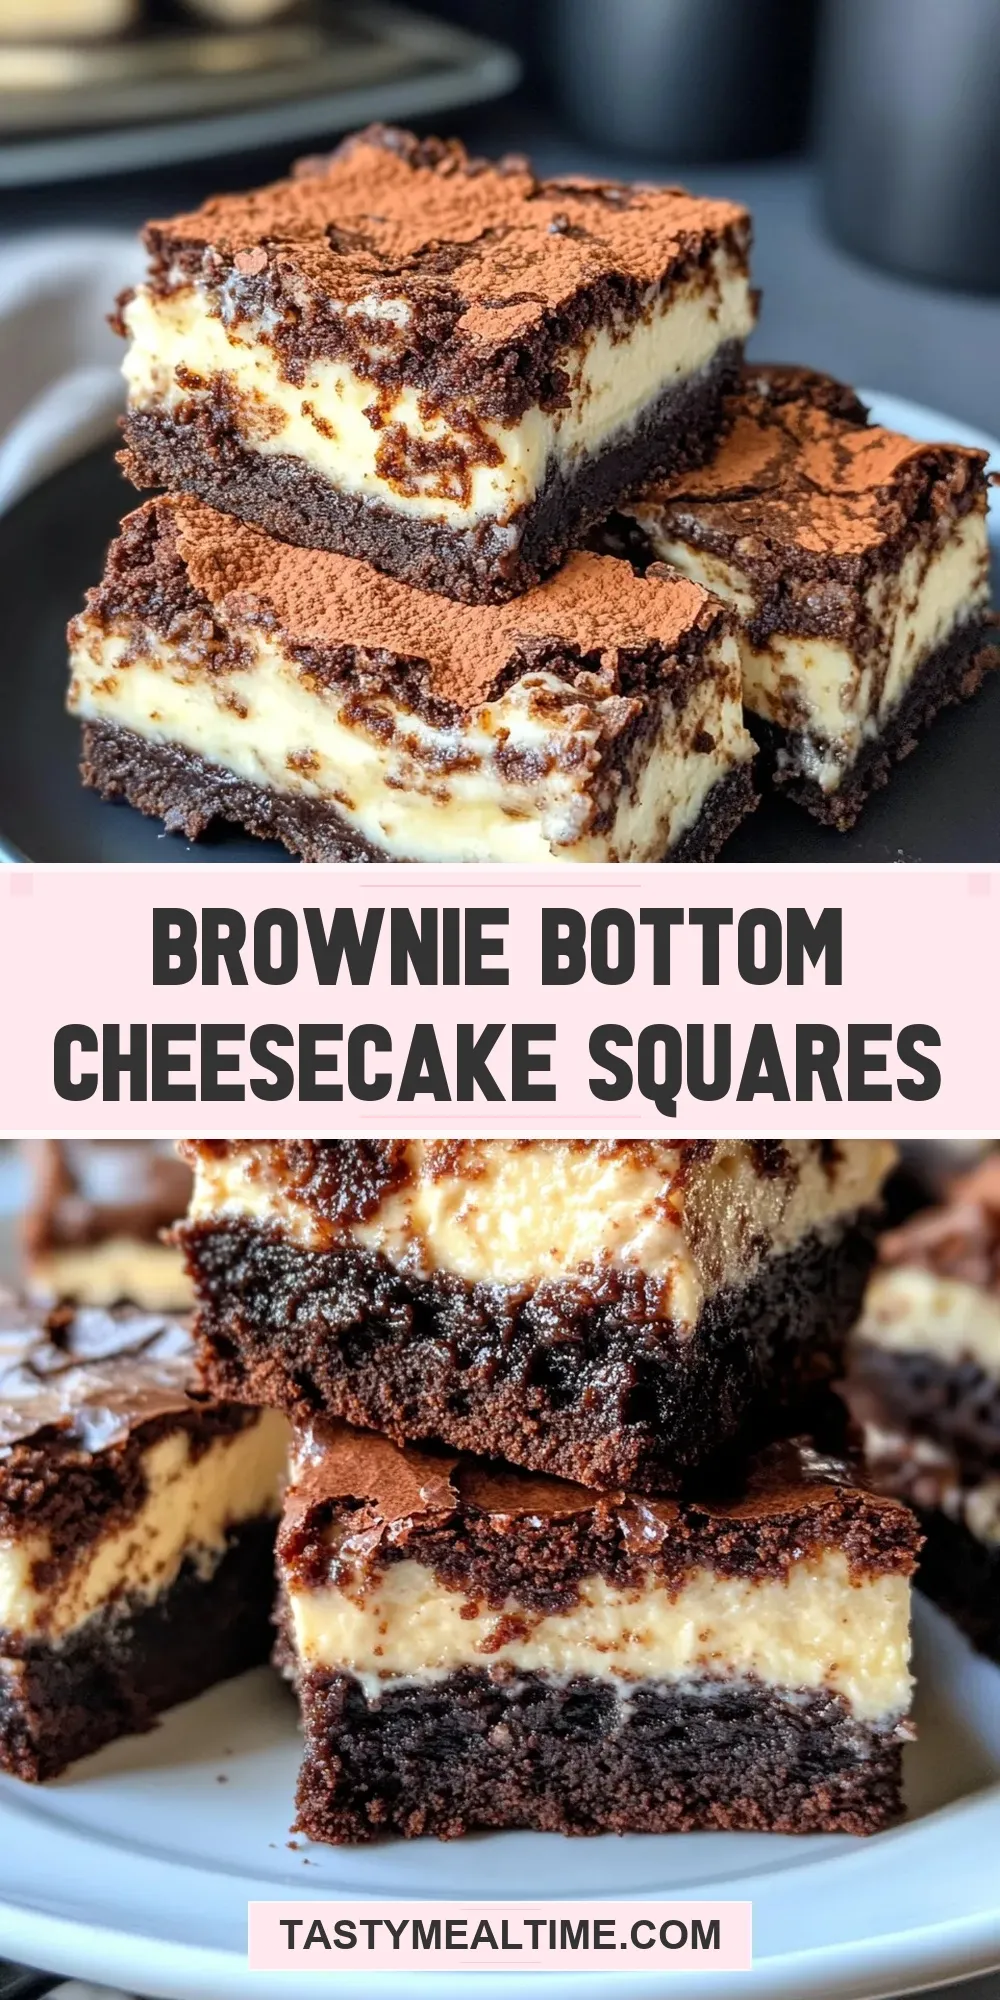
If you’re craving a dessert that combines the fudgy richness of brownies with the creamy tang of cheesecake, look no further than these irresistible Brownie Bottom Cheesecake Squares. This dessert is a delightful twist on traditional brownies, featuring a luscious cheesecake layer that sits atop a dense, chocolatey brownie base. Perfect for anyone who loves the contrast of textures and flavors in their sweets, these squares are sure to become a new favorite at your next gathering or cozy night in.
Why It Deserves a Spot
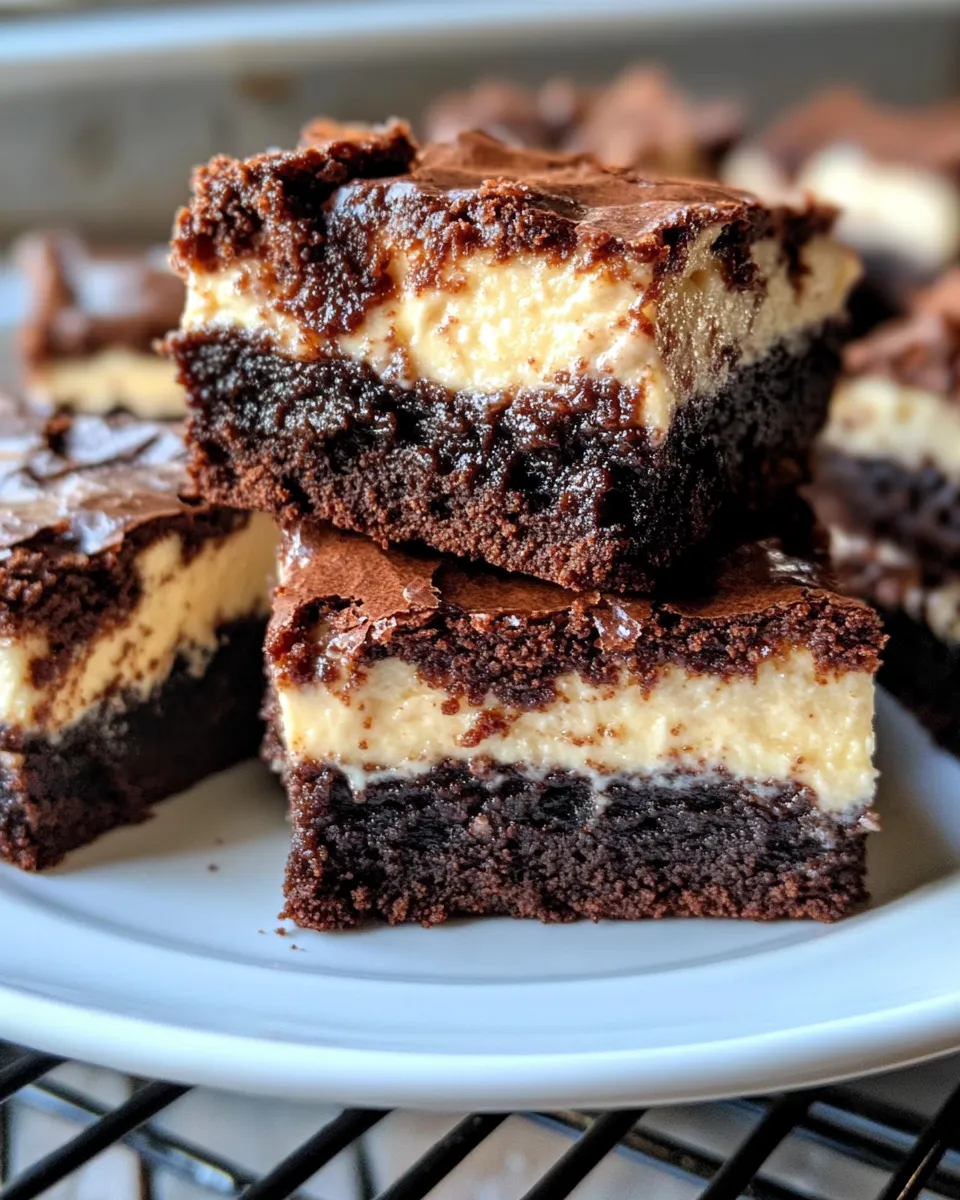
Brownie Bottom Cheesecake Squares are the perfect marriage of two classic desserts, making them a crowd-pleaser for all occasions. The dense brownie bottom offers a rich chocolate foundation, while the creamy cheesecake layer adds a smooth, tangy counterpoint that balances the sweetness perfectly. These bars are not only delicious but also visually stunning, with the contrast between the dark brownie and the pale cheesecake creating an inviting look. Plus, they’re incredibly easy to make, so you don’t need to be a baking pro to enjoy bakery-quality results at home.
Whether you’re serving them as a treat for kids, a dessert for guests, or simply indulging your own sweet tooth, these squares are endlessly versatile. They’re perfect for holidays, potlucks, or casual weekend baking sessions. And if you love experimenting with baked goods, you can customize the recipe with your favorite flavors or toppings.
The Ingredient Lineup

- 1 cup all-purpose flour – the base for the brownie layer, providing structure.
- 1 cup granulated sugar – adds sweetness and helps with texture in the brownies.
- 1/2 cup unsweetened cocoa powder – delivers deep chocolate flavor.
- 1/2 teaspoon baking powder – a small lift for the brownie batter.
- 1/4 teaspoon salt – balances sweetness and enhances flavors.
- 1/2 cup unsalted butter, melted – adds richness and moisture to the brownie base.
- 2 large eggs – bind the brownie ingredients together.
- 1 teaspoon vanilla extract – enhances flavor in the brownie layer.
- 8 ounces cream cheese, softened – the star of the cheesecake layer, providing creaminess.
- 1/2 cup powdered sugar – sweetens the cheesecake filling smoothly.
- 1 teaspoon vanilla extract – adds aroma and depth to the cheesecake layer.
- 1 large egg – gives the cheesecake filling a silky texture.
What You’ll Need (Gear)
- 8×8 inch baking pan – perfect size for baking the squares evenly.
- Mixing bowls – separate bowls for brownie and cheesecake batters.
- Electric mixer or hand whisk – for smooth cream cheese filling.
- Spatula – to spread batters evenly.
- Measuring cups and spoons – for precise ingredient measurement.
- Cooling rack – to cool the squares before cutting.
- Toothpick or cake tester – to check doneness.
Brownie Bottom Cheesecake Squares: How It’s Done
Step 1: Preheat and Prep
Preheat your oven to 350°F (175°C) and grease your 8×8 inch pan or line it with parchment paper for easy removal. This step ensures the brownies bake evenly and don’t stick to the pan.
Step 2: Make the Brownie Base
In a mixing bowl, whisk together the flour, sugar, cocoa powder, baking powder, and salt until well combined. In another bowl, mix the melted butter, eggs, and vanilla extract. Gradually add the dry ingredients to the wet mixture, stirring until just combined. Avoid overmixing to keep the brownies tender.
Step 3: Prepare the Cheesecake Layer
Using an electric mixer or a whisk, beat the softened cream cheese until smooth. Add the powdered sugar, vanilla extract, and egg. Mix until the filling is creamy and lump-free, scraping down the sides as needed.
Step 4: Assemble the Layers
Pour the brownie batter into the prepared pan and spread it out evenly. Gently spoon or dollop the cheesecake mixture over the brownie layer. Using a knife or skewer, swirl the cheesecake into the brownie batter for a marbled effect, or leave it as a distinct layer for a sharp contrast.
Step 5: Bake to Perfection
Bake in the preheated oven for 35-40 minutes, or until the cheesecake layer is set and the brownie edges pull away slightly from the pan. Insert a toothpick in the brownie portion; it should come out with a few moist crumbs but not wet batter.
Step 6: Cool and Slice
Allow the squares to cool completely in the pan on a cooling rack. This cooling period ensures the layers set fully and makes cutting clean squares easier. Chill in the refrigerator for at least an hour before slicing into squares.
Season-by-Season Upgrades
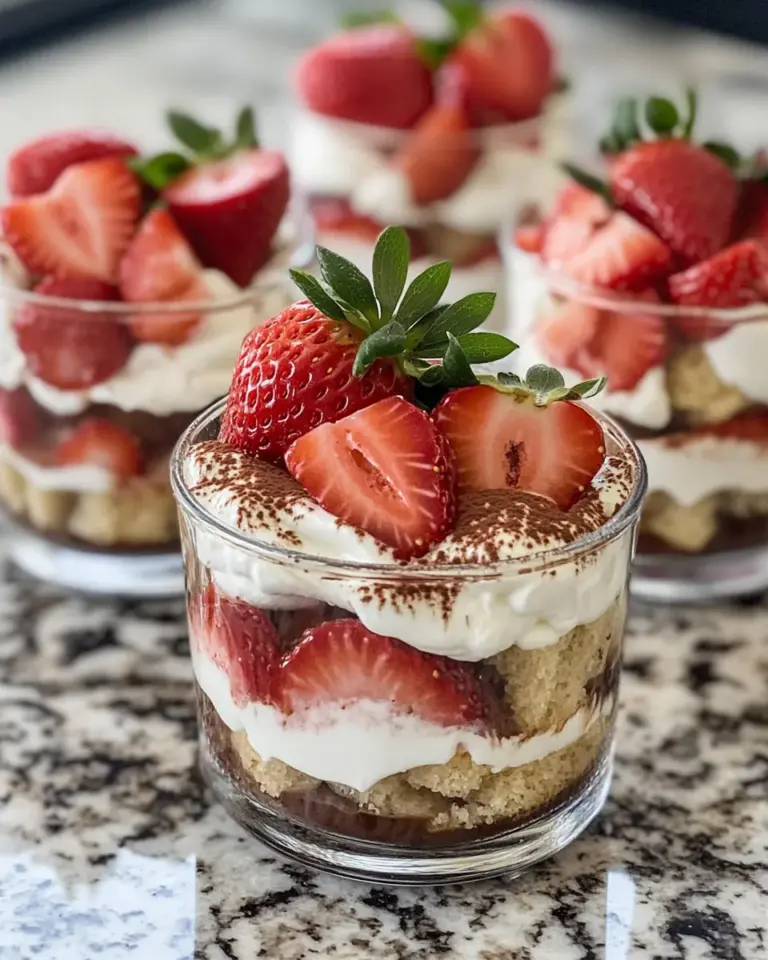
- Spring: Add fresh berries like strawberries or raspberries on top before serving for a bright, fruity twist.
- Summer: Mix in chopped nuts or swirl in some peanut butter with the cheesecake layer for a rich, nutty flavor.
- Fall: Sprinkle cinnamon or pumpkin pie spice into the cheesecake batter for a warm, cozy taste.
- Winter: Top with crushed peppermint candies or drizzle with salted caramel sauce to celebrate the festive season.
Problems & Prevention
- Cracked cheesecake layer: Avoid overbaking and mix the filling gently to prevent cracks.
- Bitter cocoa taste: Use good-quality unsweetened cocoa powder for the best flavor.
- Dry brownies: Don’t overmix the brownie batter and be sure to measure flour properly.
- Cheesecake layer too runny: Ensure the cream cheese is fully softened but not melted, and don’t skip the egg in the filling.
Prep Ahead & Store
These Brownie Bottom Cheesecake Squares are fantastic for preparing in advance. Bake the squares a day before your event and store them in an airtight container in the refrigerator. They keep well for up to 4 days and actually taste better after chilling, giving the flavors time to meld beautifully.
For longer storage, you can freeze the squares for up to 2 months. Wrap them tightly with plastic wrap and aluminum foil to avoid freezer burn. Thaw in the refrigerator overnight before serving.
Common Qs About Brownie Bottom Cheesecake Squares
Can I make these squares gluten-free?
Yes! Substitute the all-purpose flour with a gluten-free baking blend that measures cup for cup. This will maintain the texture and structure without compromising taste.
Is it possible to use low-fat cream cheese?
While low-fat cream cheese can be used, the texture of the cheesecake layer might be less creamy and slightly denser. For best results, use full-fat cream cheese.
How do I prevent my cheesecake layer from sinking?
Make sure to beat the cream cheese mixture just until smooth and avoid overmixing. Also, avoid opening the oven door frequently during baking, as temperature fluctuations can cause sinking.
Can I add mix-ins to the brownie layer?
Absolutely! Chopped nuts, chocolate chips, or even a swirl of peanut butter can be folded into the brownie batter before baking to add extra texture and flavor.
Healthy-ish Favorites
- Brownie Lava Center Cookie Cups – For when you want a molten chocolate surprise in every bite.
- Red Velvet Cream Cheese Stuffed Cookies – Perfect for a festive twist with a creamy center.
- Pink Strawberry Cheesecake Crumble Cookies – A fruity and creamy cookie treat that’s as pretty as it is delicious.
Ready, Set, Cook
Now that you know how to craft these decadent Brownie Bottom Cheesecake Squares, it’s time to roll up your sleeves and get baking. This recipe is straightforward but feels so indulgent, perfect for impressing friends or treating yourself. Whether you keep it classic or try one of the seasonal twists, these squares bring a little bit of magic to any dessert plate. Don’t forget to share your creations — these squares are sure to disappear fast!
Enjoy every luscious bite!
Share on Pinterest
Brownie Bottom Cheesecake Squares
Ingredients
Brownie Bottom
- 1 cup all-purpose flour
- 1 cup granulated sugar
- 1/2 cup unsweetened cocoa powder
- 1/2 teaspoon baking powder
- 1/4 teaspoon salt
- 1/2 cup unsalted butter melted
- 2 large eggs
- 1 teaspoon vanilla extract
Cheesecake Layer
- 8 ounces cream cheese softened
- 1/2 cup powdered sugar
- 1 teaspoon vanilla extract
- 1 large egg
Instructions
Preparation
- Preheat your oven to 350°F (175°C) and grease your 8x8 inch pan or line it with parchment paper for easy removal.
Make the Brownie Base
- In a mixing bowl, whisk together the flour, sugar, cocoa powder, baking powder, and salt until well combined.
- In another bowl, mix the melted butter, eggs, and vanilla extract. Gradually add the dry ingredients to the wet mixture, stirring until just combined. Avoid overmixing to keep the brownies tender.
Prepare the Cheesecake Layer
- Using an electric mixer or a whisk, beat the softened cream cheese until smooth.
- Add the powdered sugar, vanilla extract, and egg. Mix until the filling is creamy and lump-free, scraping down the sides as needed.
Assemble the Layers
- Pour the brownie batter into the prepared pan and spread it out evenly.
- Gently spoon or dollop the cheesecake mixture over the brownie layer.
- Using a knife or skewer, swirl the cheesecake into the brownie batter for a marbled effect, or leave it as a distinct layer for a sharp contrast.
Bake
- Bake in the preheated oven for 35-40 minutes, or until the cheesecake layer is set and the brownie edges pull away slightly from the pan.
- Insert a toothpick in the brownie portion; it should come out with a few moist crumbs but not wet batter.
Cool and Serve
- Allow the squares to cool completely in the pan on a cooling rack.
- Chill in the refrigerator for at least an hour before slicing into squares.
Equipment
- 8x8-inch baking pan
- Mixing Bowls
- Electric mixer or hand whisk
- Spatula
- Measuring cups and spoons
- Cooling Rack
- Toothpick or cake tester
Notes
- For a marbled look, swirl the cheesecake layer gently into the brownie batter before baking.
- Store leftovers in an airtight container in the refrigerator for up to 4 days or freeze for up to 2 months.
- Customize with seasonal toppings like fresh berries, nuts, or spices for added flavor and variety.