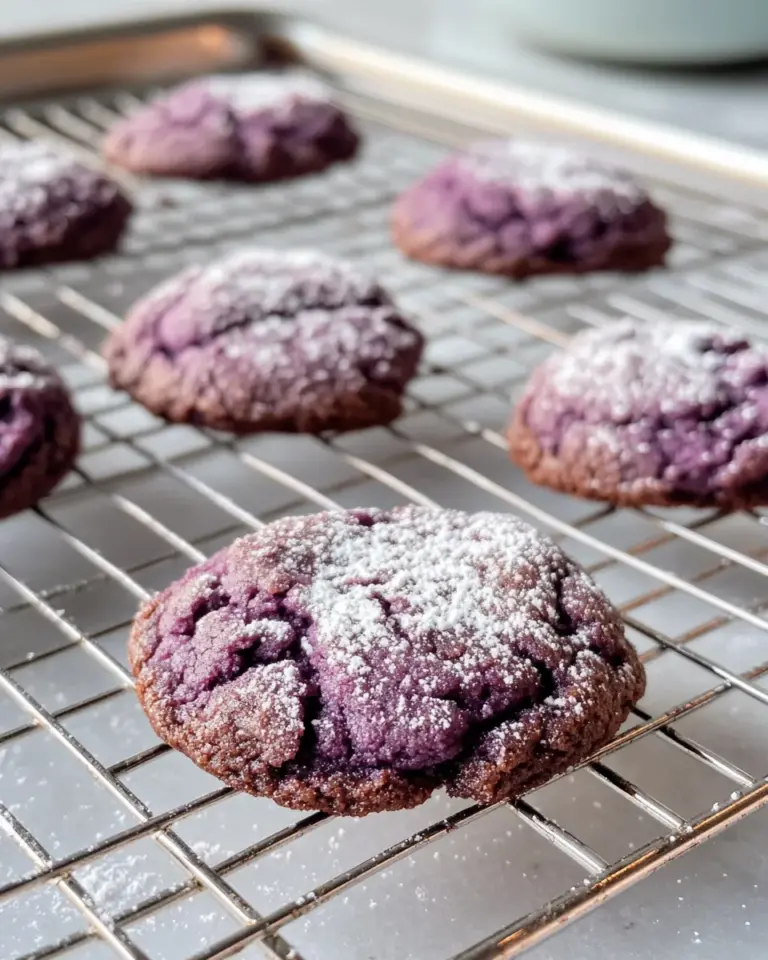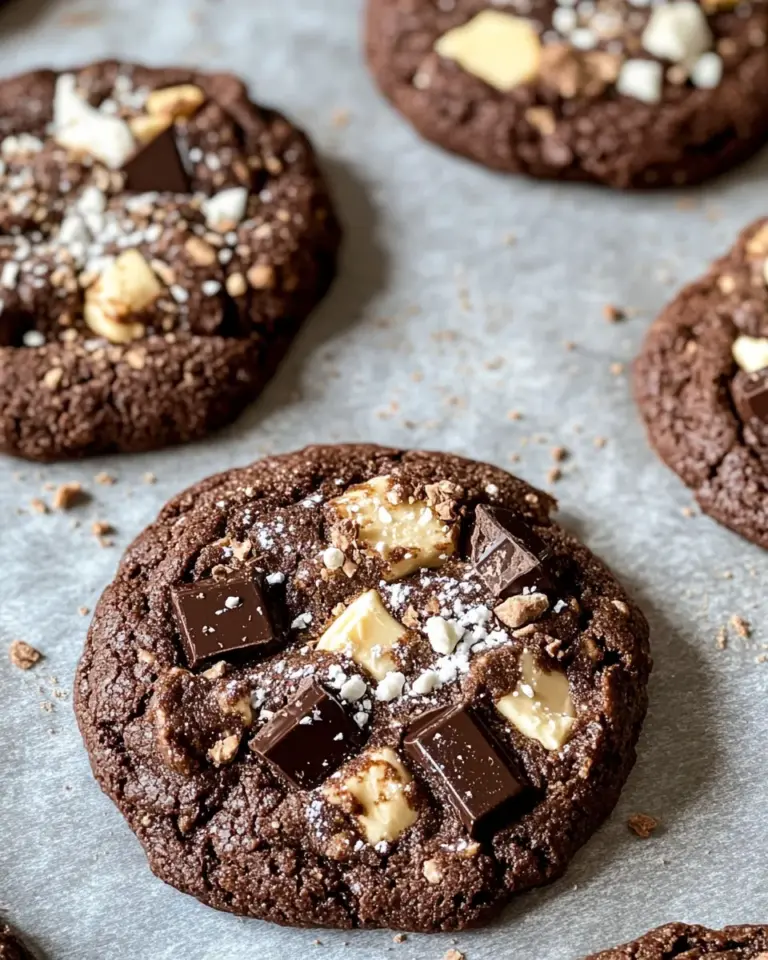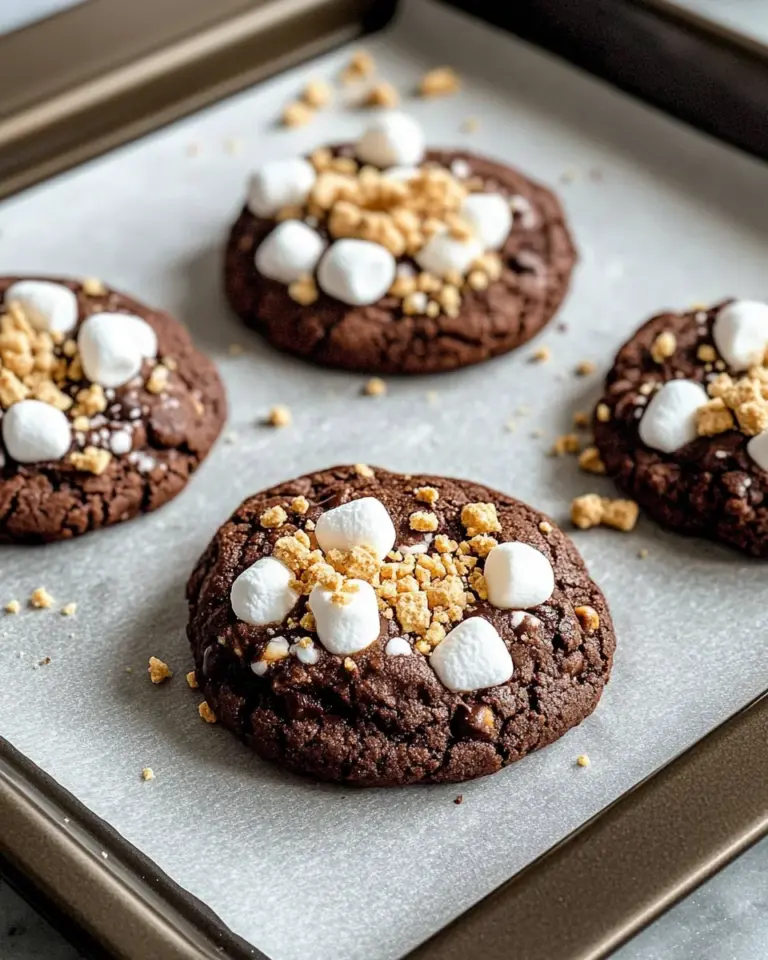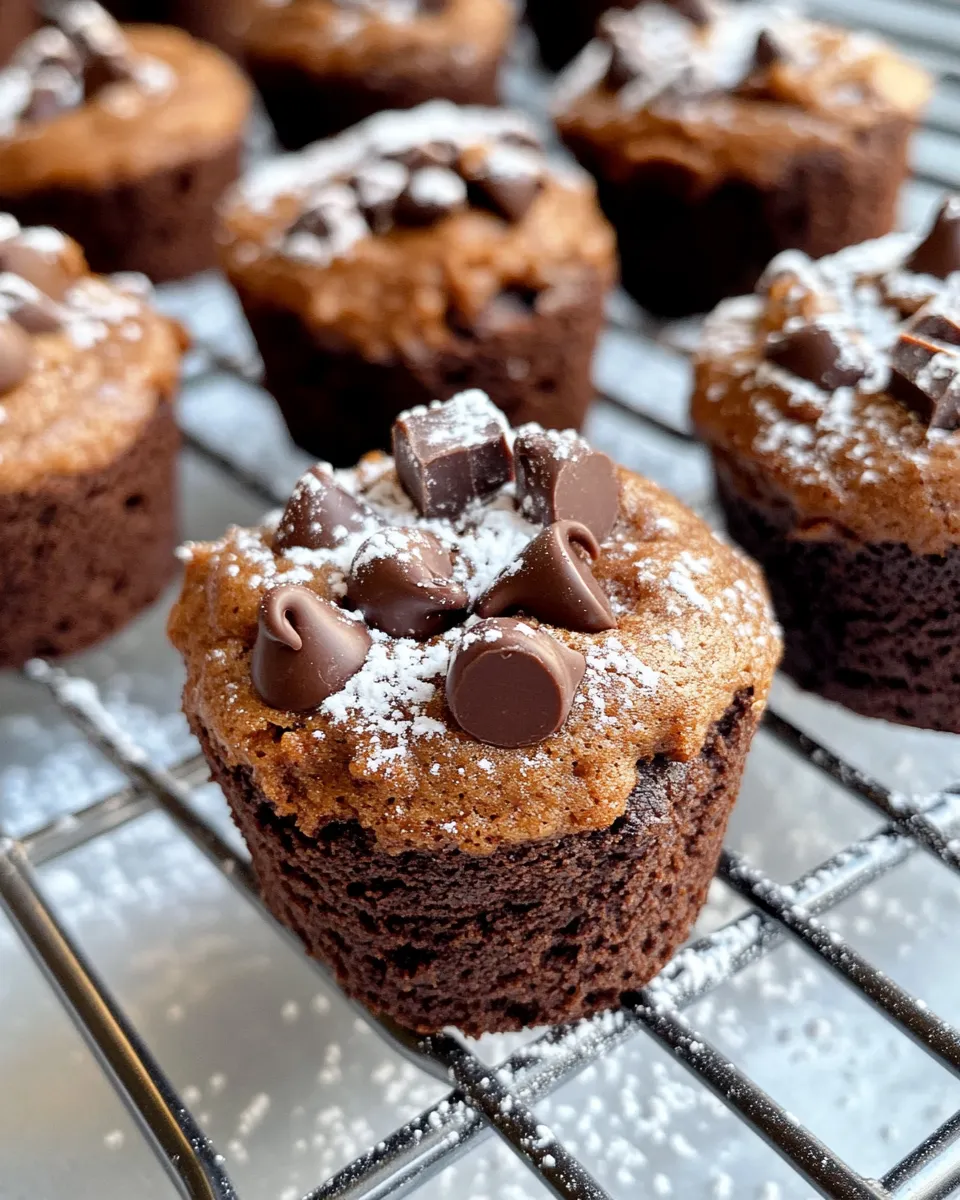
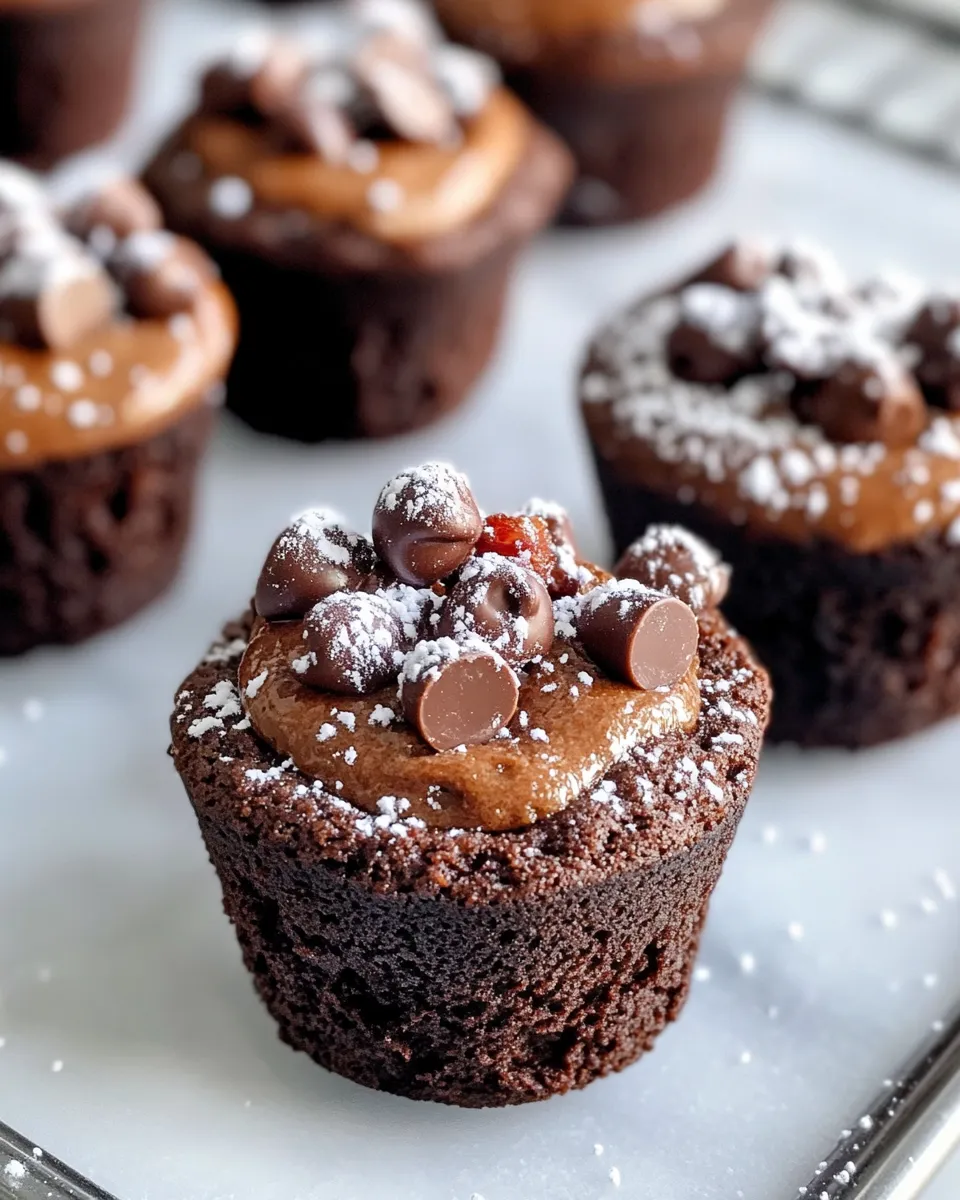
If you’ve ever dreamed of combining the fudgy richness of brownies with the chewy delight of cookies, then these Brownie Lava-Center Cookie Cups are your new best friend in the kitchen. Imagine biting into a warm, chocolatey cookie cup that oozes molten chocolate right in the center, with a surprising twist of savory crunch from crispy turkey bacon crumbles. This is not just any dessert; it’s a celebration of textures and flavors that will have everyone asking for seconds. Whether you’re baking for a special occasion or just craving a decadent treat, these cookie cups hit all the right spots.
Why It’s My Go-To
I love recipes that are both impressive and approachable, and these Brownie Lava-Center Cookie Cups fit the bill perfectly. They come together quickly, require minimal ingredients, and deliver maximum wow-factor. Plus, the addition of turkey bacon adds a subtle smoky depth that balances the sweetness beautifully without overpowering the dessert. If you’re someone who enjoys classic flavors with a fun twist, this recipe will quickly become a staple in your baking repertoire. It’s perfect for sharing or indulging all on your own.
Ingredient Rundown
- 1 cup all-purpose flour: The base of the cookie dough, providing structure and chewiness.
- 1/2 cup unsweetened cocoa powder: Adds deep chocolate flavor and richness.
- 1/2 teaspoon baking soda: Helps the cookie cups rise and maintain a soft texture.
- 1/4 teaspoon salt: Enhances the chocolate flavor and balances sweetness.
- 1/2 cup granulated sugar: Sweetens the cookie dough and contributes to a slight crispness on the edges.
- 1/2 cup brown sugar, packed: Adds moisture and a subtle caramel note for depth.
- 1/2 cup unsalted butter, melted: Brings richness and helps bind ingredients smoothly.
- 1 large egg: Provides structure and moisture, binding everything together.
- 1 teaspoon vanilla extract: Enhances the overall flavor profile with warm, sweet notes.
- 1/2 cup semi-sweet chocolate chips: Melt into the center for that luscious lava effect.
- 1/4 cup turkey bacon, cooked and crumbled: Adds a crunchy, savory twist to complement the chocolate.
- Powdered sugar for dusting (optional): A pretty finishing touch for presentation and extra sweetness.
Kitchen Gear Checklist
- Muffin tin: Essential for shaping the cookie cups perfectly.
- Mixing bowls: For combining your dry and wet ingredients.
- Whisk or hand mixer: To blend sugars, butter, and egg smoothly.
- Measuring cups and spoons: For accurate ingredient portions.
- Spoon or cookie scoop: To portion the dough evenly into the muffin tin.
- Cooling rack: To let the cookie cups cool without getting soggy.
- Small bowl: To hold the cooked turkey bacon for easy mixing.
Step-by-Step: Brownie Lava-Center Cookie Cups
Step 1: Prep Your Ingredients
Preheat your oven to 350°F (175°C). Prepare your turkey bacon by cooking it until crisp, then crumble it into small pieces. Set aside. In a small bowl, whisk together the flour, cocoa powder, baking soda, and salt for the dry mix.
Step 2: Mix Sugars and Butter
In a larger bowl, combine the granulated sugar, brown sugar, and melted butter. Whisk until the sugars are well incorporated and the mixture looks smooth and glossy.
Step 3: Add Egg and Vanilla
Beat in the egg and vanilla extract to the butter and sugar mixture until everything is well combined and slightly fluffy.
Step 4: Combine Dry and Wet Ingredients
Gradually add the dry ingredients into the wet mixture, stirring gently with a spoon or spatula just until the flour is absorbed. Don’t overmix; you want a thick, fudgy cookie dough.
Step 5: Fold in Bacon
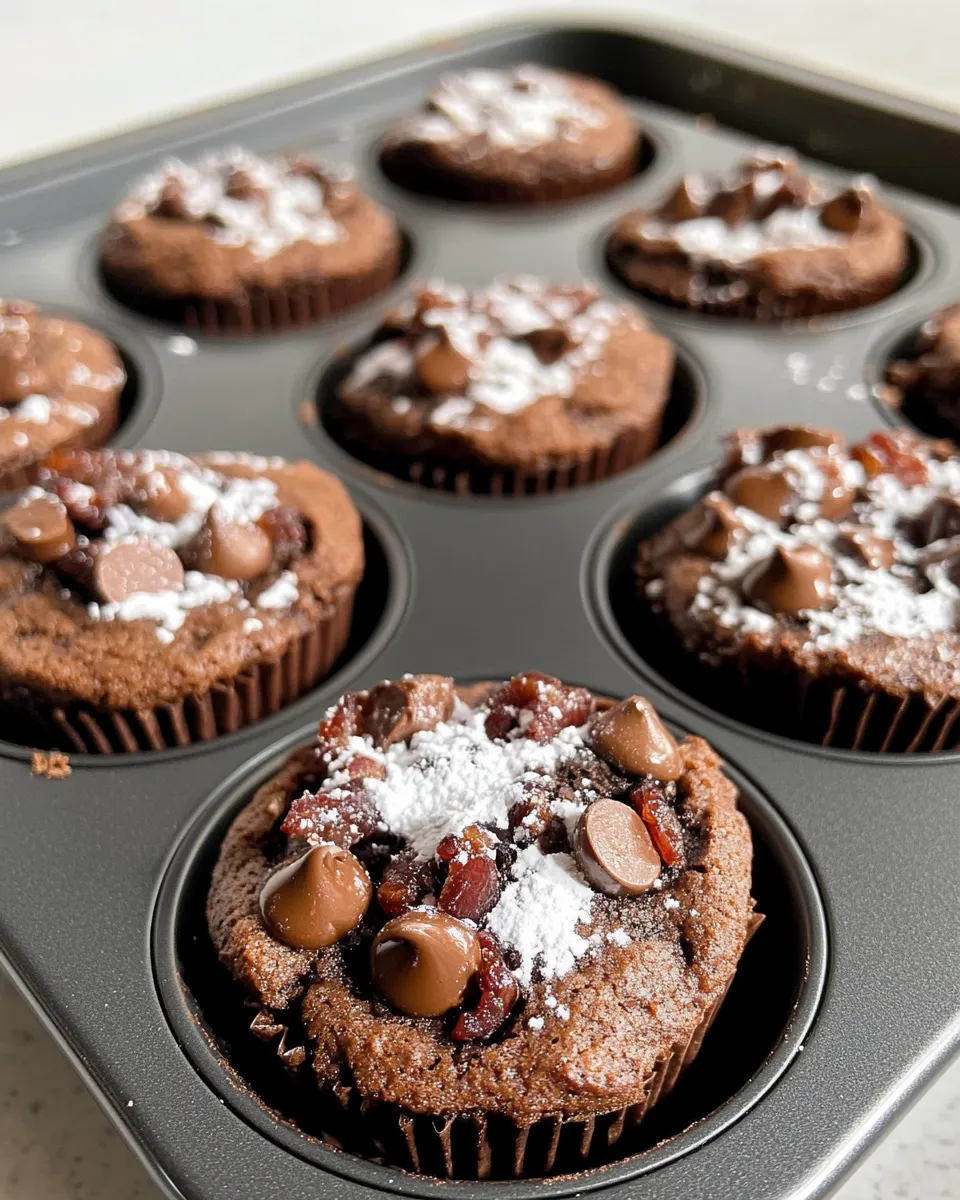
Carefully fold the crumbled turkey bacon into the dough, distributing the savory bits evenly throughout.
Step 6: Portion the Dough
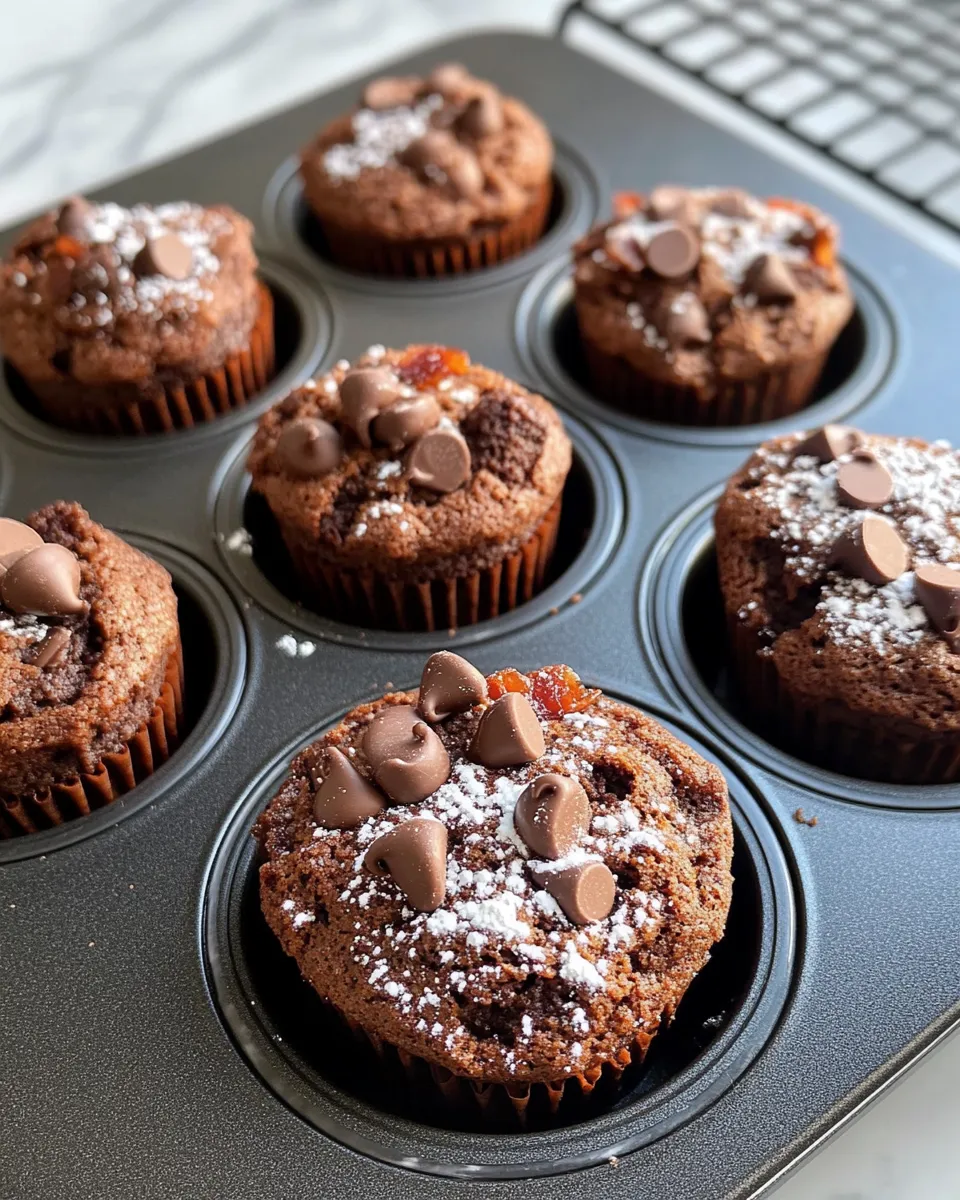
Using a spoon or cookie scoop, place a tablespoon of dough into each muffin cup, pressing slightly to form a cup shape. Then, nestle about 6-8 chocolate chips in the center of each cup, and cover lightly with another tablespoon of dough, sealing the edges so the chocolate chips are completely enclosed.
Step 7: Bake to Perfection
Place the muffin tin in the oven for 12-14 minutes. The cookie cups should be set on the edges but still soft in the center to ensure that gooey lava effect when you bite in.
Step 8: Cool and Serve
Allow the cookie cups to cool in the pan for about 10 minutes before transferring to a cooling rack. Dust with powdered sugar if desired and serve warm for the ultimate molten chocolate experience.
Better Choices & Swaps
- All-purpose flour: Substitute with gluten-free flour blend for a gluten-free option.
- Unsalted butter: Use coconut oil or plant-based margarine for a dairy-free alternative.
- Turkey bacon: Swap with vegetarian bacon bits or omit for a purely sweet treat.
- Semi-sweet chocolate chips: Use dark chocolate chunks or white chocolate chips for different flavor profiles.
- Baking soda: Make sure it’s fresh for proper rising; baking powder can be used but adjust quantity accordingly.
Notes on Ingredients
- Using both granulated and brown sugar adds a perfect balance of sweetness and moisture, leading to a chewy yet tender cookie texture.
- The melted butter ensures the dough is rich and fudgy, enhancing the brownie-like quality of these cookie cups.
- The vanilla extract deepens the flavor, so don’t skip it — it’s the subtle magic behind that irresistible aroma.
- Cooking the turkey bacon until crisp is key; it adds a wonderful textural contrast without becoming soggy inside the cookie.
Storing, Freezing & Reheating
Store leftover Brownie Lava-Center Cookie Cups in an airtight container at room temperature for up to 3 days. For longer storage, freeze them individually wrapped in plastic wrap and placed in a freezer-safe bag for up to 2 months.
To reheat, pop them in the microwave for 15-20 seconds or warm in a preheated 300°F (150°C) oven for 5-7 minutes. Reheating brings back that luscious molten center and fresh-baked warmth.
Common Questions
Can I make these cookie cups dairy-free?
Absolutely! Replace the unsalted butter with coconut oil or a plant-based margarine, and ensure your chocolate chips are dairy-free. The texture might be slightly different, but the result will still be delicious.
What if I don’t have a muffin tin?
You could try making these on a lined baking sheet as regular cookies, but you’ll lose the “cup” shape that holds the lava center. A silicone muffin mold or individual ramekins can also work in a pinch.
How do I prevent the chocolate from leaking out?
Make sure to fully enclose the chocolate chips within the dough, sealing the edges gently with your fingers or a spoon. Slightly underbaking also helps the chocolate stay molten but contained.
Can I use regular bacon instead of turkey bacon?
Yes, you can substitute regular bacon if you prefer. Just cook it until crisp and crumble it like the turkey bacon. It will add a smokier flavor and more fat, which some might love!
Ready, Set, Cook
Now that you have all the tips, tricks, and insider info, it’s time to dive into making your own batch of Brownie Lava-Center Cookie Cups. Remember, the magic lies in that molten chocolate center paired with the unexpected crunch of turkey bacon, creating a flavor combo that’s both comforting and exciting. Don’t be afraid to experiment with different chocolates or even add a sprinkle of sea salt on top for an extra flavor dimension. Once you bake these, you’ll see why they’re a must-have for any chocolate lover’s recipe box. Happy baking!
Whether you’re treating yourself or impressing guests, these Brownie Lava-Center Cookie Cups are guaranteed to deliver that warm, gooey chocolate happiness in every bite. So grab your mixing bowl, preheat your oven, and get ready for a dessert experience you won’t forget.
Share on Pinterest


Brownie Lava-Center Cookie Cups
Ingredients
- 1 cup all-purpose flour
- 1/2 cup unsweetened cocoa powder
- 1/2 teaspoon baking soda
- 1/4 teaspoon salt
- 1/2 cup granulated sugar
- 1/2 cup brown sugar packed
- 1/2 cup unsalted butter melted
- 1 large egg
- 1 teaspoon vanilla extract
- 1/2 cup semi-sweet chocolate chips
- 1/4 cup turkey bacon cooked and crumbled
- powdered sugar for dusting (optional)
Instructions
Step 1: Prep Your Ingredients
- Preheat your oven to 350°F (175°C). Prepare your turkey bacon by cooking it until crisp, then crumble it into small pieces. Set aside. In a small bowl, whisk together the flour, cocoa powder, baking soda, and salt for the dry mix.
Step 2: Mix Sugars and Butter
- In a larger bowl, combine the granulated sugar, brown sugar, and melted butter. Whisk until the sugars are well incorporated and the mixture looks smooth and glossy.
Step 3: Add Egg and Vanilla
- Beat in the egg and vanilla extract to the butter and sugar mixture until everything is well combined and slightly fluffy.
Step 4: Combine Dry and Wet Ingredients
- Gradually add the dry ingredients into the wet mixture, stirring gently with a spoon or spatula just until the flour is absorbed. Don’t overmix; you want a thick, fudgy cookie dough.
Step 5: Fold in Bacon
- Carefully fold the crumbled turkey bacon into the dough, distributing the savory bits evenly throughout.
Step 6: Portion the Dough
- Using a spoon or cookie scoop, place a tablespoon of dough into each muffin cup, pressing slightly to form a cup shape. Then, nestle about 6-8 chocolate chips in the center of each cup, and cover lightly with another tablespoon of dough, sealing the edges so the chocolate chips are completely enclosed.
Step 7: Bake to Perfection
- Place the muffin tin in the oven for 12-14 minutes. The cookie cups should be set on the edges but still soft in the center to ensure that gooey lava effect when you bite in.
Step 8: Cool and Serve
- Allow the cookie cups to cool in the pan for about 10 minutes before transferring to a cooling rack. Dust with powdered sugar if desired and serve warm for the ultimate molten chocolate experience.
Equipment
- Muffin Tin
- Mixing Bowls
- Whisk or hand mixer
- Measuring cups and spoons
- Spoon or cookie scoop
- Cooling Rack
- Small Bowl
Notes
- Store cookie cups in an airtight container at room temperature for up to 3 days or freeze for up to 2 months.
- Reheat gently in microwave or oven to restore molten center.
- Substitute butter with coconut oil for a dairy-free option.
- Use gluten-free flour blend to make this recipe gluten-free.
- Ensure chocolate chips are fully enclosed in dough to prevent leaking during baking.