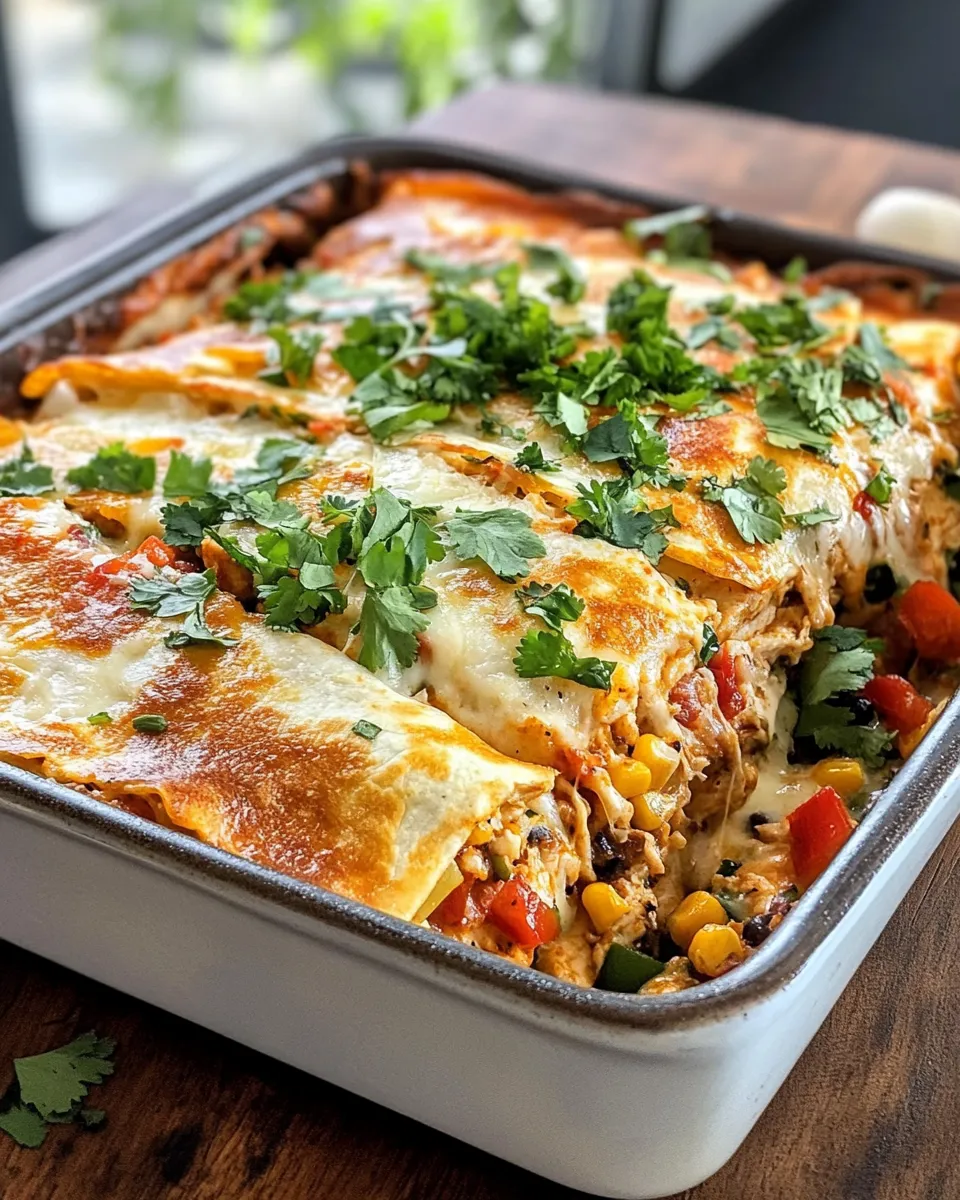
Imagine a cozy evening where the aroma of melted cheese and seasoned chicken fills your kitchen, inviting everyone to gather around the table. This Cheesy Chicken Quesadilla Bake is a perfect crowd-pleaser that combines the comforting flavors of quesadillas with the heartiness of a baked casserole. With layers of gooey cheese, tender chicken, and vibrant veggies, this dish is not only satisfying but also incredibly easy to prepare. Whether it’s a family dinner or a casual get-together, this recipe will surely become a staple in your culinary repertoire.
Why Cooks Rave About It
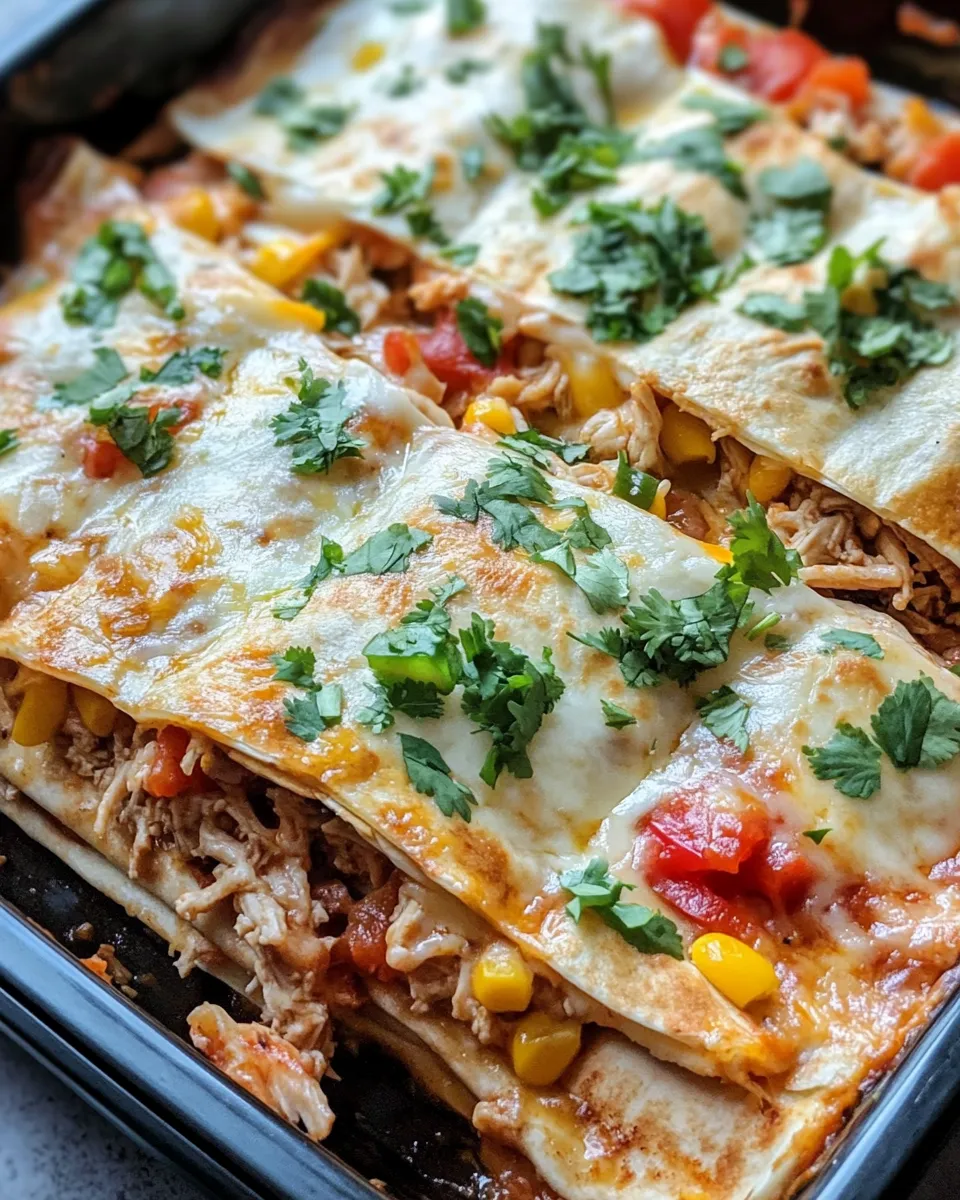
Cooks everywhere are praising this Cheesy Chicken Quesadilla Bake for its simplicity and versatility. It’s a one-dish wonder that can be customized to suit your tastes and dietary needs. Plus, the leftovers (if there are any!) are just as delicious the next day. The combination of shredded chicken, two types of cheese, and colorful bell peppers creates a dish that is not only visually appealing but also packed with flavor. This bake is the ultimate comfort food that brings a taste of Mexico right into your home.
Shopping List
- 2 cups cooked, shredded chicken
- 1 cup shredded cheddar cheese
- 1 cup shredded Monterey Jack cheese
- 1 cup diced bell peppers (any color)
- 1/2 cup diced onion
- 1/2 cup corn kernels (canned or frozen)
- 1 cup salsa
- 8 flour tortillas
- 1 teaspoon garlic powder
- 1 teaspoon onion powder
- 1 teaspoon cumin
- 1/2 teaspoon black pepper
- 1/2 teaspoon salt
- 1 tablespoon olive oil
- Fresh cilantro for garnish (optional)
What’s in the Gear List
- Large mixing bowl – for combining ingredients.
- 9×13-inch baking dish – perfect for layering the quesadilla bake.
- Wooden spoon – for mixing the filling ingredients.
- Sharp knife – for chopping vegetables.
- Oven mitts – to protect your hands when taking the dish out of the oven.
Cheesy Chicken Quesadilla Bake: How It’s Done
Step 1: Preheat the Oven
Start by preheating your oven to 350°F (175°C). This ensures that your Cheesy Chicken Quesadilla Bake cooks evenly.
Step 2: Prepare the Filling
In a large mixing bowl, combine the cooked, shredded chicken, diced bell peppers, diced onion, corn, salsa, garlic powder, onion powder, cumin, black pepper, and salt. Mix everything well until fully combined.
Step 3: Layer the Ingredients
Spread a thin layer of the chicken mixture on the bottom of your greased 9×13-inch baking dish. Then, place 4 flour tortillas over the mixture, covering it completely.
Step 4: Add the Cheese
Sprinkle half of the shredded cheddar and Monterey Jack cheese over the tortillas. This cheesy layer adds richness and flavor to the bake.
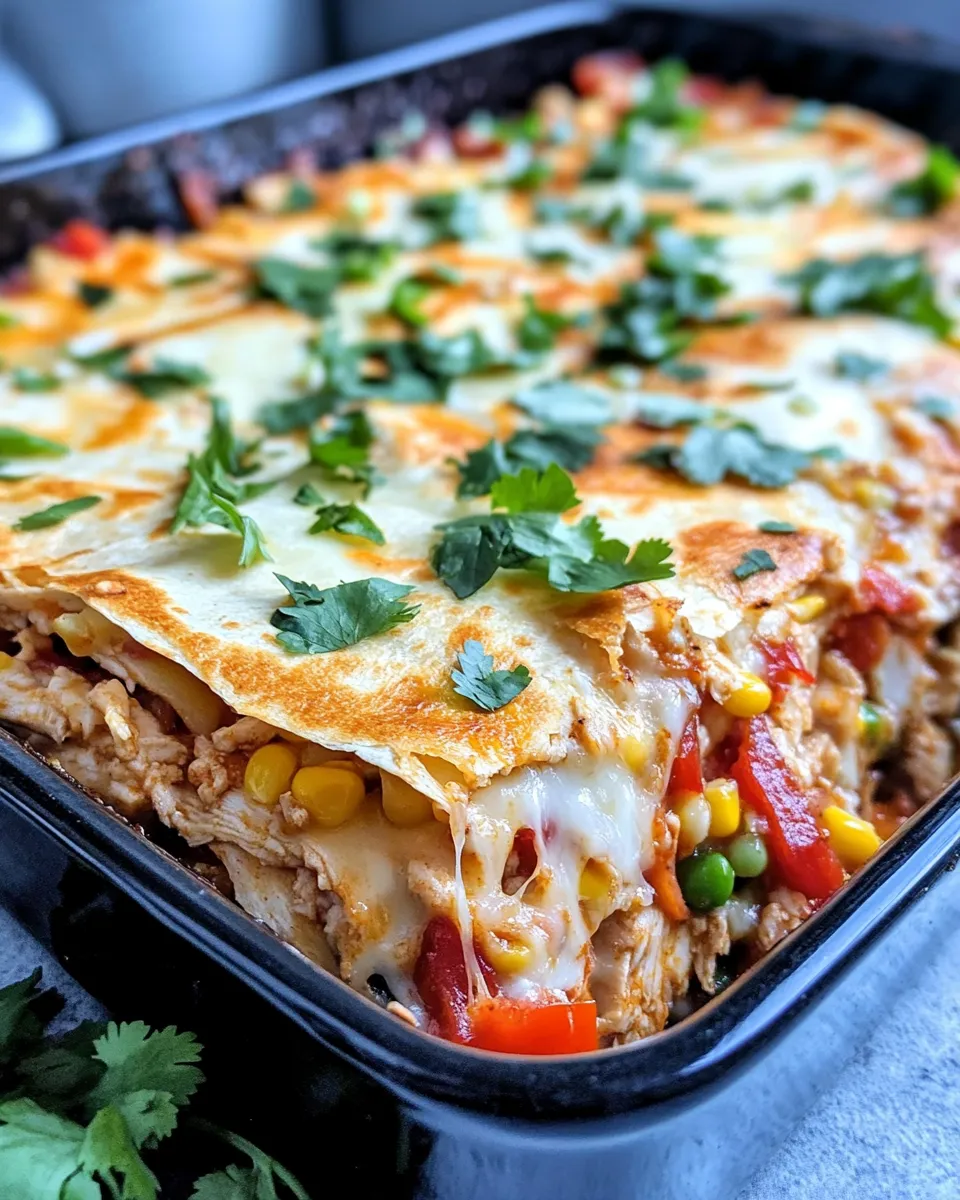
Step 5: Repeat the Layers
Add another layer of the chicken mixture over the cheese, followed by the remaining tortillas. Top with the rest of the chicken mixture and finish with the remaining cheese.
Step 6: Bake
Cover the baking dish with aluminum foil and bake for 20 minutes. After that, remove the foil and bake for an additional 10-15 minutes, or until the cheese is bubbly and golden brown.
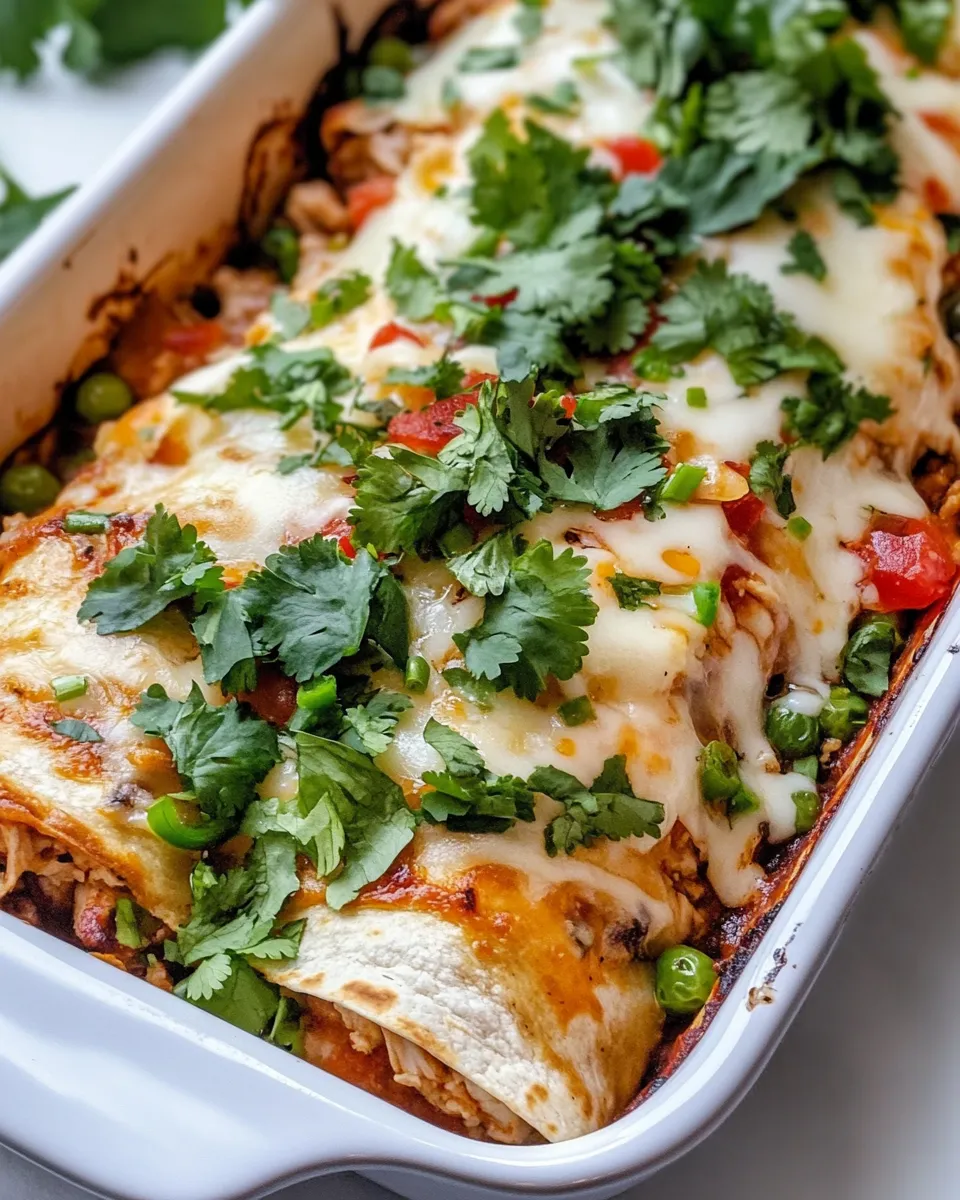
Step 7: Garnish and Serve
Once out of the oven, let your Cheesy Chicken Quesadilla Bake cool for a few minutes. Garnish with fresh cilantro, if desired, and serve warm.
Variations for Dietary Needs
- For a vegetarian option, replace the chicken with black beans or extra vegetables.
- Use gluten-free tortillas for a gluten-free version.
- Substitute low-fat cheese to reduce calories.
- For a spicier kick, add diced jalapeños or use spicy salsa.
Watch Outs & How to Fix
Sometimes, the quesadilla bake may turn out too dry. To avoid this, ensure you have enough salsa in the mixture. If it’s dry after baking, serve it with extra salsa or a dollop of sour cream. Additionally, if the cheese isn’t melting well, consider covering it with foil for the first part of baking to retain moisture.
Best Ways to Store
To store your Cheesy Chicken Quesadilla Bake, let it cool completely before transferring it to an airtight container. It can be kept in the refrigerator for up to 3 days. For longer storage, consider freezing it. Wrap it tightly in plastic wrap and then aluminum foil to prevent freezer burn. It should last up to 3 months in the freezer. To reheat, thaw in the fridge overnight and warm in the oven until heated through.
Questions People Ask
Can I use rotisserie chicken for this recipe?
Absolutely! Rotisserie chicken is a fantastic time-saver and adds great flavor to your Cheesy Chicken Quesadilla Bake. Just shred it and mix with the other ingredients.
What can I serve with the quesadilla bake?
This dish pairs well with a simple side salad, guacamole, or even some homemade Blueberry Cheesecake Stuffed Muffins for a sweet touch to balance the savory flavors.
Is it possible to make this dish ahead of time?
Yes! You can prepare all the layers in advance and assemble the bake. Cover it and store it in the fridge for up to 24 hours before baking. Just add a few extra minutes to the baking time if it’s cold from the fridge.
Can I add other vegetables to the bake?
Definitely! Feel free to add any of your favorite veggies such as mushrooms, zucchini, or spinach. Just ensure they are chopped small and mixed well with the chicken.
Reader Favorites
Time to Try It
Now that you have all the ingredients and steps, it’s your turn to whip up this delightful Cheesy Chicken Quesadilla Bake. The best part? You can make it your own by tweaking the ingredients based on your preferences. Whether it becomes a family favorite or a dish you bring to potlucks, this recipe is bound to impress. Grab your ingredients, preheat that oven, and let the cheesy goodness begin!
Share on Pinterest


Cheesy Chicken Quesadilla Bake
Ingredients
- 2 cups cooked, shredded chicken
- 1 cup shredded cheddar cheese
- 1 cup shredded Monterey Jack cheese
- 1 cup diced bell peppers (any color)
- 1/2 cup diced onion
- 1/2 cup corn kernels (canned or frozen)
- 1 cup salsa
- 8 pieces flour tortillas
- 1 teaspoon garlic powder
- 1 teaspoon onion powder
- 1 teaspoon cumin
- 1/2 teaspoon black pepper
- 1/2 teaspoon salt
- 1 tablespoon olive oil
- Fresh cilantro (for garnish, optional)
Instructions
- Start by preheating your oven to 350°F (175°C).
- In a large mixing bowl, combine the cooked, shredded chicken, diced bell peppers, diced onion, corn, salsa, garlic powder, onion powder, cumin, black pepper, and salt. Mix everything well until fully combined.
- Spread a thin layer of the chicken mixture on the bottom of your greased 9x13-inch baking dish. Then, place 4 flour tortillas over the mixture, covering it completely.
- Sprinkle half of the shredded cheddar and Monterey Jack cheese over the tortillas.
- Add another layer of the chicken mixture over the cheese, followed by the remaining tortillas. Top with the rest of the chicken mixture and finish with the remaining cheese.
- Cover the baking dish with aluminum foil and bake for 20 minutes. After that, remove the foil and bake for an additional 10-15 minutes, or until the cheese is bubbly and golden brown.
- Once out of the oven, let your Cheesy Chicken Quesadilla Bake cool for a few minutes. Garnish with fresh cilantro, if desired, and serve warm.
Equipment
- Large Mixing Bowl
- 9x13-inch Baking Dish
- Wooden Spoon
- Sharp knife
- Oven mitts
Notes
- To make it vegetarian, substitute chicken with black beans or more veggies.
- Use gluten-free tortillas for a gluten-free version.
- Store leftovers in an airtight container for up to 3 days.