
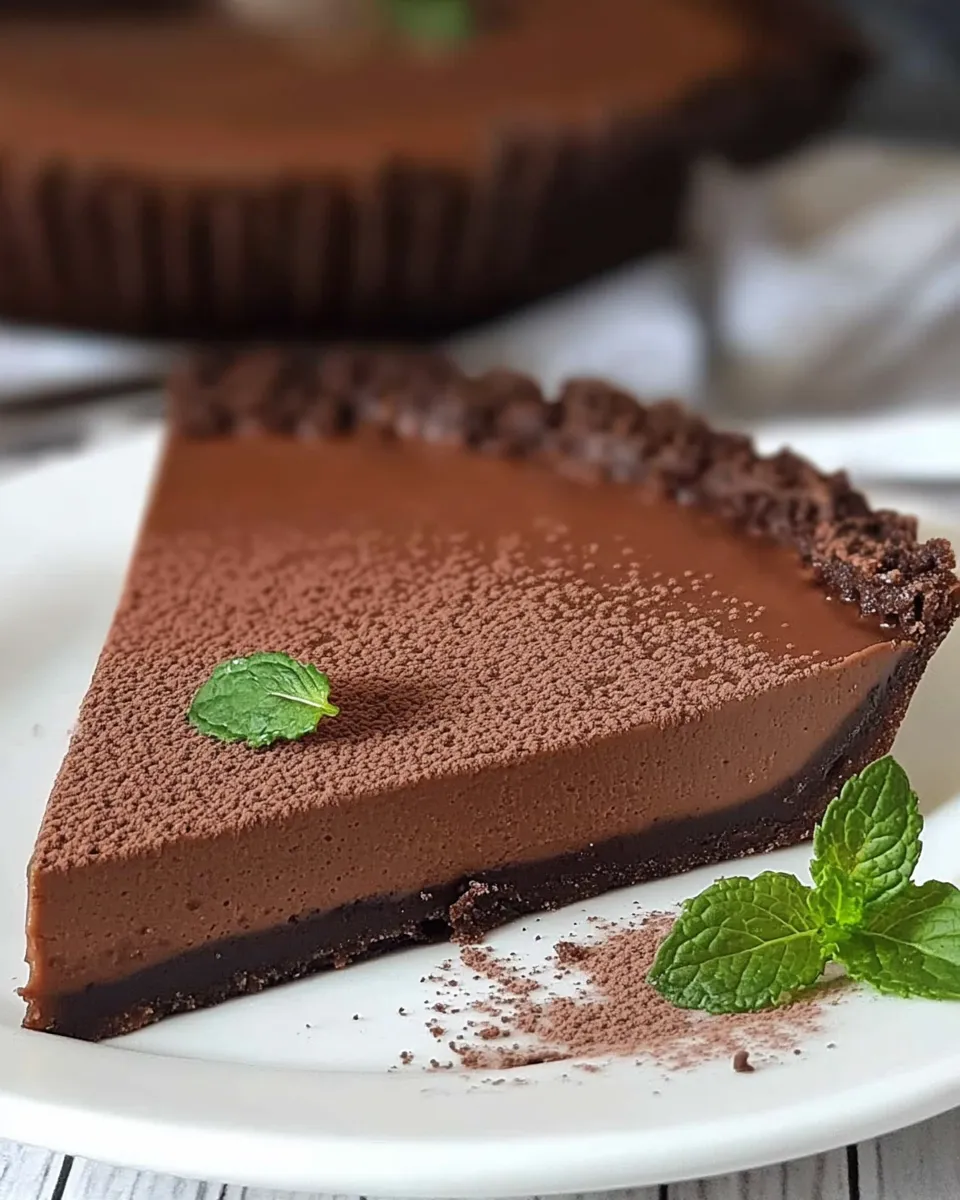
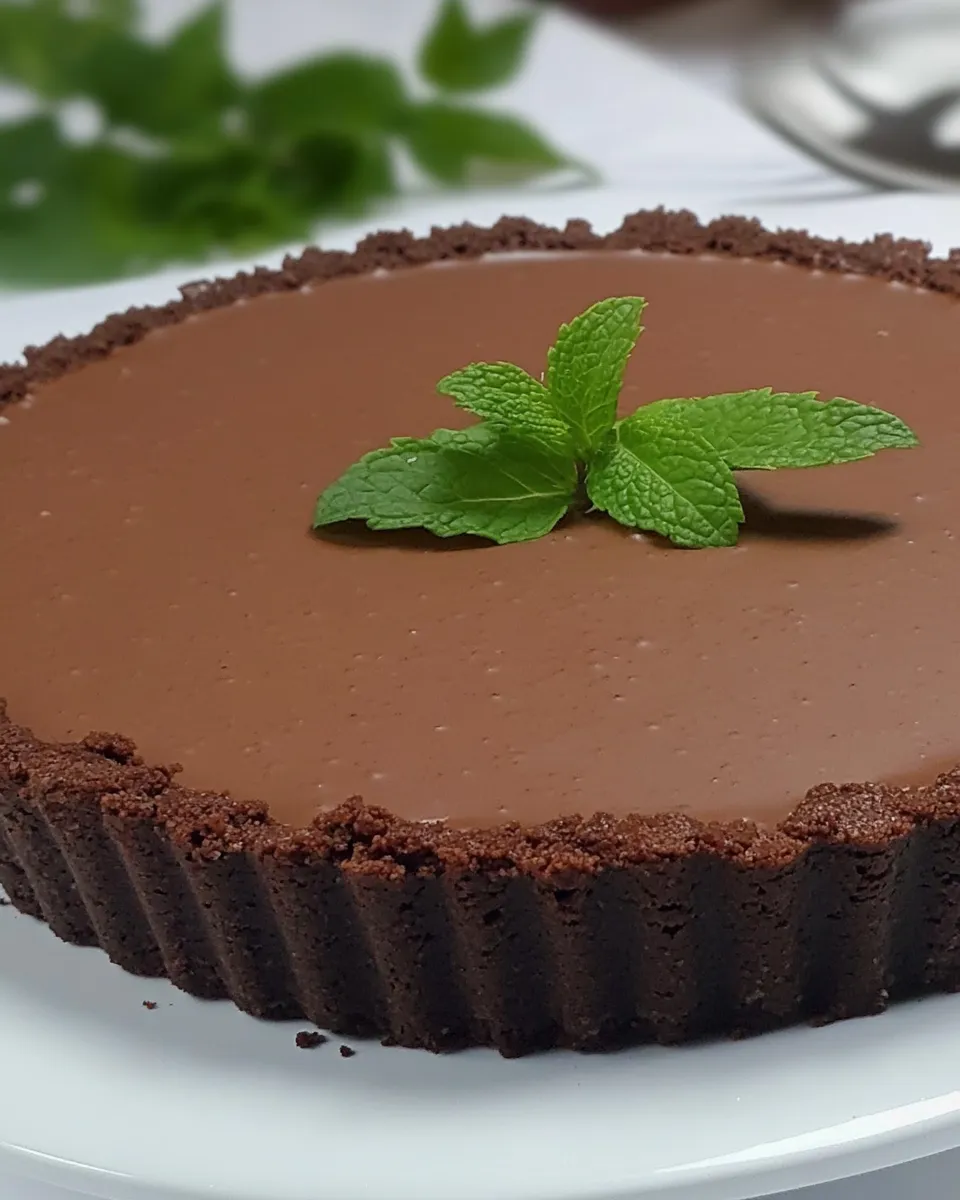
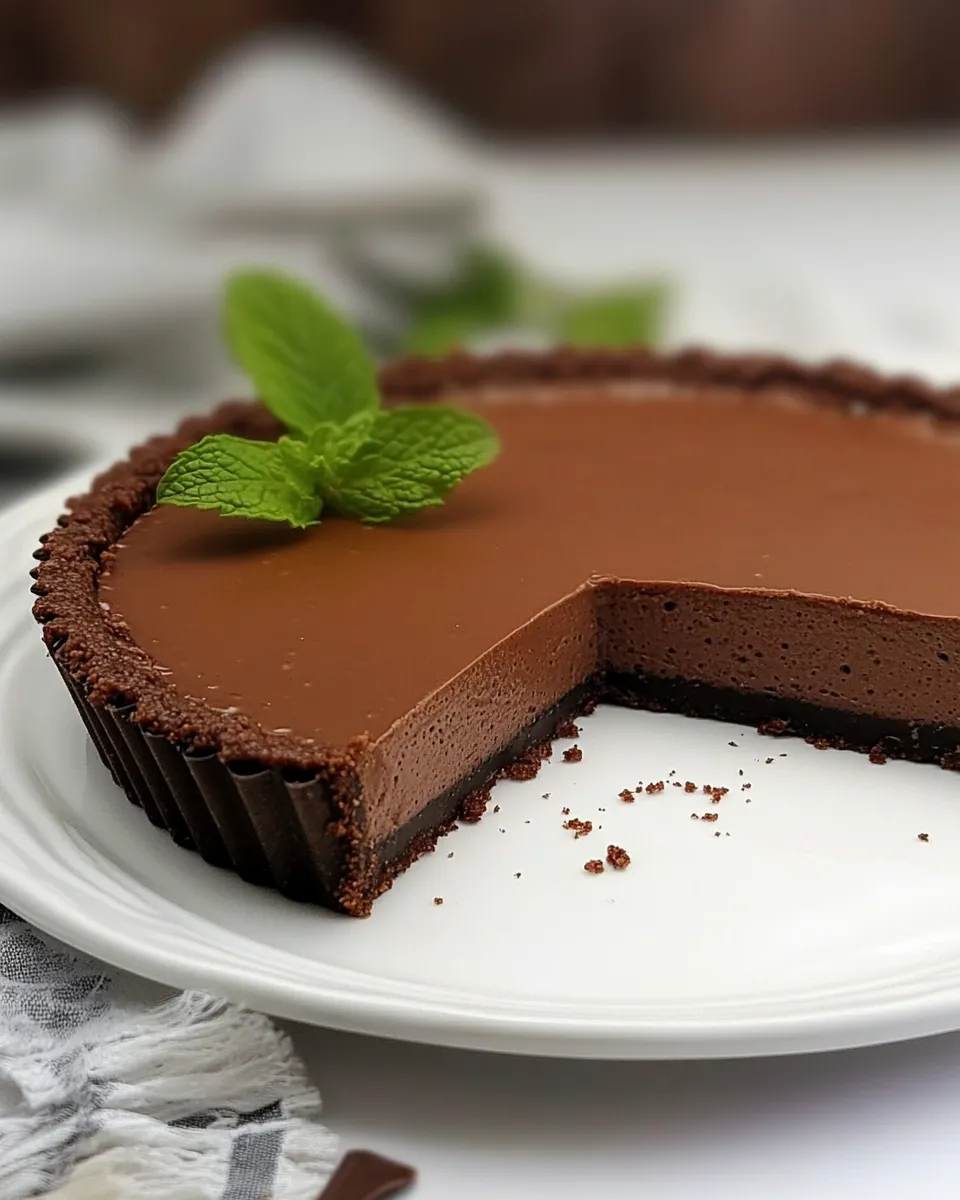
There’s something undeniably magical about the combination of mint and chocolate. Think about it: the cool, refreshing taste of mint paired with rich, velvety chocolate creates a dessert that’s not just a treat for your taste buds but also a feast for your eyes. Today, we’re diving into the world of Mint Chocolate Tart, a luscious dessert that’s perfect for any occasion, whether it’s a special celebration or just a cozy night in. With a crisp chocolate crust, creamy filling, and a hint of mint, this tart is sure to impress everyone around the table.
Why This Recipe is a Keeper
This Mint Chocolate Tart isn’t just delicious—it’s also incredibly versatile. You can tailor it to suit dietary preferences, and it’s a showstopper that doesn’t require any advanced baking skills. The rich chocolate flavor combined with the refreshing mint makes it a perfect dessert for after a big meal, while the elegant presentation will have your guests thinking you spent hours in the kitchen. Plus, with its gluten-free option, this tart can cater to various dietary needs without compromising on taste.
What’s in the Bowl
To make this Mint Chocolate Tart, you’ll need the following ingredients:
- 1 cup granulated sugar
- 1 cup all-purpose flour or 1/2 cup + 1 tablespoon buckwheat flour for a gluten-free version
- 1 cup + 1 tablespoon cocoa powder
- 1 teaspoon salt
- 6 tablespoons unsalted butter, melted
- 1 cup semi-sweet chocolate chips or chopped chocolate
- 1 cup whipping cream
- 1 teaspoon peppermint extract
- 1 teaspoon vanilla extract
- 2 large eggs, beaten
- Cocoa powder and mint leaves for garnish
Tools of the Trade
To create your Mint Chocolate Tart, gather the following tools:
- 9-inch tart pan – A removable bottom makes serving so much easier.
- Mixing bowls – You’ll need a couple for mixing the crust and filling.
- Whisk – Essential for combining the ingredients seamlessly.
- Rubber spatula – Perfect for scraping and folding ingredients without wasting any.
- Measuring cups and spoons – Accurate measurements are key in baking.
- Oven mitts – Safety first when handling hot items!
The Method for Mint Chocolate Tart
Ready to create this delectable treat? Follow these steps for a flawless Mint Chocolate Tart:
Step 1: Preheat the Oven
Preheat your oven to 350°F (175°C). This ensures that your tart bakes evenly.
Step 2: Prepare the Crust
In a large mixing bowl, combine the granulated sugar, flour (or buckwheat flour), cocoa powder, and salt. Whisk them together until well blended. Pour in the melted butter and mix until the dough resembles wet sand. Press the mixture into the bottom and up the sides of your tart pan evenly. Poke a few holes in the bottom with a fork to prevent bubbling.
Step 3: Bake the Crust
Place the tart crust in the preheated oven and bake for about 10-12 minutes. Once baked, remove it from the oven and allow it to cool while you prepare the filling.
Step 4: Make the Filling
In a medium saucepan, combine the whipping cream, chocolate chips, peppermint extract, and vanilla extract. Heat over medium-low, stirring constantly until the chocolate is fully melted and the mixture is smooth. Remove from heat.
Step 5: Incorporate the Eggs
Allow the chocolate mixture to cool slightly before whisking in the beaten eggs. Mix until fully combined.
Step 6: Fill the Crust
Pour the chocolate filling into the cooled tart crust. Spread it evenly and smooth the top with a spatula.
Step 7: Bake Again
Return the tart to the oven and bake for an additional 20-25 minutes. The filling should be set but slightly jiggly in the center.
Step 8: Cool and Chill
Remove the tart from the oven and let it cool at room temperature for about 30 minutes. Once cooled, refrigerate for at least 2 hours to let it set completely.
Quick Replacement Ideas
If you’re missing an ingredient or have dietary restrictions, consider these quick replacements:
- For granulated sugar, use coconut sugar or maple sugar.
- Substitute butter with coconut oil or vegan butter for a dairy-free version.
- Use dairy-free chocolate chips to make it completely vegan.
- Replace whipping cream with coconut cream for a non-dairy alternative.
Troubles You Can Avoid
Here are a few common pitfalls and how to avoid them:
- Overbaking the crust can lead to a dry tart, so keep an eye on it while it’s in the oven.
- Ensure the chocolate mixture isn’t too hot when adding the eggs; otherwise, you might end up with scrambled eggs in your filling.
- Letting the tart cool completely before refrigerating is crucial for the best texture.
Cooling, Storing & Rewarming
Once your Mint Chocolate Tart is set, it can be stored in the refrigerator for up to a week. To serve, simply slice and garnish with a dusting of cocoa powder and fresh mint leaves for that pop of color. If you prefer it warm, gently reheat individual slices in the microwave for about 10-15 seconds, just to take the chill off.
Reader Questions
Can I make this tart in advance?
Absolutely! This Mint Chocolate Tart is perfect for making ahead of time. It actually tastes even better the next day as the flavors meld together. Just ensure it’s well covered and stored in the refrigerator.
What if I don’t have a tart pan?
No worries! You can use a pie dish as a substitute. Just make sure to adjust the baking time slightly, as the filling may take a bit longer to set in a deeper dish.
How can I make the tart more minty?
If you love mint, you can increase the amount of peppermint extract up to 1.5 teaspoons. Just be careful not to overpower the chocolate flavor.
Can I add toppings to the tart?
Yes! Whipped cream, chocolate shavings, or even crushed mint candies make excellent toppings. Feel free to get creative!
The Takeaway
Making a Mint Chocolate Tart is a delightful journey through the world of flavors and textures. This recipe is easy to follow, and once you get a taste of the rich chocolate paired with the cool essence of mint, you’ll understand why it’s a keeper in any dessert repertoire. Whether you’re preparing it for a special occasion or simply treating yourself, this tart is bound to be a hit. So gather your ingredients, roll up your sleeves, and let’s create a dessert that’s as beautiful as it is delicious. Enjoy every bite of this Mint Chocolate Tart!

Mint Chocolate Tart
Ingredients
- 1 cup granulated sugar
- 1 cup all-purpose flour or 1/2 cup + 1 tablespoon buckwheat flour for a gluten-free version
- 1 cup cocoa powder
- 1 teaspoon salt
- 6 tablespoons unsalted butter melted
- 1 cup semi-sweet chocolate chips or chopped chocolate
- 1 cup whipping cream
- 1 teaspoon peppermint extract
- 1 teaspoon vanilla extract
- 2 large eggs beaten
- Cocoa powder and mint leaves for garnish
Instructions
- Preheat your oven to 350°F (175°C). This ensures that your tart bakes evenly.
- In a large mixing bowl, combine the granulated sugar, flour (or buckwheat flour), cocoa powder, and salt. Whisk them together until well blended. Pour in the melted butter and mix until the dough resembles wet sand. Press the mixture into the bottom and up the sides of your tart pan evenly. Poke a few holes in the bottom with a fork to prevent bubbling.
- Place the tart crust in the preheated oven and bake for about 10-12 minutes. Once baked, remove it from the oven and allow it to cool while you prepare the filling.
- In a medium saucepan, combine the whipping cream, chocolate chips, peppermint extract, and vanilla extract. Heat over medium-low, stirring constantly until the chocolate is fully melted and the mixture is smooth. Remove from heat.
- Allow the chocolate mixture to cool slightly before whisking in the beaten eggs. Mix until fully combined.
- Pour the chocolate filling into the cooled tart crust. Spread it evenly and smooth the top with a spatula.
- Return the tart to the oven and bake for an additional 20-25 minutes. The filling should be set but slightly jiggly in the center.
- Remove the tart from the oven and let it cool at room temperature for about 30 minutes. Once cooled, refrigerate for at least 2 hours to let it set completely.
Equipment
- 9-inch tart pan
- Mixing Bowls
- Whisk
- Rubber spatula
- Measuring cups and spoons
- Oven mitts
Notes
- Store the tart in the refrigerator for up to a week.
- Garnish with cocoa powder and fresh mint leaves before serving.
- For a warm treat, reheat individual slices in the microwave for about 10-15 seconds.


