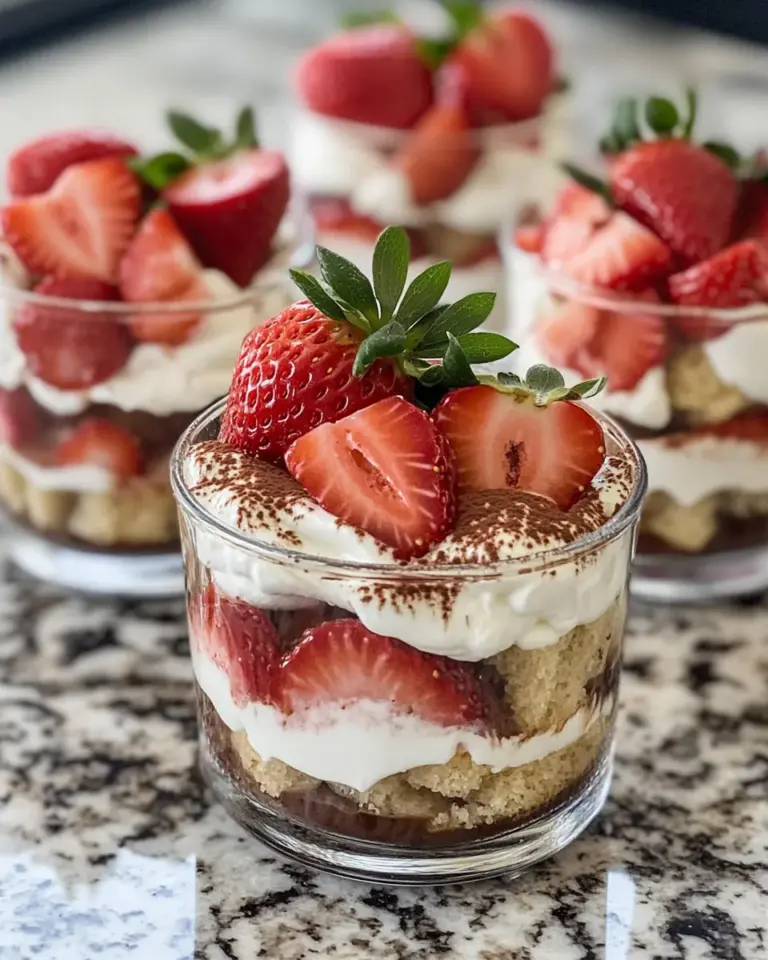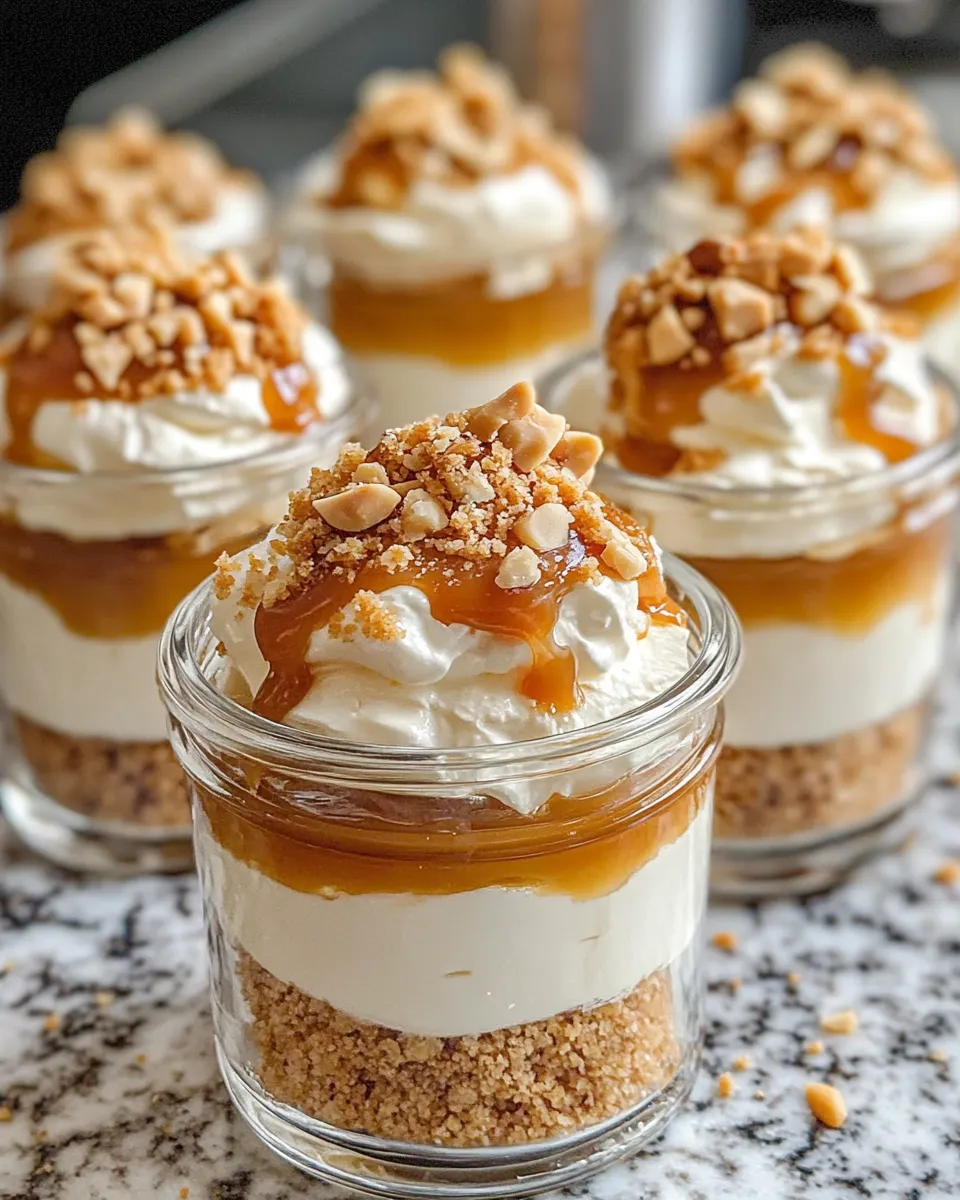
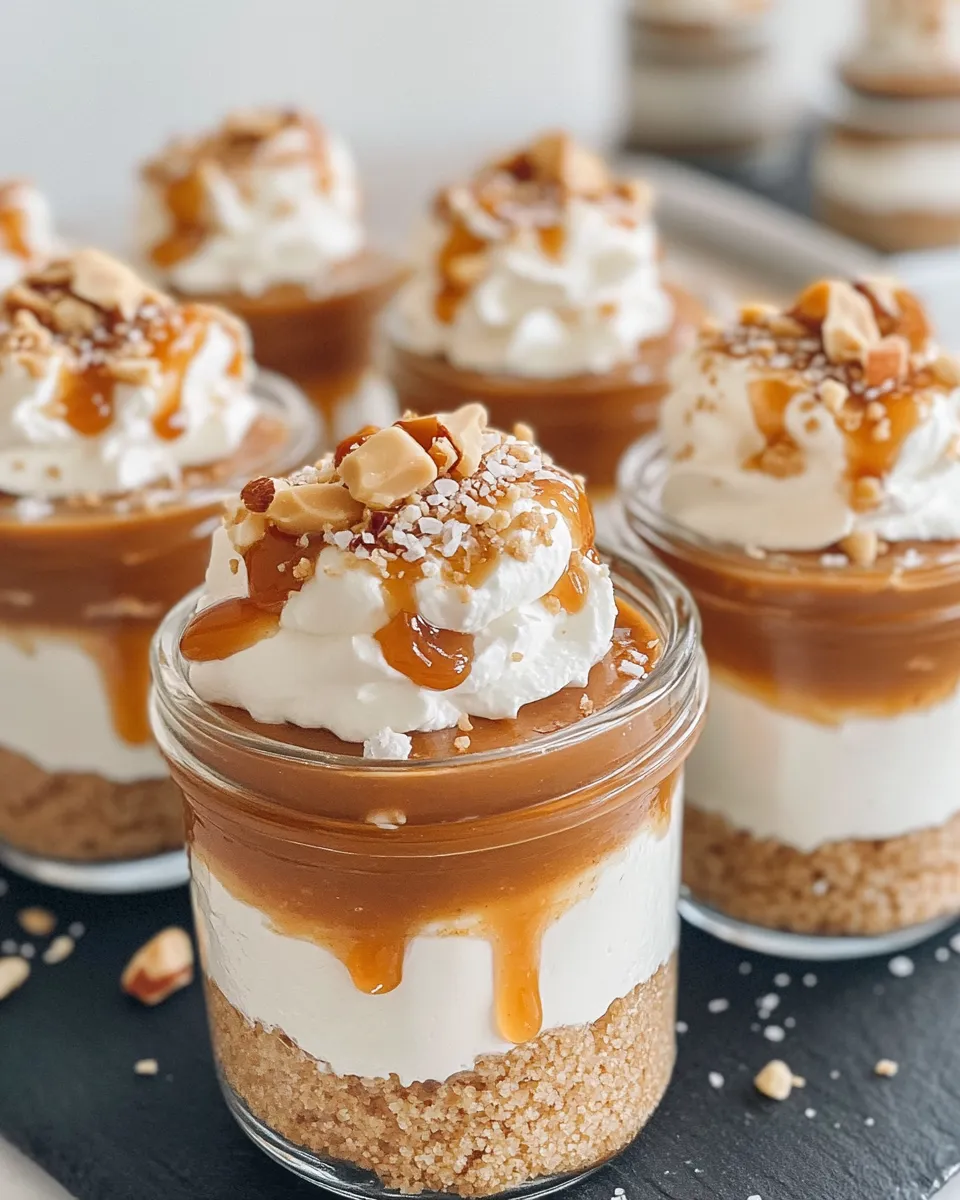
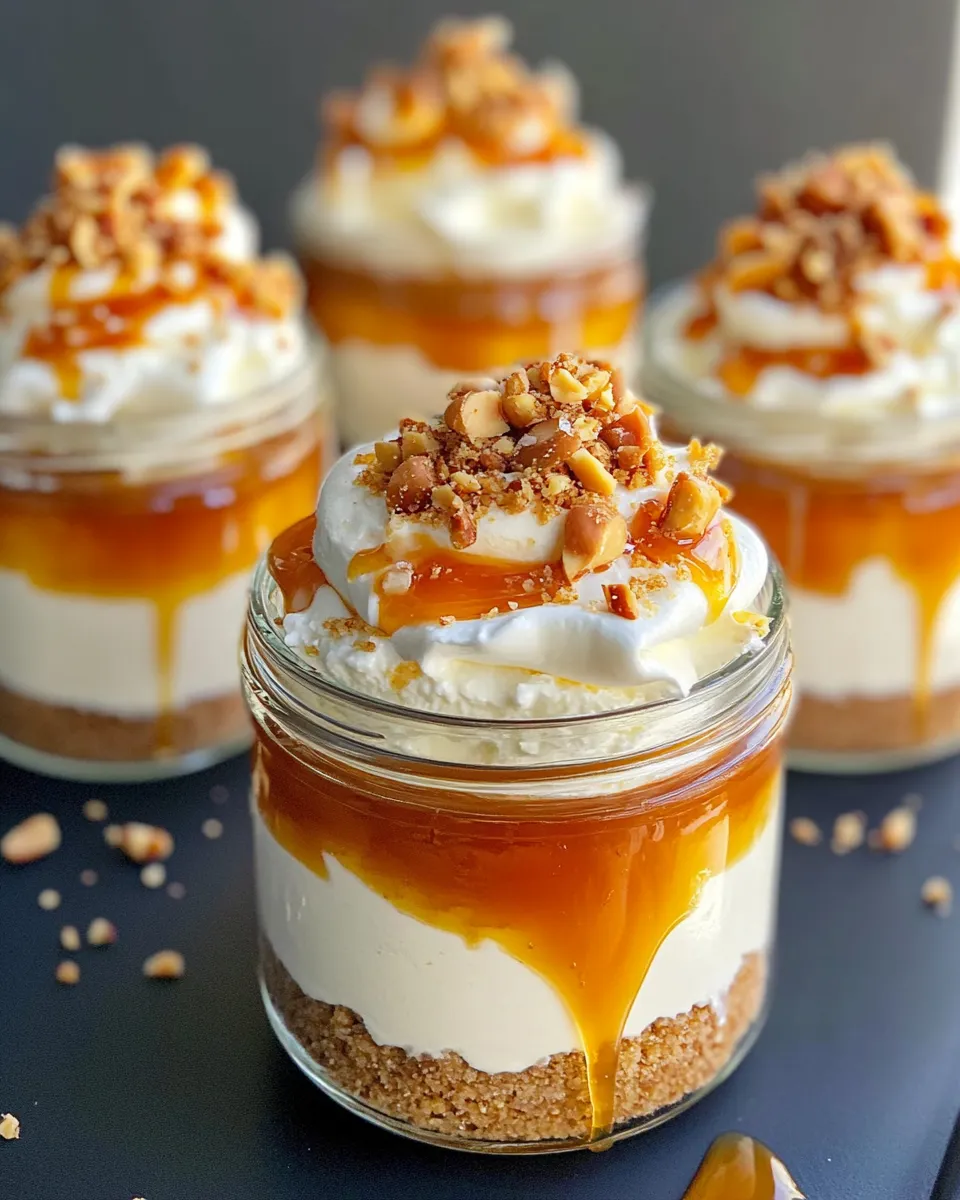
If you’re craving a dessert that’s irresistibly creamy, sweet, and just the right amount of salty, these No-Bake Salted Caramel Cheesecake Jars are your new go-to treat. Perfectly portioned in individual jars, this dessert combines a luscious cheesecake filling with the rich, buttery flavor of caramel and a hint of sea salt, layered atop a crunchy graham cracker crust. The best part? No oven required! Whether you’re hosting a casual get-together or simply want to treat yourself, these jars are as convenient as they are delicious.
Reasons to Love No-Bake Salted Caramel Cheesecake Jars
- Easy preparation: No baking means less time in the kitchen and more time enjoying your dessert.
- Perfect portion control: Individual jars make serving simple and mess-free.
- Delicious flavor combo: The sweet and salty duo of caramel and sea salt is always a crowd-pleaser.
- Versatile presentation: Dress them up with nuts, extra caramel drizzle, or whipped cream for a fancy touch.
- Great make-ahead dessert: Prepare them in advance for stress-free entertaining.
Gather These Ingredients
- 1 cup cream cheese, softened
- 1/2 cup powdered sugar
- 1 teaspoon vanilla extract
- 1 cup whipped cream (store-bought or homemade)
- 1/2 cup caramel sauce (store-bought or homemade)
- 1/4 teaspoon sea salt
- 1 cup graham cracker crumbs
- 1/4 cup unsalted butter, melted
- 1/4 cup chopped nuts (optional, such as pecans or walnuts)
Appliances & Accessories
- Mixing bowl: To blend the cream cheese and sugar smoothly.
- Electric mixer or whisk: For whipping the cream cheese filling to a fluffy texture.
- Measuring cups and spoons: For accurate ingredient portions.
- Spoons or spatula: To fold the whipped cream into the mixture gently.
- Small jars or ramekins: Perfect for assembling and serving individual cheesecake jars.
- Refrigerator: To chill and set the cheesecake jars before serving.
From Start to Finish: No-Bake Salted Caramel Cheesecake Jars
Step 1: Prepare the Crust
Start by combining the graham cracker crumbs and melted butter in a bowl. If you’re adding chopped nuts, mix them in now to add extra crunch. Press this mixture evenly into the bottom of your jars or ramekins to form a firm crust layer. This will create a buttery, crisp base that balances the creamy cheesecake filling.
Step 2: Make the Cheesecake Filling
In a mixing bowl, beat the softened cream cheese until smooth and creamy. Gradually add the powdered sugar and vanilla extract, continuing to beat until fully incorporated and silky. Fold in the whipped cream carefully to keep the mixture light and airy.
Step 3: Add the Salted Caramel
Gently fold in half of the caramel sauce along with the sea salt into the cheesecake mixture. The salt enhances the flavors and balances the sweetness, giving the cheesecake a delightful depth.
Step 4: Assemble the Jars
Layer the cheesecake filling over the graham cracker crust in each jar. Use a spoon or spatula to smooth the tops. Drizzle the remaining caramel sauce over the cheesecake layer, adding a pinch more sea salt if desired. This final touch adds a beautiful glossy finish and an extra hit of flavor.
Step 5: Chill and Serve
Place the jars in the refrigerator for at least 3 hours, or until the cheesecake filling is set and firm. When ready to serve, you can garnish with additional chopped nuts, a dollop of whipped cream, or even a sprinkle of sea salt. These jars are perfect for making ahead and popping out when guests arrive.
Better-for-You Options
- Use light cream cheese and whipped cream alternatives to reduce fat content.
- Swap powdered sugar for a natural sweetener like powdered coconut sugar or a small amount of honey.
- Choose whole-grain or gluten-free graham cracker crumbs for added fiber and nutrition.
- Opt for homemade caramel sauce made with natural sweeteners to control sugar levels.
- Add fresh fruit toppings like sliced apples or berries for extra vitamins and antioxidants.
Notes from the Test Kitchen
- Make sure your cream cheese is fully softened to avoid lumps in the filling—room temperature works best.
- If you prefer a firmer crust, press the graham cracker mixture down very tightly and chill it for 15 minutes before adding filling.
- For a more intense salted caramel flavor, swirl a bit of caramel sauce into the crust before adding the cheesecake layer.
- Chopped nuts add a lovely texture contrast, but feel free to omit if you want a smoother bite.
- Try experimenting with Chocolate Dipped Salted Caramel Shortbread alongside these jars for a caramel-themed dessert spread.
Make-Ahead & Storage
These No-Bake Salted Caramel Cheesecake Jars are a dream for make-ahead desserts. Assemble them up to 2 days in advance and keep them covered tightly in the refrigerator. The cheesecake filling will firm up nicely, and the flavors will meld beautifully.
If you want to store them longer, cover the jars with airtight lids and freeze for up to 1 month. Thaw overnight in the fridge before serving.
Popular Questions
Can I use a different type of cookie for the crust?
Absolutely! While graham cracker crumbs are classic, crushed digestive biscuits, vanilla wafers, or even gingersnaps can make tasty crusts. Just make sure to use the same quantity and melt the butter to bind them well.
Is it necessary to use whipped cream in the filling?
Whipped cream adds lightness and airiness to the cheesecake filling, making it less dense. You can skip it if you prefer a thicker texture, but the filling will be richer and less fluffy.
Can I make the caramel sauce from scratch?
Yes! Homemade caramel sauce is simple and delicious. Just melt sugar until amber, add butter, then slowly stir in cream. Let it cool before using. Check out recipes like Salted Caramel Turtle Pecan Cookies for inspiration on caramel-making techniques.
How long do these cheesecake jars last in the fridge?
They stay fresh for up to 3 days when stored in an airtight container or covered jars. Beyond that, the crust may soften and the texture might change.
More Recipes You’ll Love
- Chocolate Dipped Salted Caramel Shortbread – A buttery shortbread treat with a salted caramel twist.
- Salted Caramel Turtle Pecan Cookies – Rich cookies loaded with caramel and pecans.
- Caramel Macchiato Espresso Chip Cookies – Coffee-flavored cookies with a caramel kick.
That’s a Wrap
These No-Bake Salted Caramel Cheesecake Jars are an effortless way to impress with minimal fuss. Their creamy texture combined with that perfect balance of sweet and salty will have everyone asking for seconds. Whether you’re a dessert novice or a seasoned baker, this recipe is a guaranteed winner. Give it a try for your next celebration or whenever you want a decadent treat that’s quick to pull together. Happy indulging!
Share on Pinterest
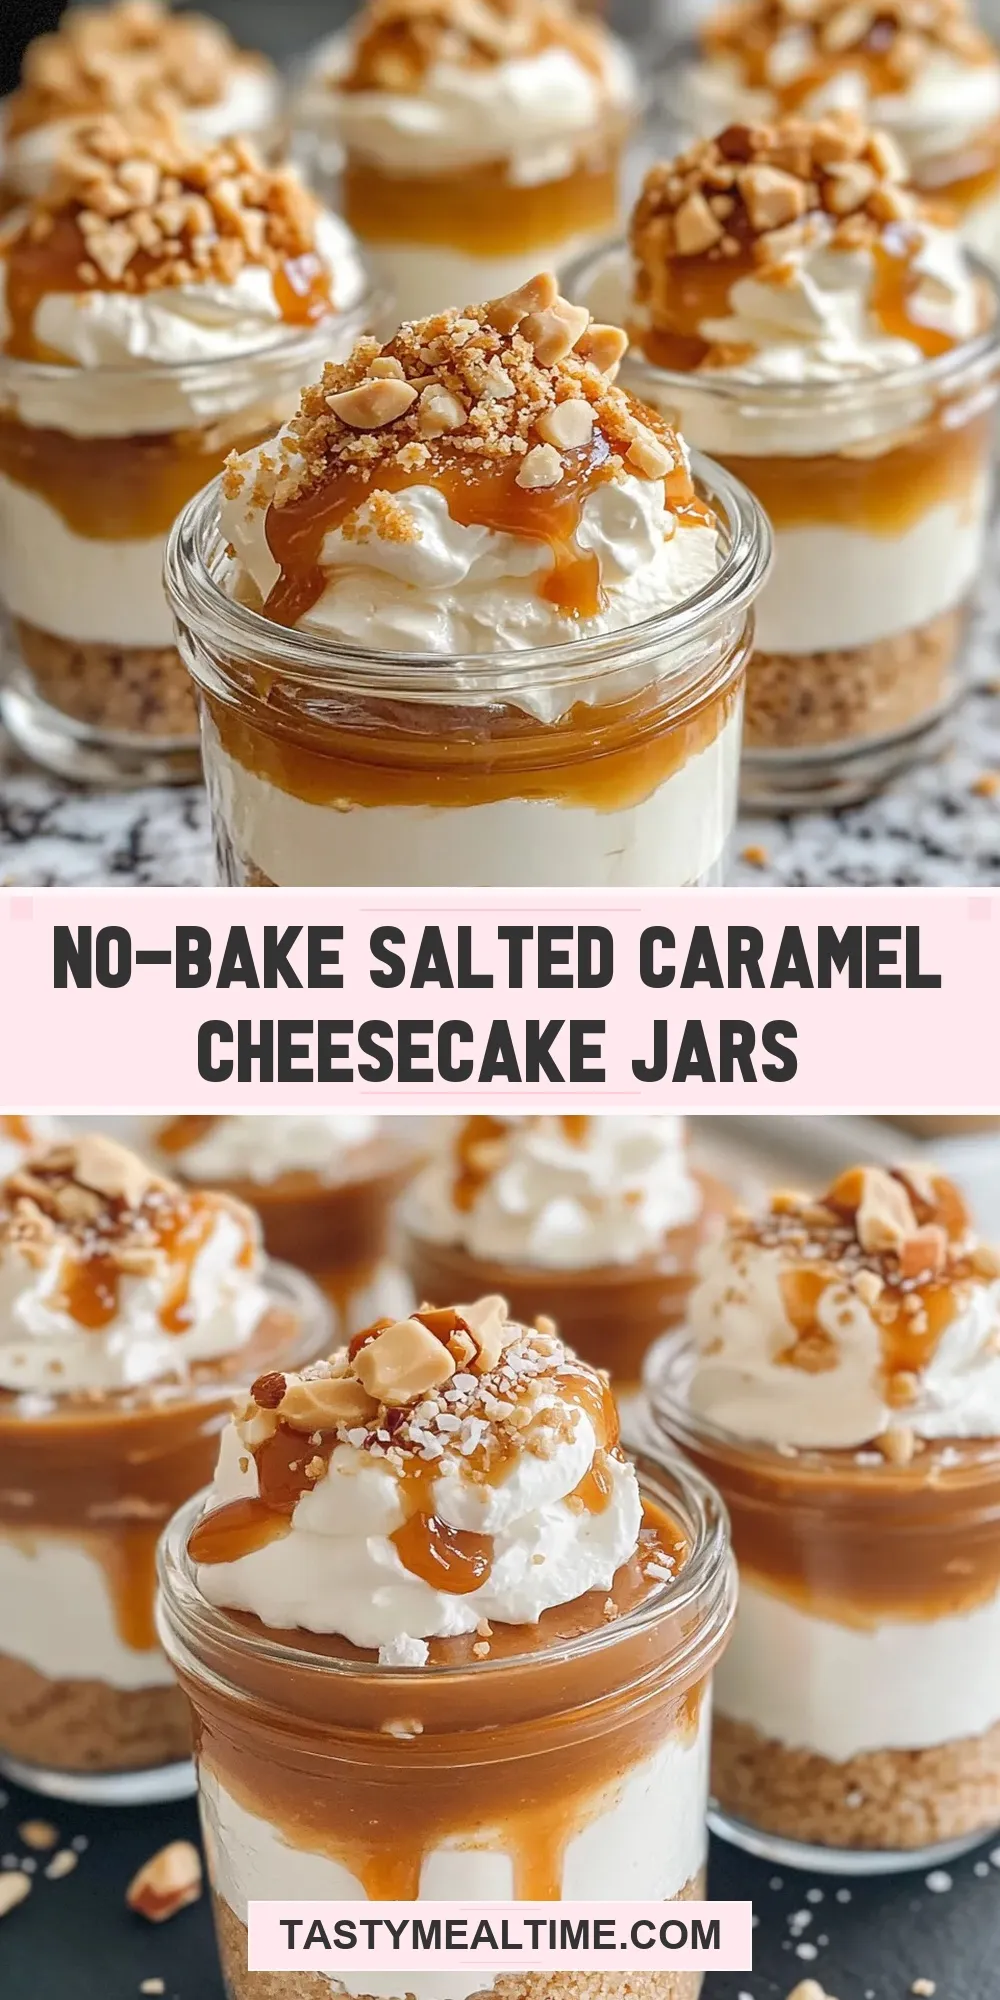

No-Bake Salted Caramel Cheesecake Jars
Ingredients
- 1 cup cream cheese softened
- 1/2 cup powdered sugar
- 1 teaspoon vanilla extract
- 1 cup whipped cream store-bought or homemade
- 1/2 cup caramel sauce store-bought or homemade
- 1/4 teaspoon sea salt
- 1 cup graham cracker crumbs
- 1/4 cup unsalted butter melted
- 1/4 cup chopped nuts optional, such as pecans or walnuts
Instructions
Prepare the Crust
- Combine the graham cracker crumbs and melted butter in a bowl. If using, mix in chopped nuts. Press mixture evenly into the bottom of jars or ramekins to form a firm crust layer.
Make the Cheesecake Filling
- Beat softened cream cheese in a mixing bowl until smooth and creamy. Gradually add powdered sugar and vanilla extract, beating until fully incorporated and silky. Fold in whipped cream gently to keep mixture light and airy.
Add the Salted Caramel
- Fold in half of the caramel sauce and sea salt into the cheesecake mixture. This enhances flavor and balances sweetness.
Assemble the Jars
- Layer the cheesecake filling over the graham cracker crust in each jar. Smooth the tops. Drizzle remaining caramel sauce over the cheesecake layer and add a pinch more sea salt if desired.
Chill and Serve
- Place jars in the refrigerator for at least 3 hours until cheesecake filling is set and firm. Garnish with chopped nuts, whipped cream, or sea salt before serving.
Equipment
- Mixing Bowl
- Electric Mixer or Whisk
- Measuring cups and spoons
- Spoons or spatula
- Small jars or ramekins
- Refrigerator
Notes
- Make sure cream cheese is fully softened to avoid lumps in the filling.
- Press crust mixture tightly and chill for 15 minutes for a firmer crust.
- For stronger salted caramel flavor, swirl caramel sauce into the crust before adding filling.
- Omit chopped nuts if you prefer a smoother texture.
- These jars can be made up to 2 days ahead and stored in the refrigerator covered tightly.