
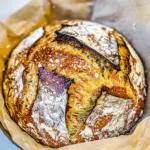
If you’ve ever dreamed of baking your own bread but felt intimidated by the process, I have the perfect solution for you. This No Knead Whole Wheat Bread recipe is simple, requires minimal effort, and yields a beautifully rustic loaf that will make your kitchen smell heavenly. With just a handful of ingredients, you can enjoy the wholesome goodness of whole wheat bread without the need for hours of kneading or complicated techniques. Whether you’re an experienced baker or a complete novice, this recipe is your ticket to homemade bread bliss.
What You’ll Love About This Recipe
– Effortless Preparation: No kneading required, making it perfect for beginners.
– Healthy Ingredients: A delicious blend of whole wheat and all-purpose flour.
– Versatile: Enjoy it fresh, toasted, or as the base for your favorite sandwiches.
– Time-Saving: The long fermentation process does most of the work for you, allowing you to focus on other tasks.
What We’re Using
- 2 cups whole wheat flour: This is the star of the show, providing a hearty texture and rich flavor.
- 2 cups all-purpose flour: Balances the density of whole wheat flour for a lighter loaf.
- 2 teaspoons salt: Essential for flavor and controlling yeast activity.
- 1 teaspoon active dry yeast: The leavening agent that helps the bread rise.
- 2 cups water (room temperature): Hydration is key in this no-knead recipe, activating the yeast and developing gluten.
Must-Have Equipment
- Large mixing bowl: For combining all your ingredients.
- Wooden spoon or spatula: To mix the dough without overworking it.
- Plastic wrap or a damp towel: To cover the bowl during the fermentation process.
- Dutch oven or heavy pot with a lid: For baking the bread, ensuring even heat distribution.
- Cooling rack: To cool your bread after baking for the best texture.
No Knead Whole Wheat Bread Made Stepwise
Step 1: Mix the Dry Ingredients
In a large mixing bowl, combine the whole wheat flour, all-purpose flour, salt, and active dry yeast. Stir them together until they are evenly mixed.
Step 2: Add Water
Slowly pour in the room temperature water while mixing with a wooden spoon or spatula. Continue until no dry flour remains, and the mixture forms a shaggy dough.
Step 3: Let it Rise
Cover the bowl with plastic wrap or a damp towel. Allow the dough to rise at room temperature for 12-18 hours. This long fermentation will develop the flavor and texture of your bread.
Step 4: Shape the Dough
Once the dough has risen and is bubbly, lightly flour a clean surface and turn the dough onto it. With floured hands, gently shape the dough into a ball without kneading.
Step 5: Second Rise
Place the shaped dough onto a piece of parchment paper and cover it with a towel. Let it rest for about 1-2 hours until it has puffed up.
Step 6: Preheat the Oven
About 30 minutes before baking, preheat your oven to 450°F (230°C). Place your Dutch oven inside to heat up as well.
Step 7: Bake the Bread
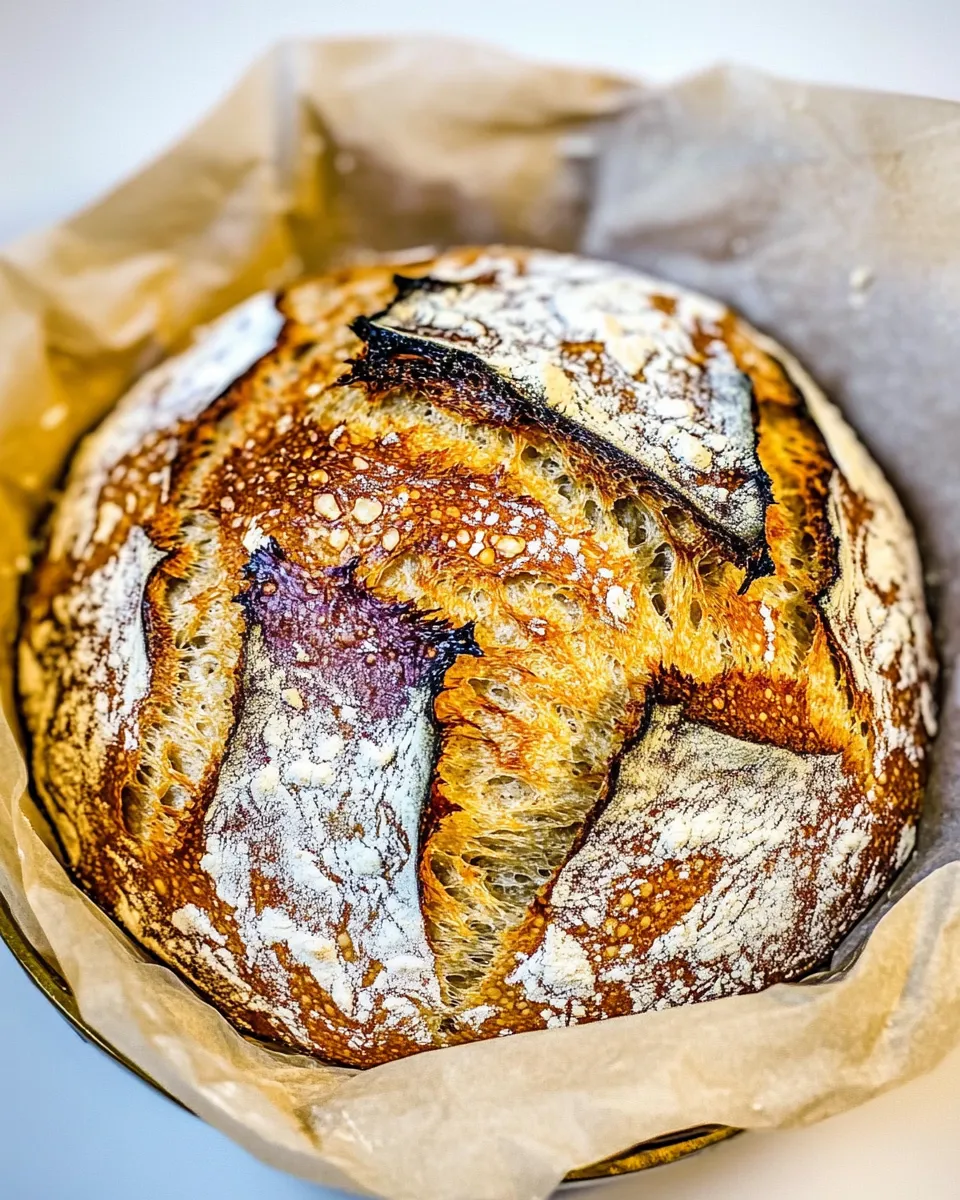
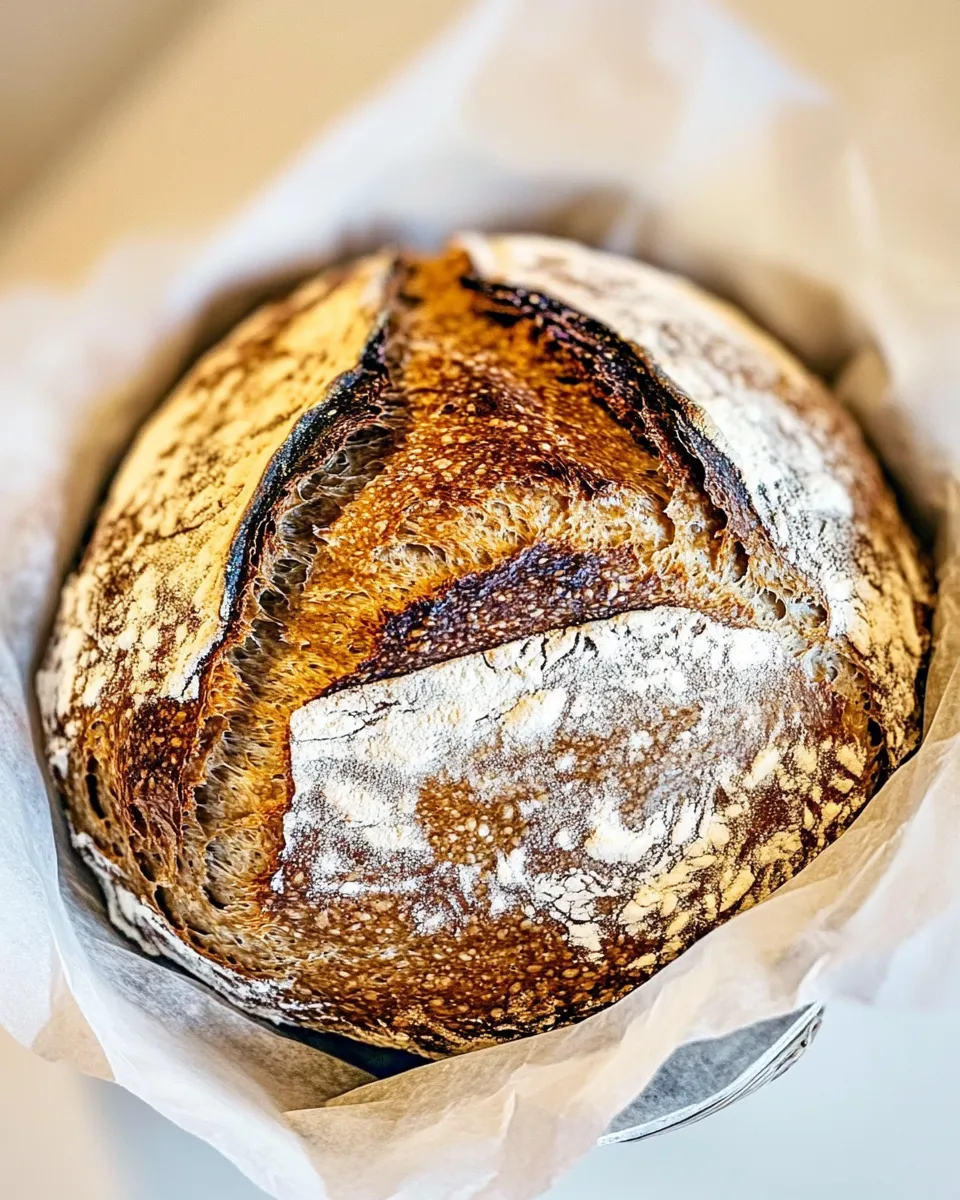
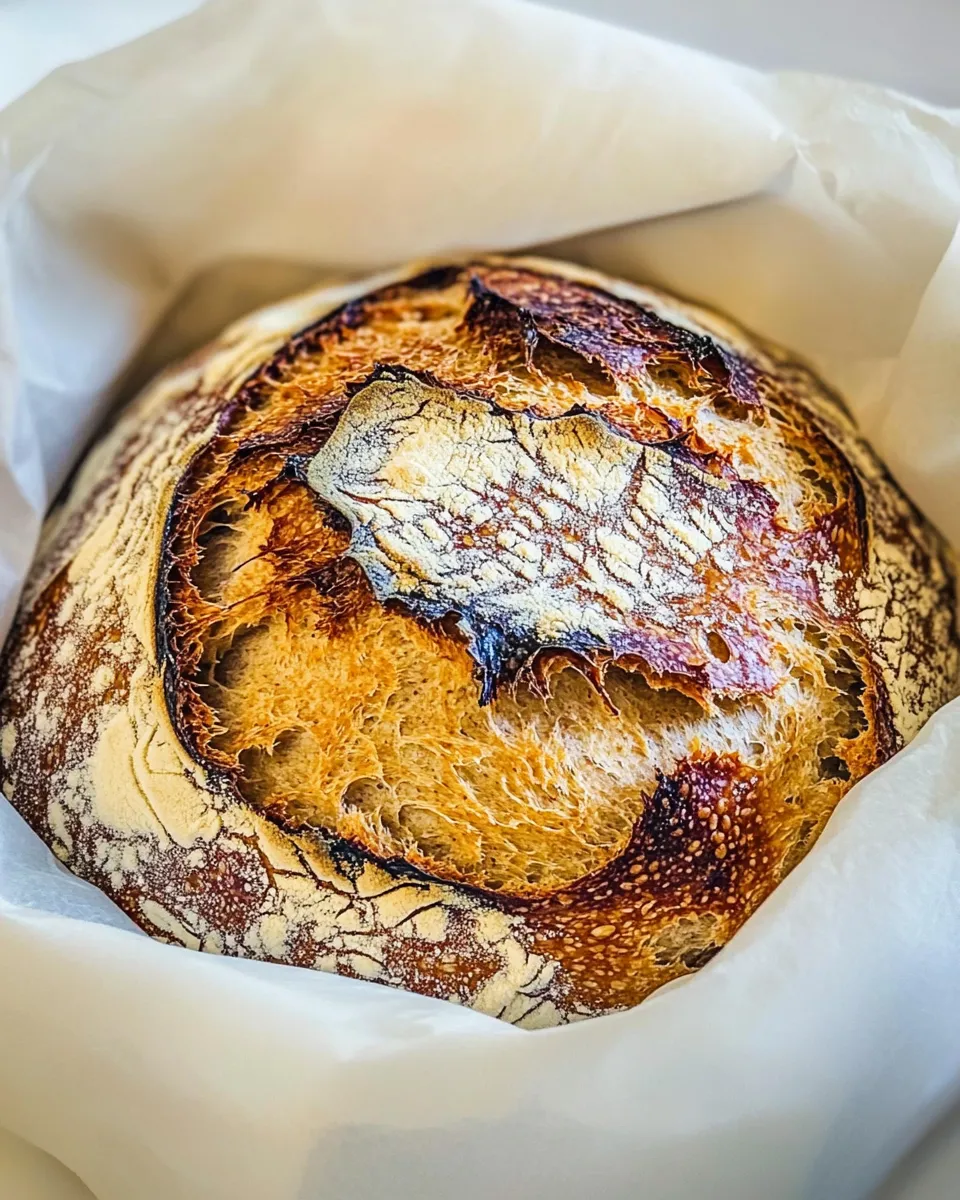
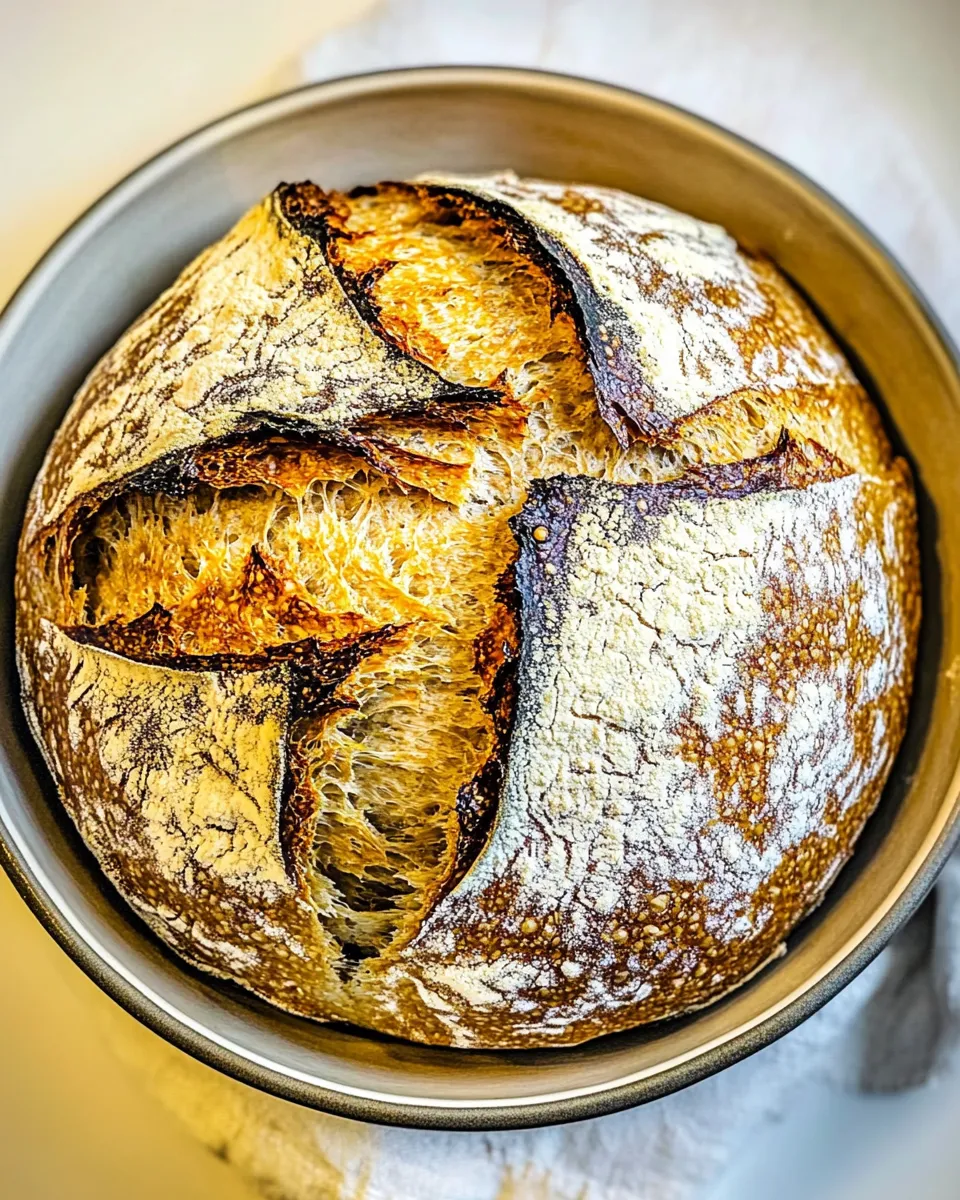
Carefully remove the hot Dutch oven from the oven. Using the parchment paper, lift the dough and place it into the pot. Cover it with the lid and return it to the oven. Bake for 30 minutes covered, then remove the lid and bake for an additional 15-20 minutes until the loaf is golden brown.
Step 8: Cool and Enjoy
Once baked, carefully remove the bread from the Dutch oven and place it on a cooling rack. Allow it to cool completely before slicing to enhance the texture and flavor.
Healthier Substitutions
- Honey or Maple Syrup: For a touch of sweetness, you can add 1-2 tablespoons instead of sugar.
- Olive Oil: A tablespoon of olive oil can be added for extra moisture and flavor.
- Mixed Seeds: Add seeds like flaxseed, chia, or sunflower for added nutrition and crunch.
- Spelt Flour: Substitute some or all of the whole wheat flour with spelt flour for a different flavor profile.
Cook’s Commentary
This No Knead Whole Wheat Bread is an excellent way to enjoy homemade bread with minimal fuss. The beauty of this recipe lies in its simplicity and the ability to customize it to your taste. Feel free to experiment with the types of flour you use or add herbs and spices to the dough for a unique twist. If you’re new to bread baking, embrace the process, and don’t be afraid of a little mess. The results are well worth the effort!
Storing Tips & Timelines
To store your No Knead Whole Wheat Bread, wrap it in a clean kitchen towel and place it in a paper bag at room temperature for up to 3 days. For longer storage, slice the bread and freeze it in an airtight container or freezer bag for up to 3 months. When you’re ready to enjoy, simply toast slices straight from the freezer or let them thaw at room temperature.
Frequently Asked Questions
Can I use only whole wheat flour for this recipe?
Yes, you can use only whole wheat flour, but the texture may be denser. Combining it with all-purpose flour creates a lighter loaf.
What can I do if my dough doesn’t rise?
If your dough hasn’t risen after the fermentation period, check the freshness of your yeast and ensure that the water was at room temperature. Yeast needs warmth to activate properly.
Can I add ingredients like nuts or dried fruits?
Absolutely! You can fold in nuts, seeds, or dried fruits into the dough during the shaping step for added flavor and texture.
Why do I need to preheat the Dutch oven?
Preheating the Dutch oven helps create steam in the pot, which is essential for achieving a crispy crust and a well-cooked interior.
The Last Word
Baking your own bread can be one of the most rewarding kitchen experiences. With this No Knead Whole Wheat Bread recipe, you’re not just creating a loaf; you’re bringing the comforting aroma of freshly baked bread into your home. The simplicity of the process makes it accessible for everyone, and the results are sure to impress. Whether enjoyed warm with a pat of butter or transformed into a delightful sandwich, this bread is bound to become a staple in your kitchen. Embrace the art of baking and savor the deliciousness of your homemade creation!
No Knead Whole Wheat Bread
Ingredients
- 2 cups whole wheat flour
- 2 cups all-purpose flour
- 2 teaspoons salt
- 1 teaspoon active dry yeast
- 2 cups water (room temperature)
Instructions
- In a large mixing bowl, combine the whole wheat flour, all-purpose flour, salt, and active dry yeast. Stir them together until they are evenly mixed.
- Slowly pour in the room temperature water while mixing with a wooden spoon or spatula. Continue until no dry flour remains, and the mixture forms a shaggy dough.
- Cover the bowl with plastic wrap or a damp towel. Allow the dough to rise at room temperature for 12-18 hours.
- Once the dough has risen and is bubbly, lightly flour a clean surface and turn the dough onto it. With floured hands, gently shape the dough into a ball without kneading.
- Place the shaped dough onto a piece of parchment paper and cover it with a towel. Let it rest for about 1-2 hours until it has puffed up.
- About 30 minutes before baking, preheat your oven to 450°F (230°C). Place your Dutch oven inside to heat up as well.
- Carefully remove the hot Dutch oven from the oven. Using the parchment paper, lift the dough and place it into the pot. Cover it with the lid and return it to the oven. Bake for 30 minutes covered, then remove the lid and bake for an additional 15-20 minutes until the loaf is golden brown.
- Once baked, carefully remove the bread from the Dutch oven and place it on a cooling rack. Allow it to cool completely before slicing.
Equipment
- Large Mixing Bowl
- Wooden spoon or spatula
- Plastic wrap or damp towel
- Dutch oven or heavy pot with a lid
- Cooling Rack
Notes
- Wrap the bread in a kitchen towel and store in a paper bag for up to 3 days.
- For longer storage, slice and freeze in an airtight container for up to 3 months.
- Experiment with different types of flour or add herbs for unique flavors.


