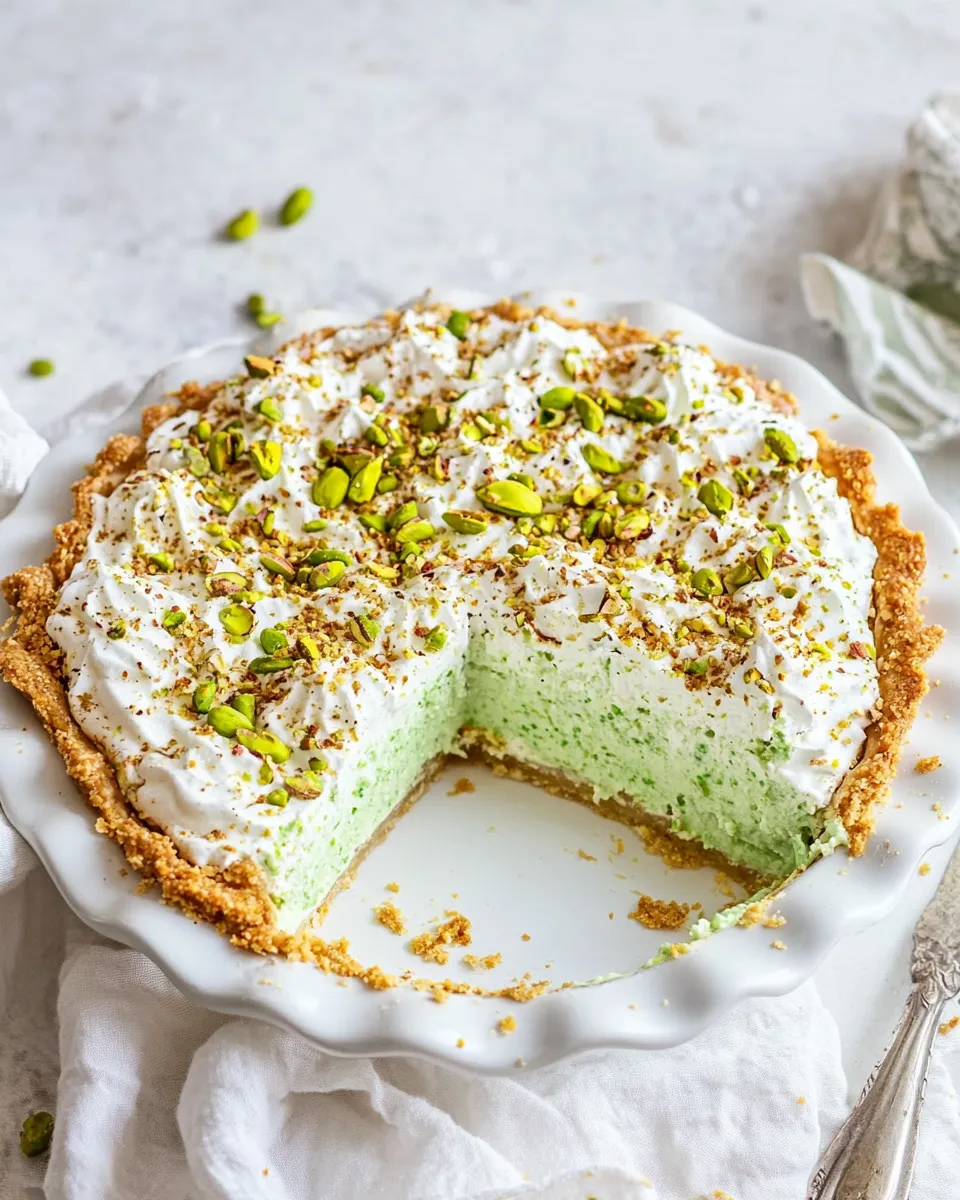
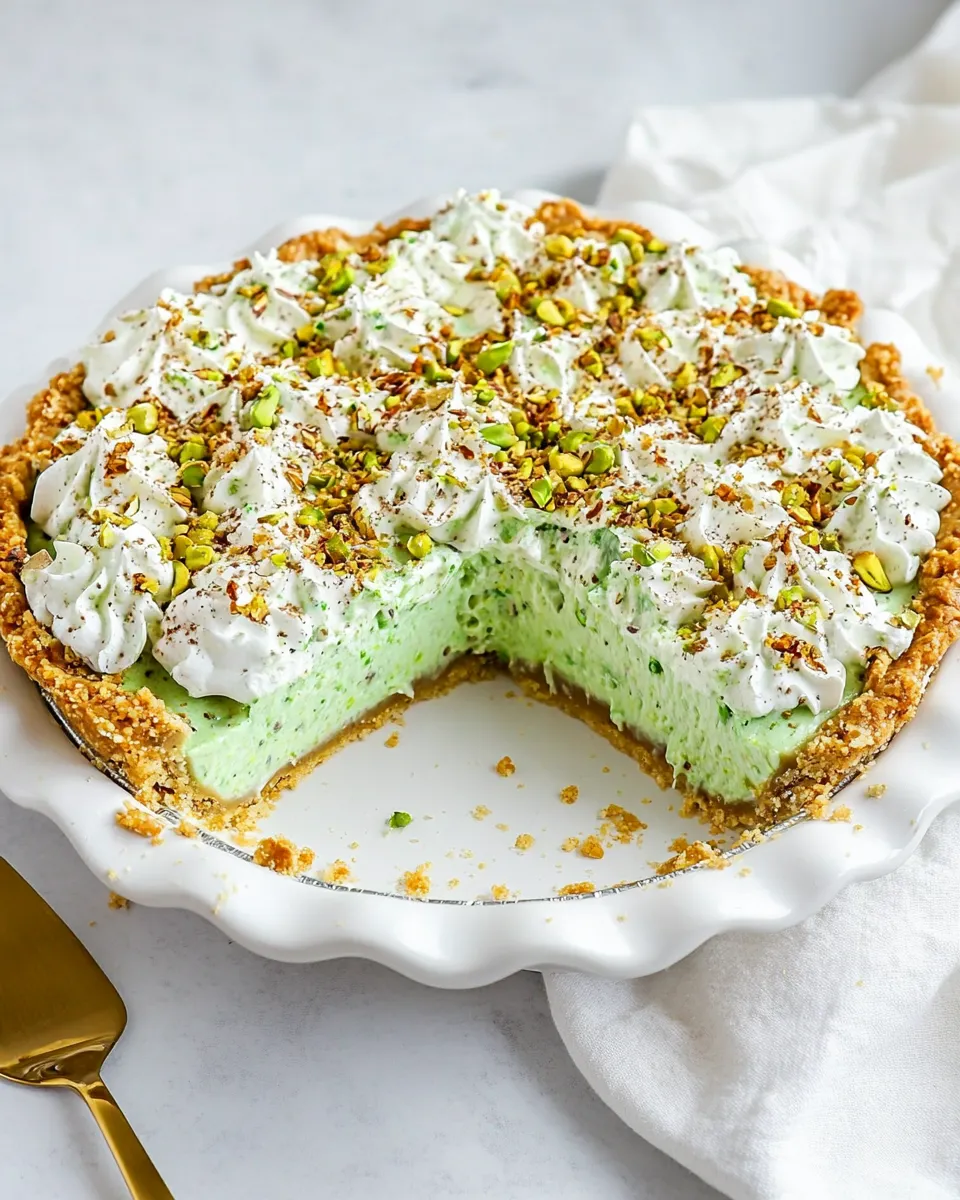
If you’re on the lookout for a dessert that captivates with both its vibrant green hue and its delightful taste, look no further than Pistachio Pie, also known as Watergate Pie. This luscious, no-bake treat is a nostalgic classic that seamlessly combines the creamy richness of pistachio pudding with the refreshing tang of crushed pineapple. Whether served at a summer picnic or a festive holiday gathering, this pie is bound to impress both your family and friends.
Pistachio Pie is a dessert that not only tastes heavenly, but it also brings a sense of nostalgia for many who grew up enjoying this retro favorite. With its easy preparation and an abundance of flavor, it’s a perfect choice for both novice and experienced bakers. Let’s dive into why cooks rave about this pie, what you need to make it, and how to put it all together.
Why Cooks Rave About It
The appeal of Pistachio Pie (Watergate Pie) lies in its simplicity and the delightful combination of textures and flavors. Here are a few reasons why it has become a beloved dessert:
- No-Bake Convenience: This pie requires minimal effort, making it an ideal choice for those hot summer days when you want dessert without heating up the kitchen.
- Unique Flavor Profile: The nutty flavor of pistachios pairs beautifully with the sweetness of marshmallows and the tartness of pineapple, creating a harmonious balance.
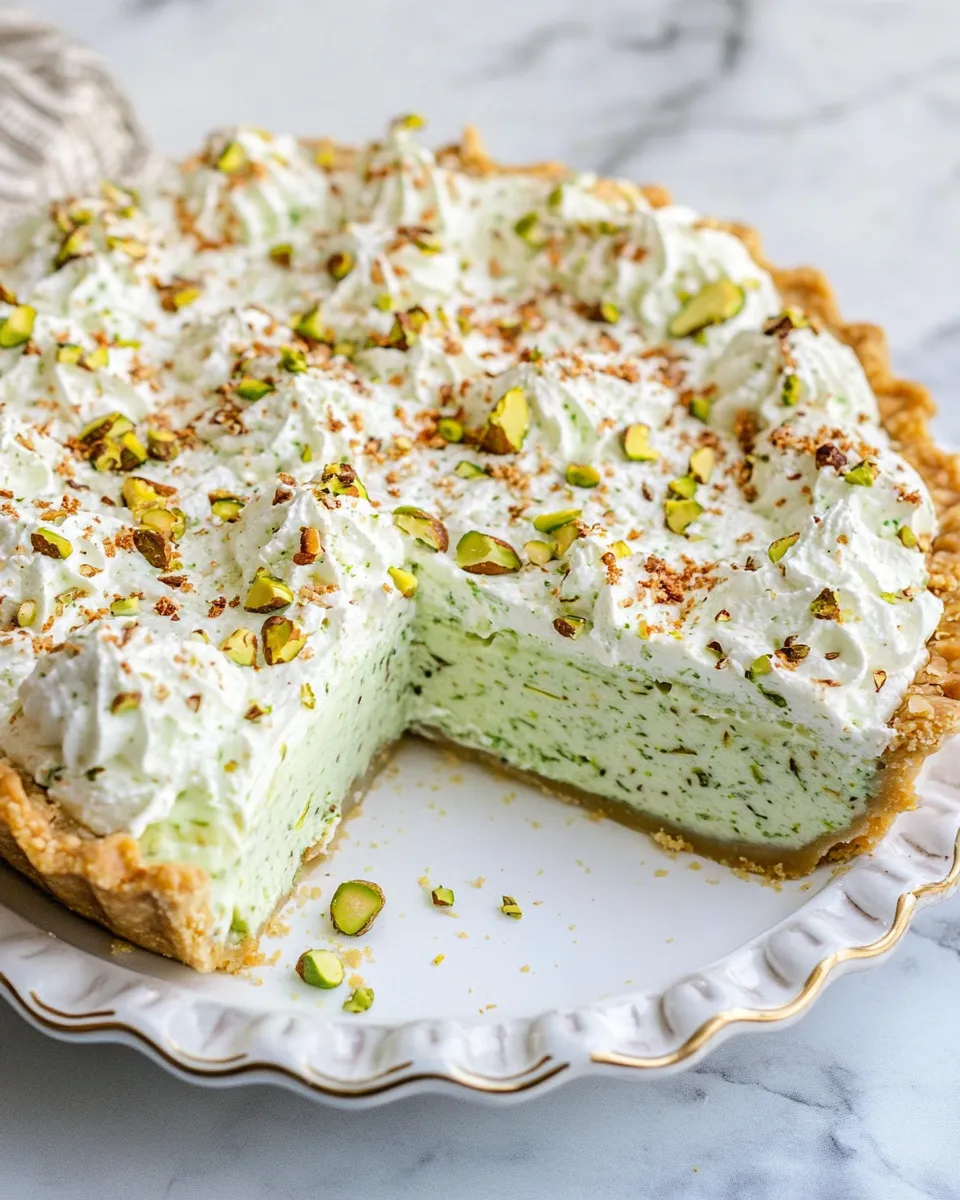
- Vibrant Presentation: The bright green color of the pie is sure to catch the eye and add a pop of color to your dessert table.
- Family-Friendly: With its creamy texture and sweet flavor, it’s a hit among both kids and adults alike, making it a great dessert for gatherings.
What’s in the Bowl
Let’s take a closer look at the ingredients you will need to whip up this delightful Pistachio Pie:
- 1 (3.4 ounce) box instant pistachio pudding mix
- 1 (20 ounce) can crushed pineapple in juice (you’ll drain some of it)
- 1 (8 ounce) container Cool Whip
- 2 cups (109g) mini marshmallows
- 1 cup (131g) chopped pistachios
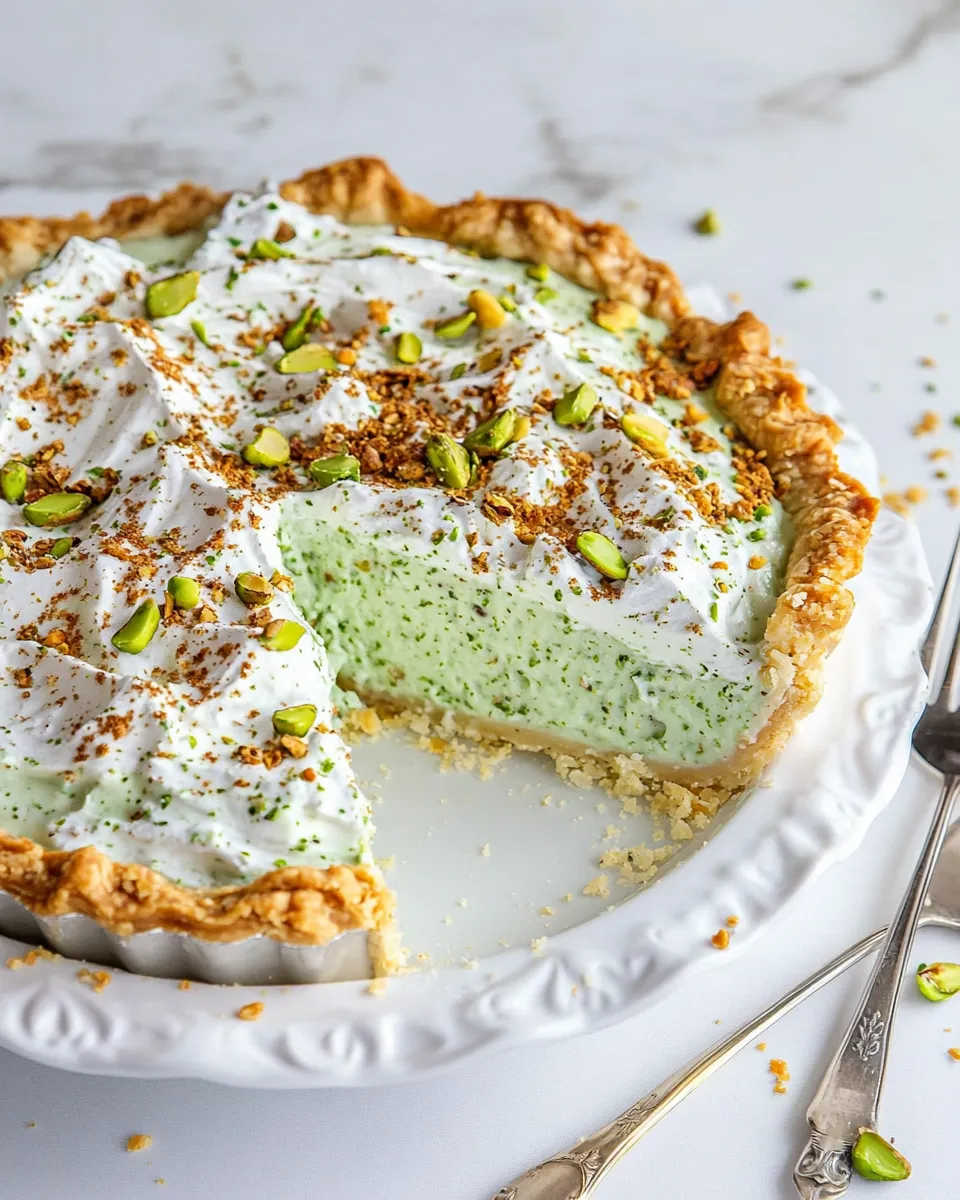
- 1 (9-inch) Graham cracker pie crust (from scratch or store-bought)
Tools & Equipment Needed
Before you start mixing, gather the following tools to streamline your pie-making process:
- Mixing Bowl: A large bowl for combining ingredients.
- Whisk or Electric Mixer: For blending the pudding mix and pineapple smoothly.
- Rubber Spatula: To fold in the Cool Whip and other ingredients gently.
- Measuring Cups and Spoons: For precise ingredient measurements.
- Refrigerator: To chill the pie before serving.
Pistachio Pie (Watergate Pie), Made Easy
Follow these simple steps to create your Pistachio Pie:
Step 1: Prepare the Ingredients
Start by draining the crushed pineapple. Make sure to reserve some of the juice for later if needed.
Step 2: Mix the Pudding
In a large mixing bowl, combine the instant pistachio pudding mix with the drained crushed pineapple. Whisk together until smooth and fully combined. The pudding will start to thicken as it mixes with the pineapple.
Step 3: Fold in the Cool Whip
Gently fold in the Cool Whip using a rubber spatula. This will add a light and airy texture to the pie, making it creamy and delicious.
Step 4: Add Marshmallows and Pistachios
Next, carefully fold in the mini marshmallows and chopped pistachios. Ensure that they are evenly distributed throughout the mixture for that delightful crunch in every bite.
Step 5: Assemble the Pie
Spoon the pistachio mixture into your Graham cracker pie crust. Spread it out evenly using the spatula.
Step 6: Chill
Cover the pie with plastic wrap and refrigerate for at least 2 hours, or until it’s set. This chilling time allows the flavors to meld beautifully and the pie to reach the perfect consistency.
Step 7: Serve and Enjoy
Once the pie is set, slice it, serve it chilled, and watch as your guests rave about this delightful dessert!
Dairy-Free/Gluten-Free Swaps
If you’re looking to make a dairy-free or gluten-free version of Pistachio Pie, here are some easy swaps:
- Dairy-Free Cool Whip: Use a dairy-free whipped topping as a substitute for Cool Whip.
- Gluten-Free Graham Cracker Crust: Opt for a gluten-free graham cracker crust or make your own using gluten-free cookies.
- Almond Milk Pudding Mix: Ensure the instant pudding mix is dairy-free by checking the label or using a suitable alternative.
Things That Go Wrong
Even the best bakers face challenges in the kitchen. Here are common pitfalls to avoid when making Pistachio Pie:
- Not Draining Pineapple Properly: If you don’t drain the pineapple well, the pie can become too watery, affecting its texture.
- Overmixing Cool Whip: Gently fold the Cool Whip into the mixture to maintain its light and fluffy texture; overmixing can lead to a dense pie.
- Skipping the Chilling Step: Be sure to chill the pie adequately for it to set properly. Skipping this step can result in a runny filling.
- Using a Small Crust: Ensure your pie crust is the right size (9 inches) to hold all the filling without overflowing.
Prep Ahead & Store
Pistachio Pie is a fantastic make-ahead dessert. Here’s how to prep and store it:
This pie can be made a day in advance, making it perfect for gatherings. Simply cover it tightly with plastic wrap or aluminum foil to store it in the refrigerator. It will stay fresh for up to 3 days. However, for the best taste and texture, it’s recommended to enjoy it within the first 48 hours.
Your Questions, Answered
Can I make Pistachio Pie without a crust?
Absolutely! You can serve the pistachio filling in cups or jars for a fun, no-crust dessert option.
Can I use fresh pistachios instead of chopped ones?
Yes, fresh pistachios can be used. Just make sure to chop them finely to distribute the flavor and texture evenly throughout the pie.
Can I freeze Pistachio Pie?
While it’s best enjoyed fresh, you can freeze the pie for up to a month. Just make sure to wrap it well to prevent freezer burn.
How do I make this pie more visually appealing?
Add a dollop of whipped cream on top and sprinkle additional chopped pistachios or a few mini marshmallows for a beautiful presentation!
If you enjoyed making Pistachio Pie (Watergate Pie), you might also love these other delicious recipes:
The Takeaway
Pistachio Pie (Watergate Pie) is more than just a dessert; it’s a nostalgic piece of culinary history that brings smiles and satisfaction to all who enjoy it. With its creamy texture, delightful flavor combination, and simple preparation, it has rightfully earned its place in our hearts and on our tables. Whether you’re serving it at a family gathering or enjoying a slice on a quiet evening at home, this pie is sure to leave a lasting impression.
So gather your ingredients, follow the steps, and prepare to delight in a slice of this green-hued wonder!

Pistachio Pie (Watergate Pie)
Ingredients
Ingredients
- 1 box instant pistachio pudding mix (3.4 ounce)
- 1 can crushed pineapple (20 ounce, drained)
- 1 container Cool Whip (8 ounce)
- 2 cups mini marshmallows (109g)
- 1 cup chopped pistachios (131g)
- 1 9-inch Graham cracker pie crust (from scratch or store-bought)
Instructions
Instructions
- Step 1: Prepare the Ingredients - Start by draining the crushed pineapple. Make sure to reserve some of the juice for later if needed.
- Step 2: Mix the Pudding - In a large mixing bowl, combine the instant pistachio pudding mix with the drained crushed pineapple. Whisk together until smooth and fully combined. The pudding will start to thicken as it mixes with the pineapple.
- Step 3: Fold in the Cool Whip - Gently fold in the Cool Whip using a rubber spatula. This will add a light and airy texture to the pie, making it creamy and delicious.
- Step 4: Add Marshmallows and Pistachios - Next, carefully fold in the mini marshmallows and chopped pistachios. Ensure that they are evenly distributed throughout the mixture for that delightful crunch in every bite.
- Step 5: Assemble the Pie - Spoon the pistachio mixture into your Graham cracker pie crust. Spread it out evenly using the spatula.
- Step 6: Chill - Cover the pie with plastic wrap and refrigerate for at least 2 hours, or until it’s set. This chilling time allows the flavors to meld beautifully and the pie to reach the perfect consistency.
- Step 7: Serve and Enjoy - Once the pie is set, slice it, serve it chilled, and watch as your guests rave about this delightful dessert!
Equipment
- Mixing Bowl
- Whisk or Electric Mixer
- Rubber spatula
- Measuring cups and spoons
- Refrigerator
Notes
- This pie can be made a day in advance for convenience.
- Store tightly covered in the refrigerator for up to 3 days.
- For the best flavor, enjoy within the first 48 hours.