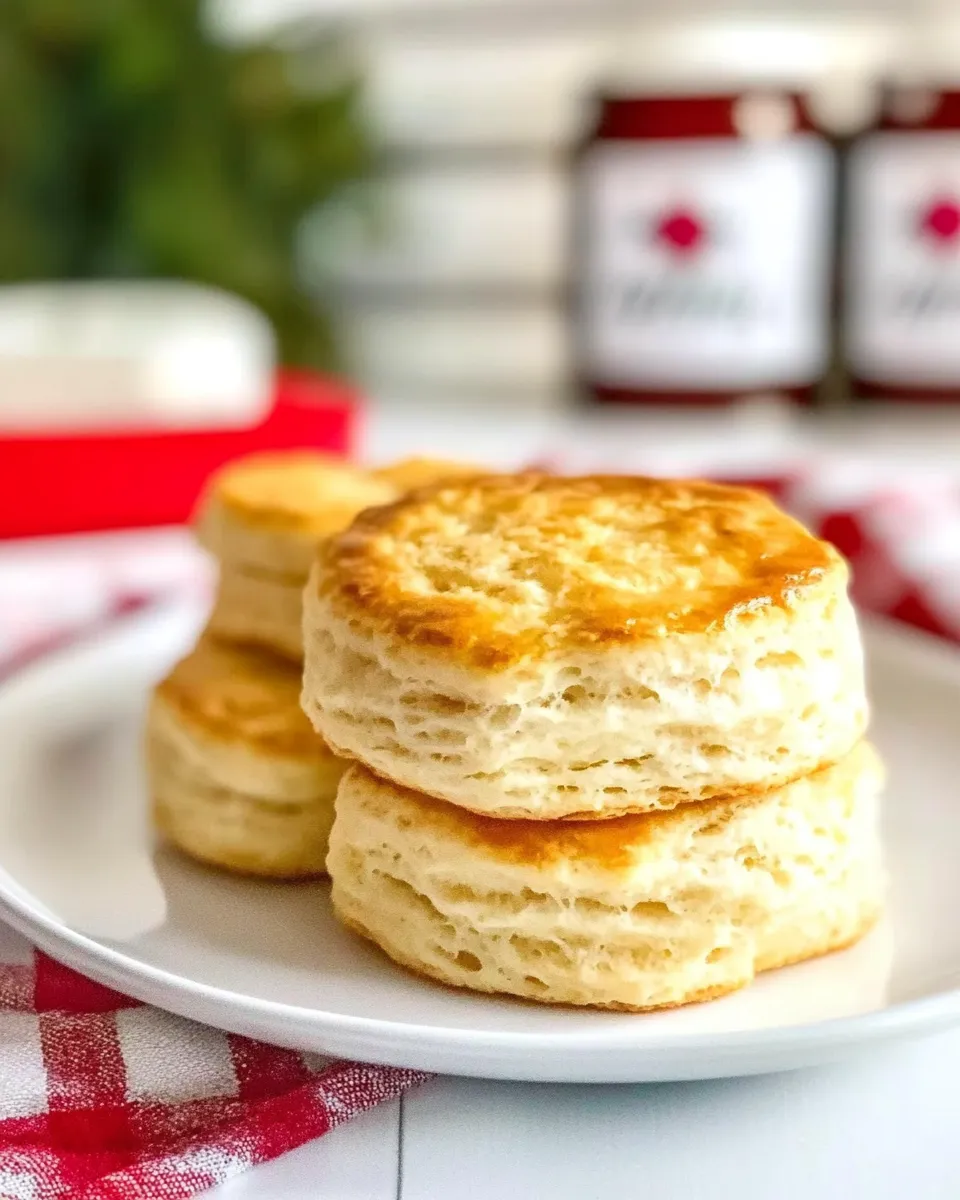
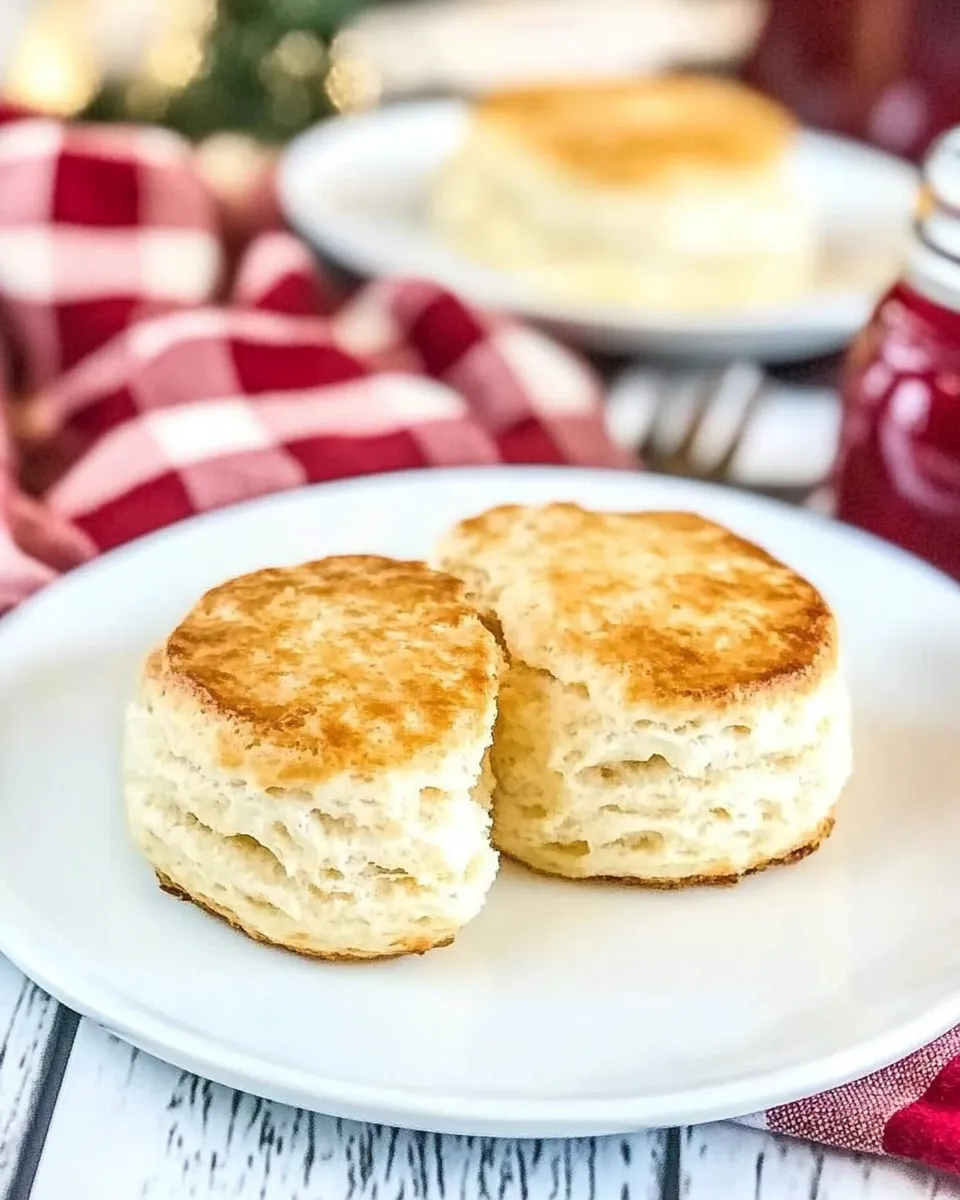
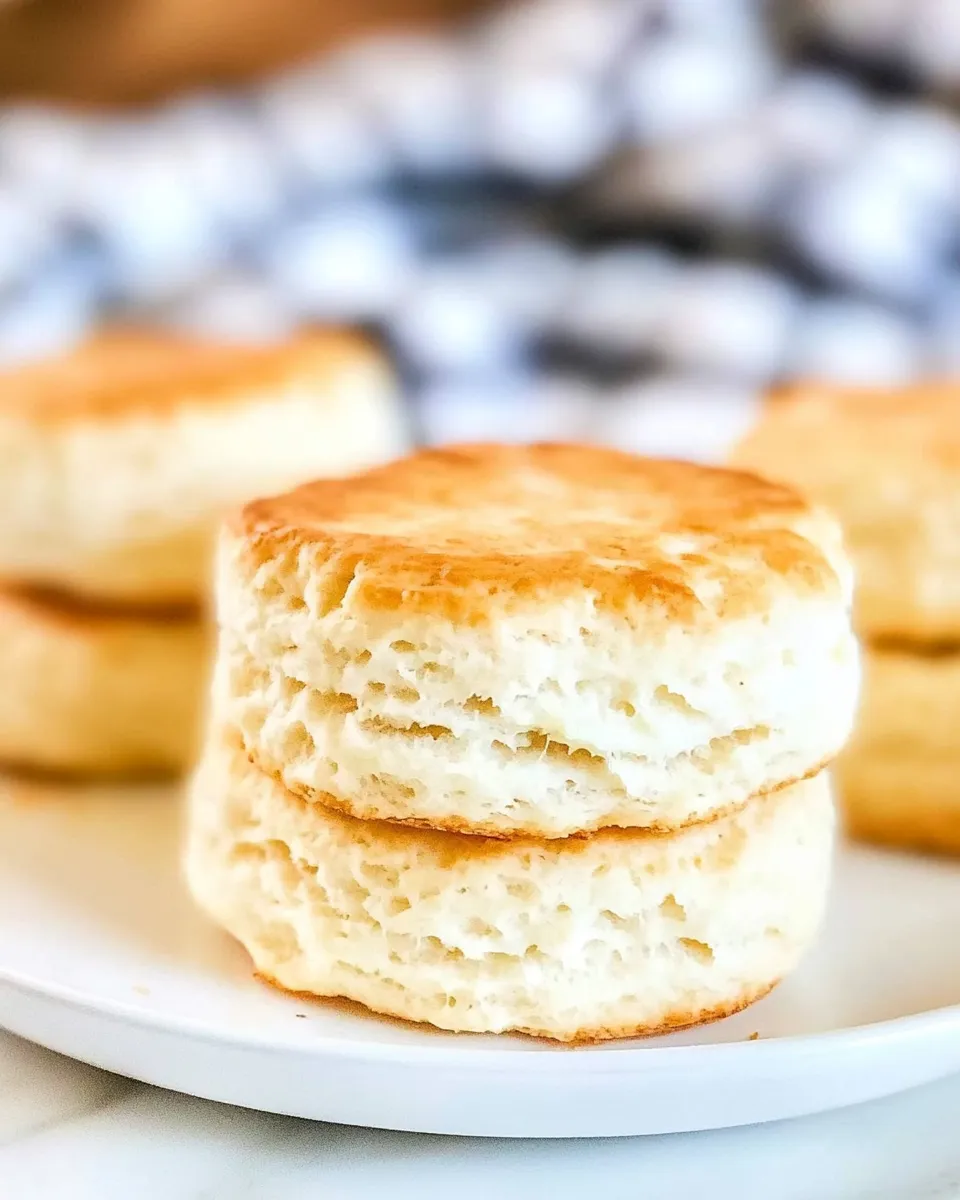
If you’ve ever experienced the joy of biting into a warm, flaky biscuit fresh from the oven, you know it’s a moment of pure bliss. Enter the Ruby Slipper Buttermilk Biscuits, a delightful twist on the classic Southern staple that will quickly become a favorite in your home. With their golden crust and soft, tender center, these biscuits are perfect for breakfast, brunch, or even a cozy dinner. Let’s dive into why this recipe deserves a spot in your weekly cooking rotation.
Why This Recipe Belongs in Your Rotation
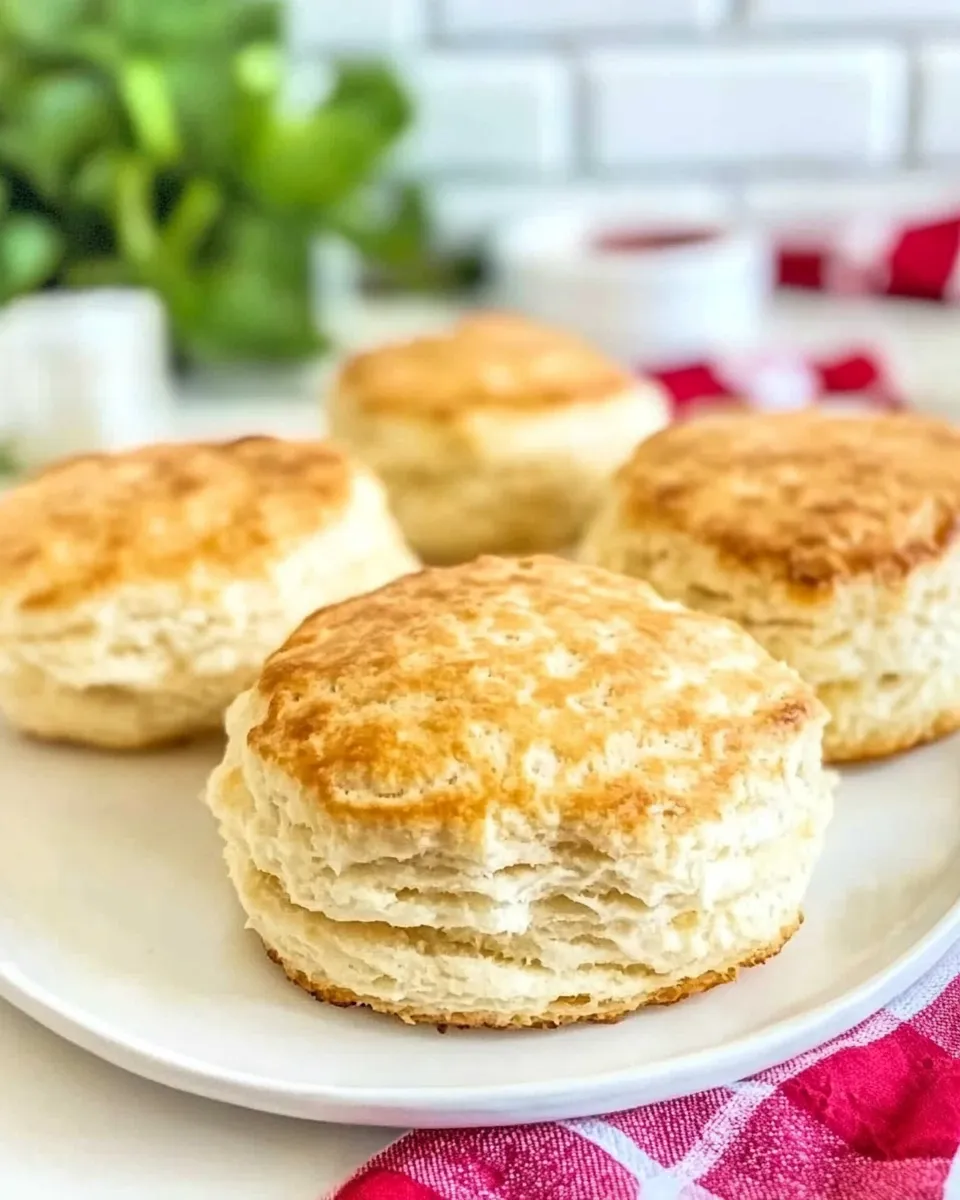
Ruby Slipper Buttermilk Biscuits are more than just a side dish; they are a versatile addition to any meal. The rich flavor of buttermilk combined with the robustness of self-rising flour creates a biscuit that is light yet satisfying. Whether served alongside a hearty stew, slathered with butter and jam, or as the base for a breakfast sandwich, these biscuits are incredibly adaptable. Plus, they come together in no time, making them an ideal choice for both novice cooks and seasoned bakers alike.
Ingredient Checklist
To make Ruby Slipper Buttermilk Biscuits, you’ll need the following simple ingredients:
- 2 lbs self-rising flour (approximately 9 cups): This gives the biscuits their rise and light texture.
- 2 sticks cold butter, grated: Chilled butter creates flaky layers and richness.
- 2 cups buttermilk: The acidity in buttermilk adds flavor and tenderness.
Equipment at a Glance
Before you start baking, gather the necessary tools:
- Mixing bowl: For combining the dry and wet ingredients.
- Whisk: To aerate the flour and mix ingredients thoroughly.
- Baking sheet: To bake your biscuits on; line it with parchment for easy cleanup.
- Rolling pin: For rolling out the dough to the desired thickness.
- Cookie cutter or biscuit cutter: To cut out your biscuits into perfect rounds.
From Start to Finish: Ruby Slipper Buttermilk Biscuits
With your ingredients and equipment ready, let’s walk through the steps to create these delicious biscuits.
Step 1: Preheat the Oven
Preheat your oven to 450°F (232°C). This high heat is essential for achieving that perfect golden crust.
Step 2: Combine Dry Ingredients
In a large mixing bowl, whisk together the self-rising flour to aerate it. This ensures a light and fluffy texture in your biscuits.
Step 3: Add the Cold Butter
Grate the cold butter into the flour mixture. Using a fork or your fingers, work the butter into the flour until the mixture resembles coarse crumbs. It’s important to keep the butter cold to maintain flakiness.
Step 4: Pour in the Buttermilk
Make a well in the center of the flour and butter mixture. Pour in the buttermilk all at once. Using a spatula or wooden spoon, gently stir until just combined. Be careful not to overmix; a few lumps are okay.
Step 5: Roll Out the Dough
Turn the dough out onto a floured surface. Gently pat it into a rectangle about 1 inch thick. Use your rolling pin to assist if necessary, but avoid working the dough too much to keep it tender.
Step 6: Cut the Biscuits
Using your biscuit cutter, cut out rounds from the dough. Place them on a prepared baking sheet, leaving a little space between each biscuit for optimal baking.
Step 7: Bake
Place the baking sheet in the preheated oven and bake for 12-15 minutes, or until the biscuits are golden brown on top. Keep an eye on them to prevent over-baking.
Step 8: Enjoy!
Once baked, remove the biscuits from the oven and let them cool slightly on a wire rack. Serve warm with butter, honey, or your favorite jam for a delightful treat.
Make It Year-Round
Ruby Slipper Buttermilk Biscuits are not just for special occasions; they can be enjoyed any time of the year. Here are some ideas for making them fit into your seasonal meals:
- Spring: Serve with fresh strawberries and whipped cream for a delightful brunch.
- Summer: Pair with barbecue dishes or use as a base for peach shortcake.
- Fall: Enjoy with savory soups or stews, perfect for cooler weather.
- Winter: Make them as a side for holiday dinners or cozy family breakfasts.
Easy-to-Miss Gotchas
While this recipe is straightforward, there are a few things to keep in mind to ensure your biscuits turn out perfectly:
- Keep Ingredients Cold: Make sure your butter and buttermilk are cold to achieve maximum flakiness.
- Don’t Overwork the Dough: Overmixing can lead to tough biscuits; mix just until combined.
- Oven Temperature: Ensure your oven is fully preheated before baking to achieve the best rise.
Save for Later: Storage Tips
If by some chance you have leftovers (which is unlikely!), here’s how to store your Ruby Slipper Buttermilk Biscuits:
Allow the biscuits to cool completely before storing. Place them in an airtight container at room temperature for up to 2 days. For longer storage, you can freeze them. Simply wrap each biscuit tightly in plastic wrap and store in a freezer-safe bag for up to 3 months. Reheat in the oven at 350°F (177°C) for about 10 minutes to enjoy them warm again.
Top Questions & Answers
Can I substitute the buttermilk with regular milk?
While you can use regular milk, buttermilk adds a unique flavor and helps create a tender biscuit. If you must substitute, consider adding a tablespoon of vinegar or lemon juice to regular milk to mimic the acidity of buttermilk.
What if I don’t have self-rising flour?
You can make your own self-rising flour by combining 1 cup of all-purpose flour with 1.5 teaspoons of baking powder and a pinch of salt. Multiply this by the amount needed for the recipe.
Can I make the dough ahead of time?
Yes! You can prepare the dough in advance and refrigerate it for up to 24 hours. Just remember to bring it back to room temperature before rolling and cutting.
How do I know when the biscuits are done baking?
The biscuits should be golden brown on top, and if you tap the bottom, they should sound hollow. An internal temperature of about 190°F (88°C) is also a good indicator of doneness.
Explore more delicious recipes to complement your baking journey:
Next Steps
Now that you have the recipe for Ruby Slipper Buttermilk Biscuits, it’s time to gather your ingredients, preheat your oven, and bring some warmth and deliciousness into your kitchen. Experiment with add-ins like cheese or herbs to create your own unique twist. No matter how you enjoy them, these biscuits are sure to become a beloved staple in your home.
The Ruby Slipper Buttermilk Biscuits are not just a recipe; they are an experience, one that you can share with friends and family. Embrace the joy of baking and savor every delicious bite. Happy baking!

Ruby Slipper Buttermilk Biscuits
Ingredients
Ingredients
- 2 lbs self-rising flour (approximately 9 cups)
- 2 sticks cold butter (grated)
- 2 cups buttermilk
Instructions
Instructions
- Step 1: Preheat your oven to 450°F (232°C). This high heat is essential for achieving that perfect golden crust.
- Step 2: In a large mixing bowl, whisk together the self-rising flour to aerate it. This ensures a light and fluffy texture in your biscuits.
- Step 3: Grate the cold butter into the flour mixture. Using a fork or your fingers, work the butter into the flour until the mixture resembles coarse crumbs.
- Step 4: Make a well in the center of the flour and butter mixture. Pour in the buttermilk all at once. Stir gently until just combined.
- Step 5: Turn the dough out onto a floured surface. Gently pat it into a rectangle about 1 inch thick.
- Step 6: Using your biscuit cutter, cut out rounds from the dough. Place them on a prepared baking sheet.
- Step 7: Bake for 12-15 minutes, or until the biscuits are golden brown on top.
- Step 8: Once baked, let the biscuits cool slightly on a wire rack. Serve warm with butter, honey, or jam.
Equipment
- Mixing Bowl
- Whisk
- Baking Sheet
- Rolling Pin
- Cookie cutter or biscuit cutter
Notes
- Keep your butter and buttermilk cold for maximum flakiness.
- Don’t overwork the dough to avoid tough biscuits.
- Ensure your oven is fully preheated for the best rise.