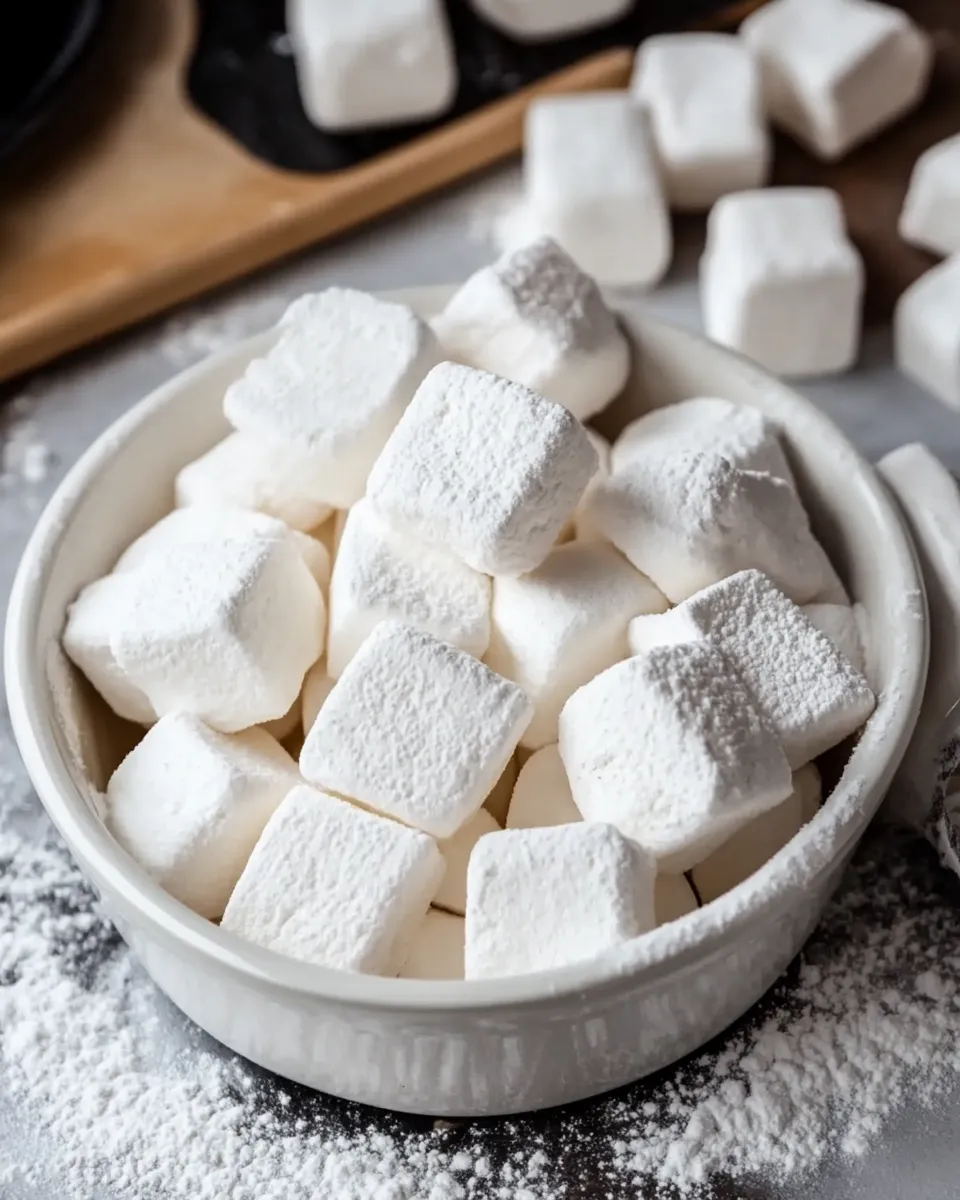
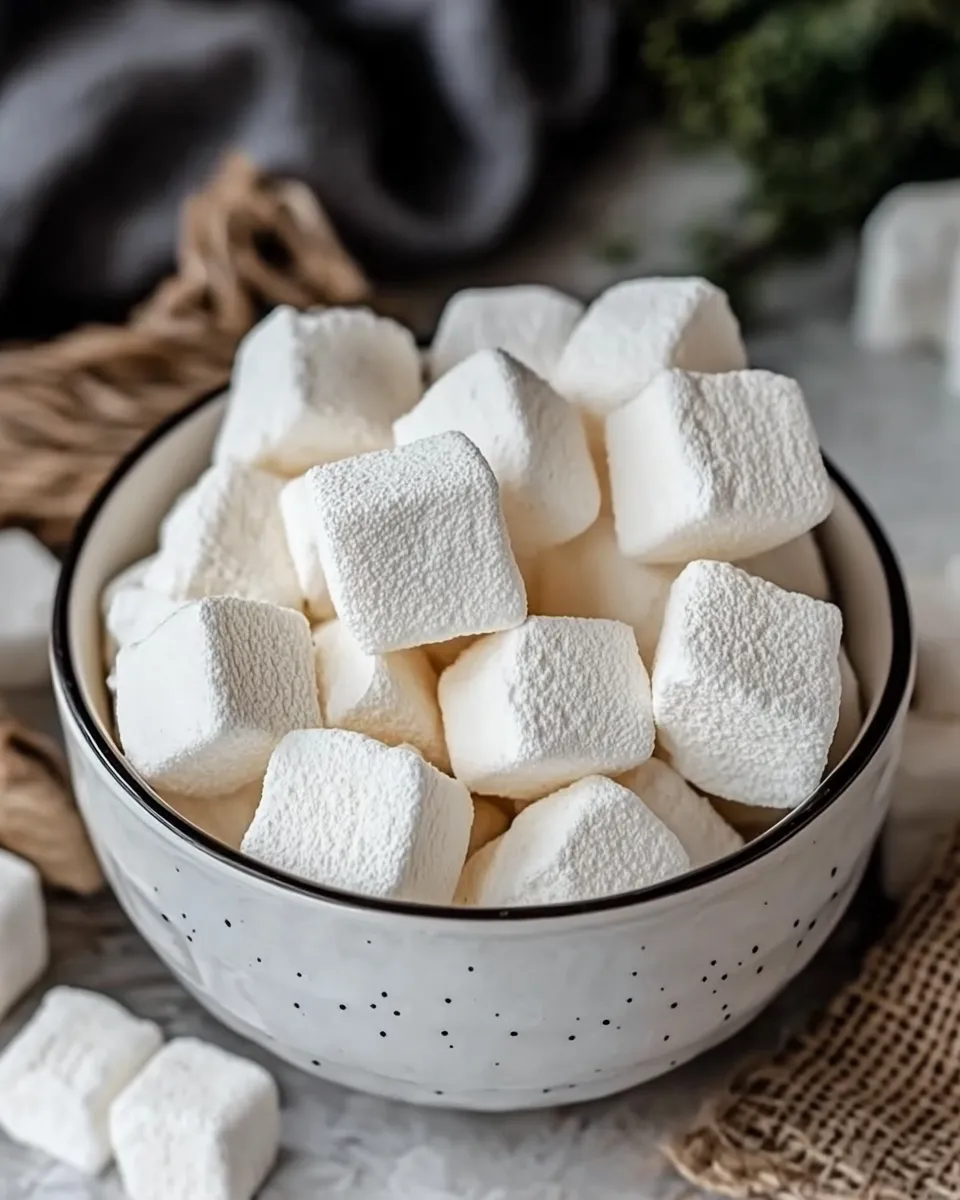
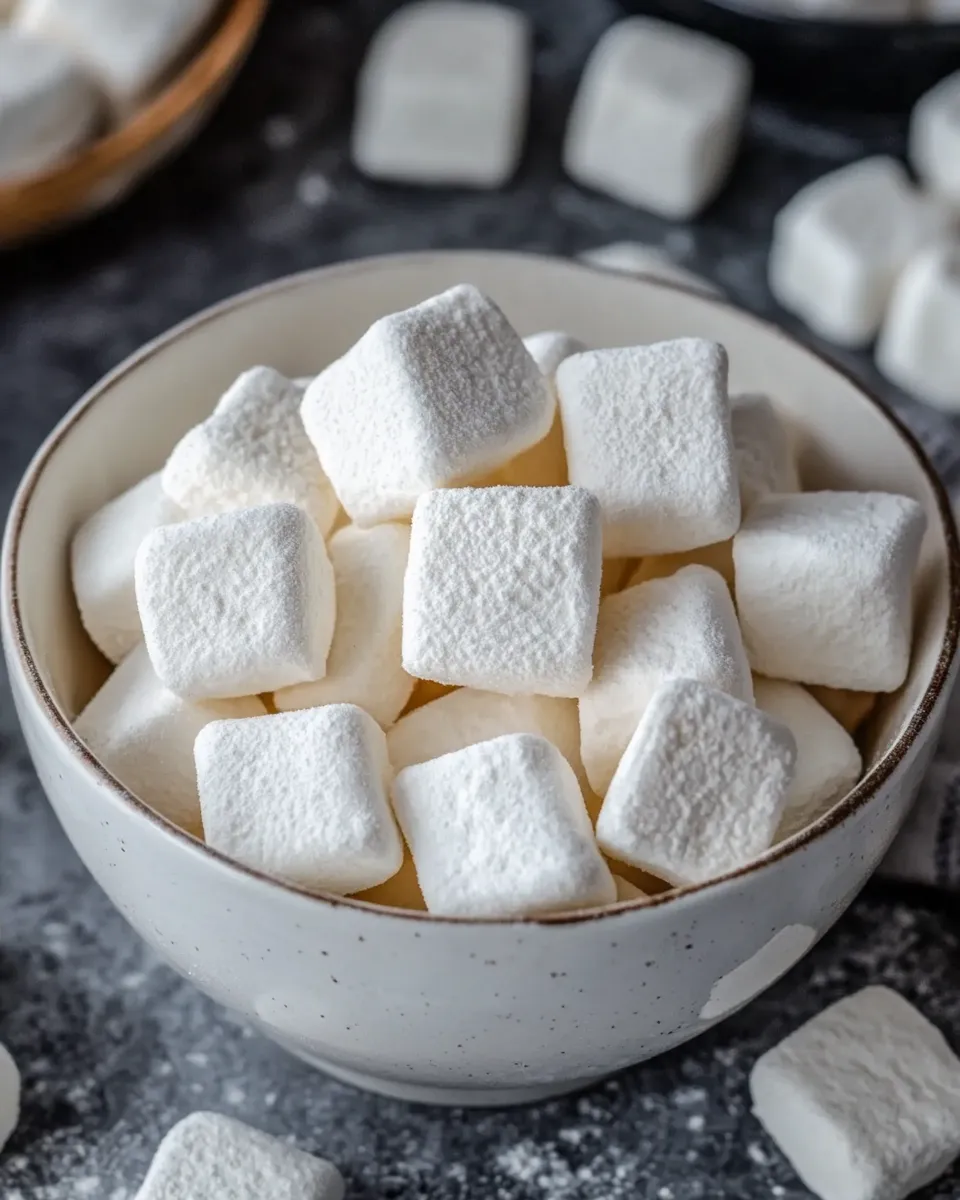
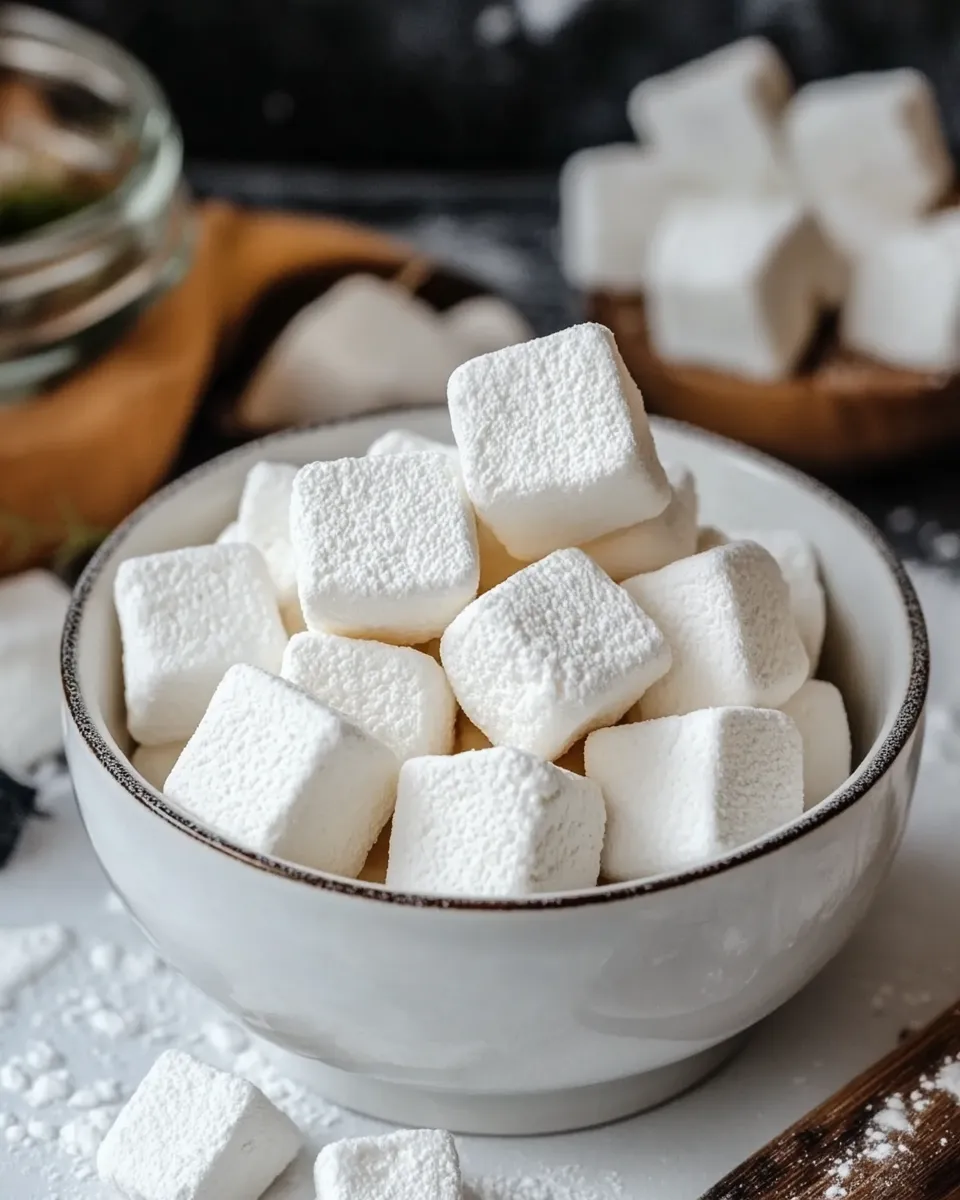
Creating fluffy, delightful sugar free marshmallows at home is not just a fun project; it’s a way to enjoy a nostalgic treat without the sugar rush. These light and airy marshmallows are perfect for snacking, s’mores, or just enjoying on their own. With just a few simple ingredients, you can whip up a batch that’s both delicious and guilt-free. Let’s dive into the sweet world of sugar free marshmallows!
Reasons to Love Sugar Free Marshmallows
The appeal of sugar free marshmallows is undeniable. Here are a few reasons why you’ll fall in love with them:
- Healthier Option: Enjoy the classic marshmallow taste without the added sugars and calories.
- Versatile: Use them in recipes, snacks, or simply enjoy them on their own.
- Easy to Make: With just a few ingredients, anyone can create these delightful treats at home.
- Customizable: Add flavors or colors to make them your own!
Ingredient Checklist
Before you start, gather these ingredients to make your sugar free marshmallows:
- 2 cups water, divided
- 1/3 cup powdered gelatin
- 2/3 cup allulose
- 2 teaspoons vanilla extract
These ingredients are not only simple but also easily accessible. You’re likely to find them in your local grocery store or health food store.
Must-Have Equipment
To ensure a smooth marshmallow-making process, have these tools ready:
- Mixing Bowls: For combining your ingredients.
- Electric Mixer: A stand or hand mixer will help whip the mixture to the perfect fluffiness.
- Measuring Cups and Spoons: Accurate measurements are key to the right consistency.
- 9×9 inch Baking Pan: To set your marshmallows.
- Parchment Paper: To prevent sticking in your baking pan.
Having these tools ready will make your experience much more enjoyable!
From Start to Finish: Sugar Free Marshmallows
Making sugar free marshmallows is a delightful process. Follow these steps for a perfect batch:
Step 1: Prepare the Gelatin
In a small bowl, sprinkle the powdered gelatin over 1 cup of the cold water. Allow it to sit for about 5 minutes until it blooms and becomes thick.
Step 2: Heat the Syrup
In a medium saucepan, combine the remaining 1 cup of water and the allulose. Stir gently over medium heat until the allulose dissolves completely. Bring the mixture to a gentle boil, then reduce the heat and let it simmer for about 5 minutes.
Step 3: Combine Mixtures
Remove the saucepan from heat. Carefully add the bloomed gelatin to the hot syrup, stirring continuously until fully dissolved.
Step 4: Whip It Good
Pour the mixture into a mixing bowl. Using your electric mixer, whip on high speed for about 10 minutes until the mixture becomes thick and fluffy. Add the vanilla extract in the last minute of whipping.
Step 5: Transfer to Pan
Line your 9×9 inch baking pan with parchment paper. Pour the marshmallow mixture into the pan, smoothing the top with a spatula. Let it sit at room temperature for about 4-6 hours, or until set.
Step 6: Cut and Enjoy!
Once set, remove the marshmallow slab from the pan and peel off the parchment paper. Cut into squares and enjoy your homemade sugar free marshmallows!
Swap Guide
Looking to customize your marshmallows? Here are some substitutions you can consider:
- Gelatin: For a vegetarian option, try using agar-agar, though the texture may differ slightly.
- Allulose: Coconut sugar or erythritol can be used, but they may alter the sweetness and texture.
- Vanilla Extract: Experiment with almond or peppermint extract for a different flavor twist.
Feel free to get creative with your flavors and sweeteners!
Method to the Madness
The process of making sugar free marshmallows can be broken down into a few key points:
- Bloom the gelatin properly to achieve the best texture.
- Ensure the allulose is fully dissolved before combining with gelatin.
- Whip the mixture until it’s thick and fluffy for the best results.
- Allow ample time for the marshmallows to set properly for the perfect bite.
Following these tips will ensure your marshmallows are light, fluffy, and delicious!
Save for Later: Storage Tips
To keep your sugar free marshmallows fresh, consider the following storage methods:
- Store in an airtight container at room temperature for up to 2 weeks.
- For longer storage, refrigerate for up to a month.
- Dust with a little cornstarch or powdered sugar to prevent sticking if storing in layers.
These tips will help maintain the delightful texture of your marshmallows.
Your Questions, Answered
Can I use other sweeteners besides allulose?
Yes! While allulose is a great option for sugar free marshmallows, you can substitute with other sweeteners like erythritol or monk fruit. Just keep in mind that the sweetness and texture may vary.
How do I make flavored marshmallows?
To create flavored marshmallows, simply add extracts or flavorings during the whipping process. Popular choices include almond, peppermint, or even citrus zest for a refreshing twist.
Can I use this recipe for s’mores?
Absolutely! These sugar free marshmallows are perfect for s’mores. Just roast them over a fire or in the oven and sandwich them between your favorite sugar-free chocolate and graham crackers.
What if my marshmallows don’t set properly?
If your marshmallows don’t set, it could be due to insufficient whipping or not allowing enough time to set. Make sure to whip until thick and let them sit for the recommended time.
Explore more delightful recipes and ideas with these links:
Each link will guide you towards more delicious, guilt-free treats!
Bring It Home
These sugar free marshmallows are not just a treat; they’re a testament to how delightful and satisfying a healthier version of a classic can be. Whether you’re enjoying them in a warm cup of cocoa, as a snack, or in your favorite desserts, they are bound to bring a smile to your face. So roll up your sleeves, gather those ingredients, and get ready to indulge in a fluffy cloud of sweetness without the sugar!
The world of homemade sugar free marshmallows is waiting for you to explore. Happy marshmallow making!
Sugar Free Marshmallows
Ingredients
- 2 cups water divided
- 1/3 cup powdered gelatin
- 2/3 cup allulose
- 2 teaspoons vanilla extract
Instructions
- In a small bowl, sprinkle the powdered gelatin over 1 cup of the cold water. Allow it to sit for about 5 minutes until it blooms and becomes thick.
- In a medium saucepan, combine the remaining 1 cup of water and the allulose. Stir gently over medium heat until the allulose dissolves completely. Bring the mixture to a gentle boil, then reduce the heat and let it simmer for about 5 minutes.
- Remove the saucepan from heat. Carefully add the bloomed gelatin to the hot syrup, stirring continuously until fully dissolved.
- Pour the mixture into a mixing bowl. Using your electric mixer, whip on high speed for about 10 minutes until the mixture becomes thick and fluffy. Add the vanilla extract in the last minute of whipping.
- Line your 9x9 inch baking pan with parchment paper. Pour the marshmallow mixture into the pan, smoothing the top with a spatula. Let it sit at room temperature for about 4-6 hours, or until set.
- Once set, remove the marshmallow slab from the pan and peel off the parchment paper. Cut into squares and enjoy your homemade sugar free marshmallows!
Equipment
- Mixing Bowls
- Electric Mixer
- Measuring cups and spoons
- 9x9-inch baking pan
- Parchment Paper
Notes
- Store in an airtight container at room temperature for up to 2 weeks.
- For longer storage, refrigerate for up to a month.
- Dust with cornstarch or powdered sugar to prevent sticking if storing in layers.