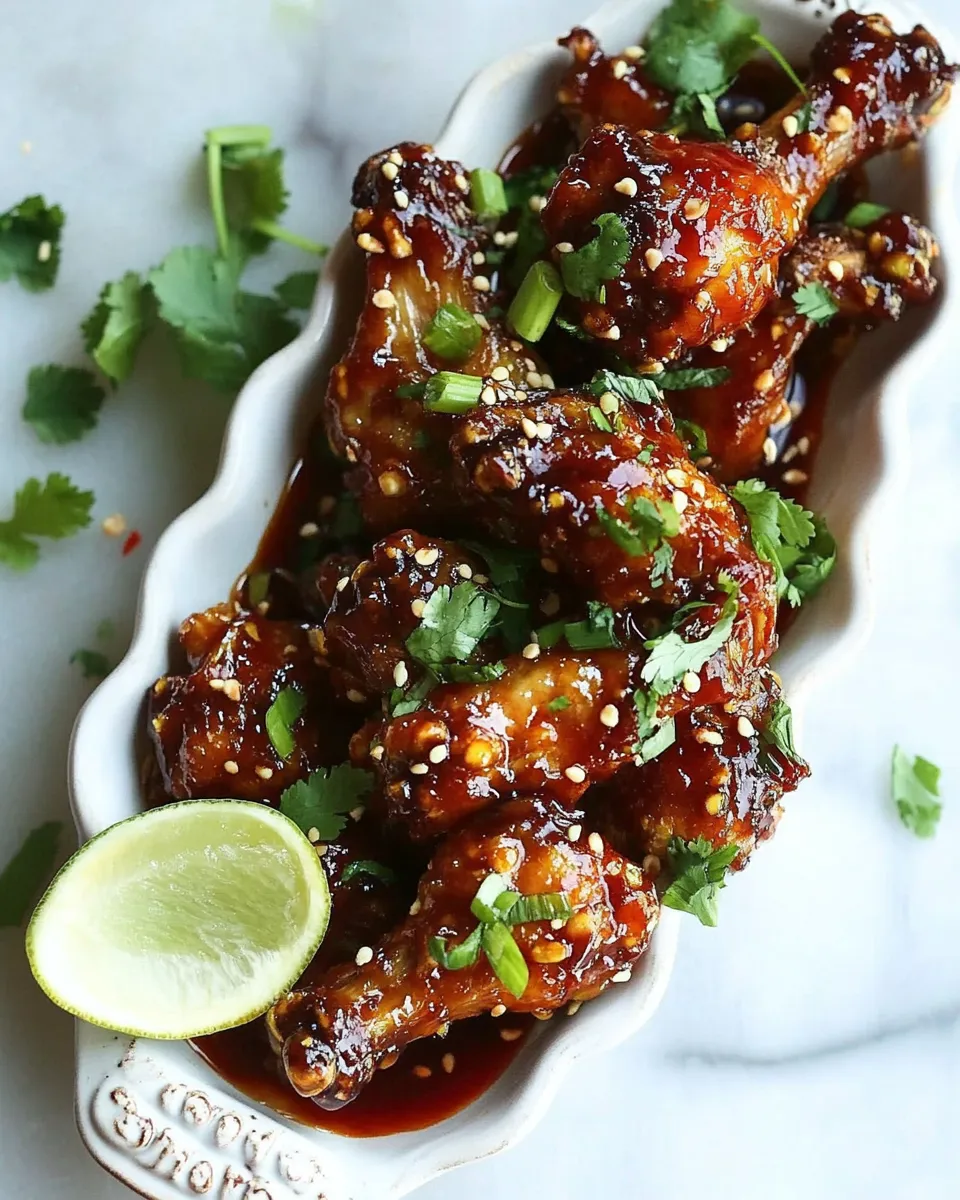
Are you ready to take your weeknight dinners to the next level? Introducing Sweet and Sour Sticky Thai Boneless Oven Baked Chicken Wings! These delightful bites are perfect for game day, a cozy family dinner, or even a snack while binge-watching your favorite series. With a crispy panko coating and a luscious sweet and sour sauce, these chicken wings are sure to impress everyone at your table. Let’s dive into this flavor-packed recipe that brings the vibrant tastes of Thailand right to your kitchen.
The Upside of Sweet and Sour Sticky Thai Boneless Oven Baked Chicken Wings
Not only are these chicken wings incredibly delicious, but they also offer a variety of benefits. First, they are baked instead of fried, making them a healthier option without sacrificing flavor. The use of boneless chicken tenderloins or breasts keeps them juicy and tender. Plus, the sweet and sour sauce, made with fresh ingredients, gives a burst of flavor that will make your taste buds dance. And let’s not forget how easy they are to make, perfect for busy weeknights or entertaining guests!
Your Shopping Guide
To whip up these Sweet and Sour Sticky Thai Boneless Oven Baked Chicken Wings, here’s what you’ll need:
- 1 pound boneless chicken tenderloins or breasts – cut into nugget-sized pieces.
- 3/4 cup buttermilk – for tenderizing the chicken.
- 1 1/2 cups panko – for that extra crunch.
- 2 tablespoons whole wheat flour or cornmeal – helps with the coating.
- 1 cup sweet Thai chili sauce – the star of the sauce!
- 1/3 cup soy sauce – adds depth and umami.
- 1/4 cup dark brown sugar – for sweetness.
- 1 tablespoon peanut butter – optional, but it enhances the flavor.
- 1 tablespoon tomato paste – adds richness.
- 1/2 cup apple juice – for a fruity note.
- 1/4 cup rice vinegar – brings acidity to balance flavors.
- 1 lime, juiced – freshens up the sauce.
- 1 teaspoon fish sauce – optional but adds great flavor.
- 2 cloves garlic, minced or grated – for aromatic goodness.
- 1 tablespoon fresh ginger, grated – adds warmth.
- 1/4 teaspoon crushed red pepper – for a hint of spice.
- 1/4 teaspoon pepper – seasoning.
- 1 tablespoon cornstarch mixed with 1 tablespoon cold water – optional for thickening the sauce.
- 1/4 cup fresh cilantro, chopped – for garnish.
- Chopped cashews – for garnish and crunch.
Recommended Tools
To create these delicious wings, you’ll need a few kitchen essentials:
- Mixing bowls – for marinating and mixing the sauce.
- Baking sheet – to bake the chicken wings evenly.
- Parchment paper – for easy cleanup.
- Whisk – for combining the sauce ingredients.
- Measuring cups and spoons – for accuracy in measurements.
Step-by-Step: Sweet and Sour Sticky Thai Boneless Oven Baked Chicken Wings
Step 1: Marinate the Chicken
Begin by placing your nugget-sized chicken pieces in a large bowl. Pour in the buttermilk, making sure all pieces are well-coated. Let this marinate for at least 30 minutes, or up to 2 hours in the refrigerator for the best results.
Step 2: Prepare the Coating
In another bowl, combine the panko and whole wheat flour (or cornmeal). Mix well to ensure an even coating when you are ready to bread the chicken.
Step 3: Preheat the Oven
Preheat your oven to 400°F (200°C) and line a baking sheet with parchment paper for easy cleanup and to prevent sticking.
Step 4: Bread the Chicken
Once the chicken has marinated, remove it from the buttermilk, allowing excess to drip off. Dredge each piece in the panko mixture, pressing lightly to ensure the crumbs adhere well. Arrange the coated chicken nuggets on the prepared baking sheet.
Step 5: Bake the Chicken
Place the baking sheet in your preheated oven and bake for about 20-25 minutes, or until the chicken is golden brown and cooked through. For extra crispiness, you can broil them for the last 2-3 minutes.
Step 6: Make the Sauce
While the chicken is baking, prepare your sauce. In a saucepan over medium heat, combine the sweet Thai chili sauce, soy sauce, dark brown sugar, peanut butter, tomato paste, apple juice, rice vinegar, lime juice, fish sauce (if using), garlic, ginger, crushed red pepper, and pepper. Stir to combine, then bring to a gentle simmer.
Step 7: Thicken the Sauce (optional)
If you prefer a thicker sauce, mix the cornstarch with cold water in a small bowl, then add it to the simmering sauce. Stir continuously until it thickens to your desired consistency.
Step 8: Toss the Chicken in Sauce
Once the chicken is baked, remove it from the oven and transfer it to a large bowl. Pour the sweet and sour sauce over the chicken and toss until all pieces are evenly coated.
Step 9: Serve and Garnish
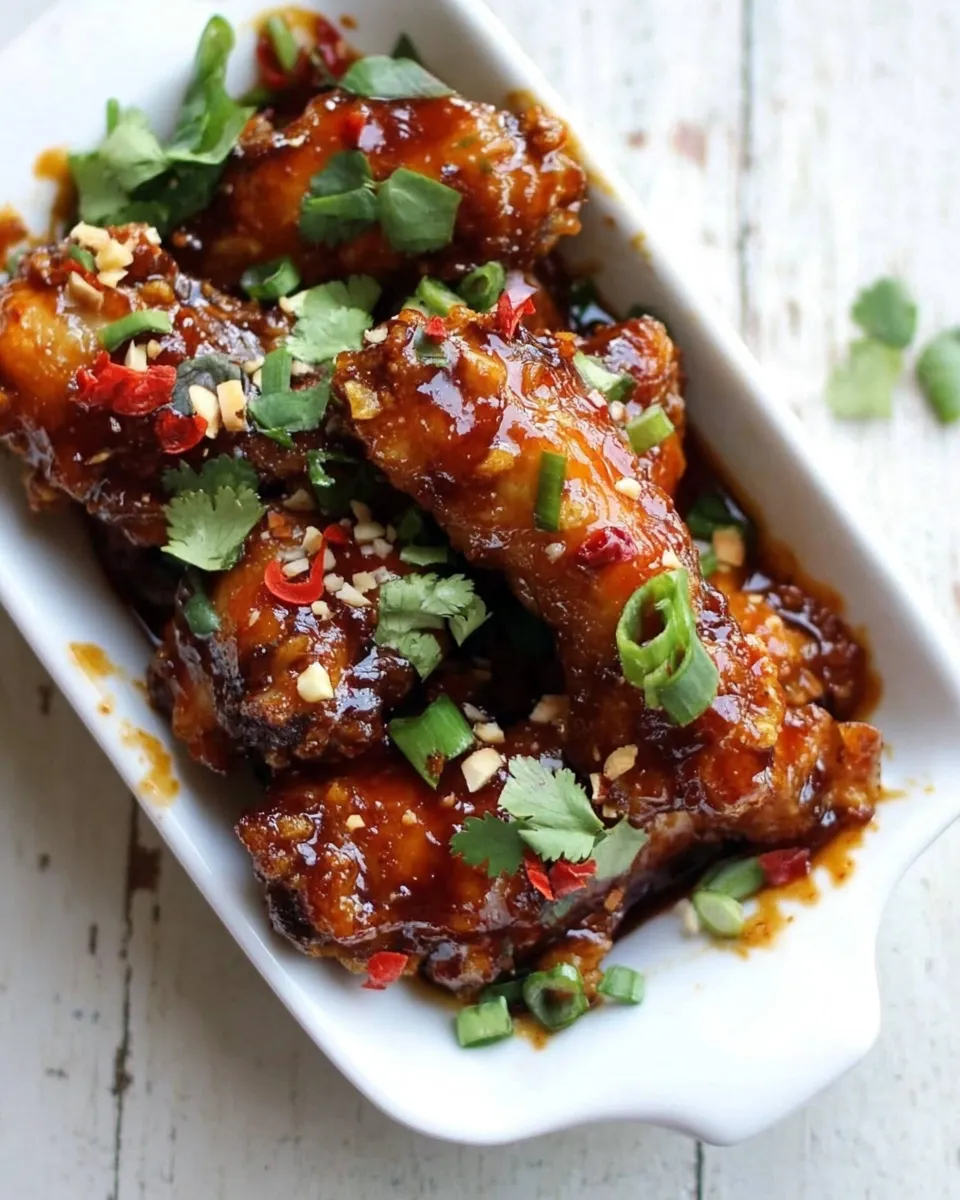
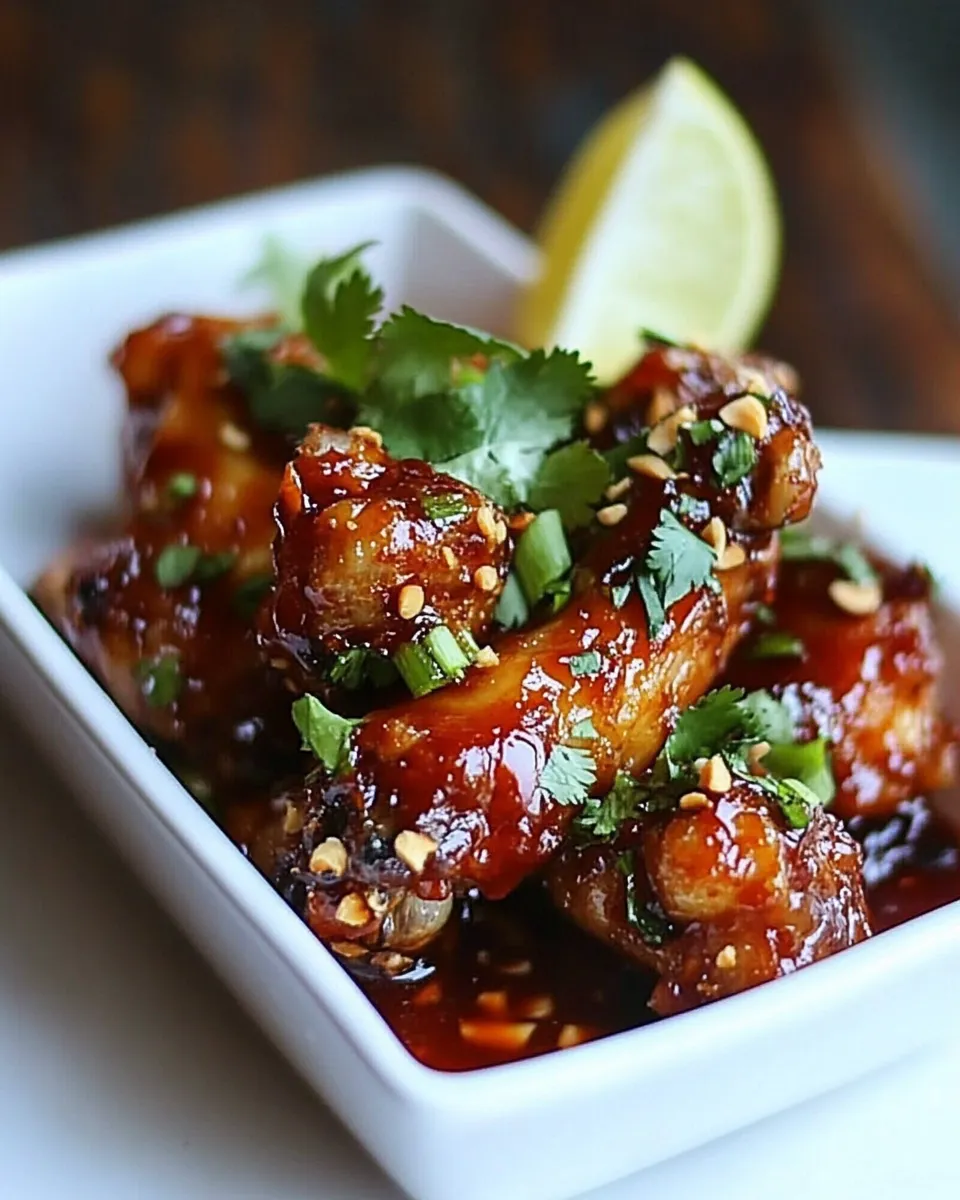
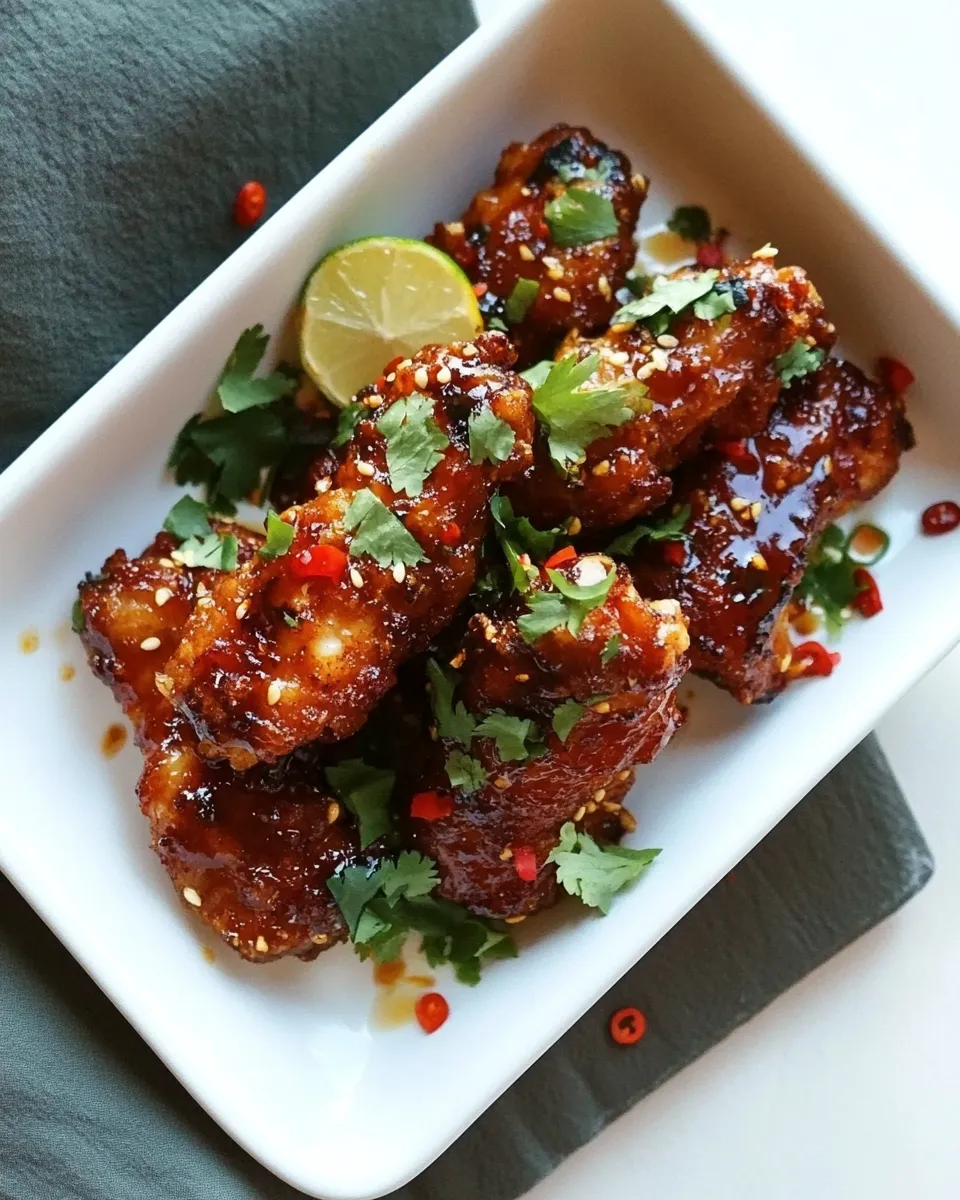
Serve the sticky chicken wings warm, garnished with chopped cilantro and cashews for an extra crunch. Enjoy with a side of rice or simply on their own as a tasty snack!
Make It Diet-Friendly
If you’re looking to adapt this recipe for specific dietary needs, here are some ideas:
- Gluten-Free: Use gluten-free panko and ensure your soy sauce is gluten-free.
- Lower Sugar: Reduce the amount of dark brown sugar or use a sugar substitute.
- Low-Carb: Substitute apple juice with vegetable broth and omit the sugar for a low-carb version.
- Vegetarian Option: Replace chicken with firm tofu cut into nugget-sized pieces and follow the same steps.
Troubleshooting Tips
If you encounter any issues while making Sweet and Sour Sticky Thai Boneless Oven Baked Chicken Wings, consider these tips:
- Coating Not Sticking: Ensure the chicken is well-coated in buttermilk before dredging in panko.
- Chicken Not Crispy: Make sure the oven is fully preheated before baking and avoid overcrowding the baking sheet.
- Too Saucy: If the sauce is too thin, use the cornstarch method for thickening.
- Flavor Lacking: Adjust the sauce ingredients to your taste; adding more lime juice or soy sauce can enhance flavors.
Storing, Freezing & Reheating
To keep your Sweet and Sour Sticky Thai Boneless Oven Baked Chicken Wings fresh, follow these guidelines:
Store leftovers in an airtight container in the refrigerator for up to 3 days. For longer storage, these wings can be frozen for up to 2 months. When you’re ready to enjoy them again, thaw in the refrigerator overnight and reheat in a preheated oven at 350°F (175°C) for about 15-20 minutes, or until heated through.
Reader Questions
Can I use regular chicken wings instead of boneless chicken?
Absolutely! Just adjust the cooking time, as bone-in wings will take longer to cook through, typically around 30-35 minutes.
Can I make the sauce ahead of time?
Yes, you can prepare the sauce in advance and store it in the refrigerator for up to a week. Reheat it before tossing with the chicken.
Is there a substitute for buttermilk?
Yes, you can make your own buttermilk by mixing 3/4 cup of milk with 1 tablespoon of lemon juice or vinegar. Let it sit for a few minutes before using.
What sides go well with these chicken wings?
These wings pair perfectly with jasmine rice, a fresh cucumber salad, or even some steamed broccoli for a balanced meal.
For more delicious chicken recipes, check out these options:
Time to Try It
Now that you have all the tools and tips at your fingertips, it’s time to roll up your sleeves and create your own Sweet and Sour Sticky Thai Boneless Oven Baked Chicken Wings. Whether for a special occasion or just because, this recipe is sure to please. Gather your ingredients, follow the steps, and enjoy the burst of flavor that each bite brings. Happy cooking!

Sweet and Sour Sticky Thai Boneless Oven Baked Chicken Wings
Ingredients
- 1 pound boneless chicken tenderloins or breasts cut into nugget-sized pieces
- 3/4 cup buttermilk for tenderizing the chicken
- 1 1/2 cups panko for that extra crunch
- 2 tablespoons whole wheat flour or cornmeal helps with the coating
- 1 cup sweet Thai chili sauce the star of the sauce!
- 1/3 cup soy sauce adds depth and umami
- 1/4 cup dark brown sugar for sweetness
- 1 tablespoon peanut butter optional, but enhances flavor
- 1 tablespoon tomato paste adds richness
- 1/2 cup apple juice for a fruity note
- 1/4 cup rice vinegar brings acidity to balance flavors
- 1 unit lime juiced
- 1 teaspoon fish sauce optional but adds great flavor
- 2 cloves garlic minced or grated
- 1 tablespoon fresh ginger grated
- 1/4 teaspoon crushed red pepper for a hint of spice
- 1/4 teaspoon pepper seasoning
- 1 tablespoon cornstarch mixed with 1 tablespoon cold water, optional for thickening the sauce
- 1/4 cup fresh cilantro chopped, for garnish
- Chopped cashews for garnish and crunch
Instructions
- Begin by placing your nugget-sized chicken pieces in a large bowl. Pour in the buttermilk, making sure all pieces are well-coated. Let this marinate for at least 30 minutes, or up to 2 hours in the refrigerator for the best results.
- In another bowl, combine the panko and whole wheat flour (or cornmeal). Mix well to ensure an even coating when you are ready to bread the chicken.
- Preheat your oven to 400°F (200°C) and line a baking sheet with parchment paper for easy cleanup and to prevent sticking.
- Once the chicken has marinated, remove it from the buttermilk, allowing excess to drip off. Dredge each piece in the panko mixture, pressing lightly to ensure the crumbs adhere well. Arrange the coated chicken nuggets on the prepared baking sheet.
- Place the baking sheet in your preheated oven and bake for about 20-25 minutes, or until the chicken is golden brown and cooked through. For extra crispiness, you can broil them for the last 2-3 minutes.
- While the chicken is baking, prepare your sauce. In a saucepan over medium heat, combine the sweet Thai chili sauce, soy sauce, dark brown sugar, peanut butter, tomato paste, apple juice, rice vinegar, lime juice, fish sauce (if using), garlic, ginger, crushed red pepper, and pepper. Stir to combine, then bring to a gentle simmer.
- If you prefer a thicker sauce, mix the cornstarch with cold water in a small bowl, then add it to the simmering sauce. Stir continuously until it thickens to your desired consistency.
- Once the chicken is baked, remove it from the oven and transfer it to a large bowl. Pour the sweet and sour sauce over the chicken and toss until all pieces are evenly coated.
- Serve the sticky chicken wings warm, garnished with chopped cilantro and cashews for an extra crunch. Enjoy with a side of rice or simply on their own as a tasty snack!
Equipment
- Mixing Bowls
- Baking Sheet
- Parchment Paper
- Whisk
- Measuring cups and spoons
Notes
- Store leftovers in an airtight container in the refrigerator for up to 3 days.
- For longer storage, these wings can be frozen for up to 2 months.
- When reheating, thaw in the refrigerator overnight and bake at 350°F (175°C) for about 15-20 minutes.