There’s something truly magical about creating your favorite candy bars right at home. The delightful blend of chocolate, caramel, and crispy crunch is a nostalgic treat that brings back memories of childhood. These homemade 100 Grand Candy Bars are not only a fun project but also offer a delicious way to indulge your sweet tooth. With just a handful of ingredients, you can whip up a batch of these irresistible bars that are perfect for sharing or enjoying all on your own. Let’s dive into the sweet world of 100 Grand Candy Bars!
Why I Love This Recipe
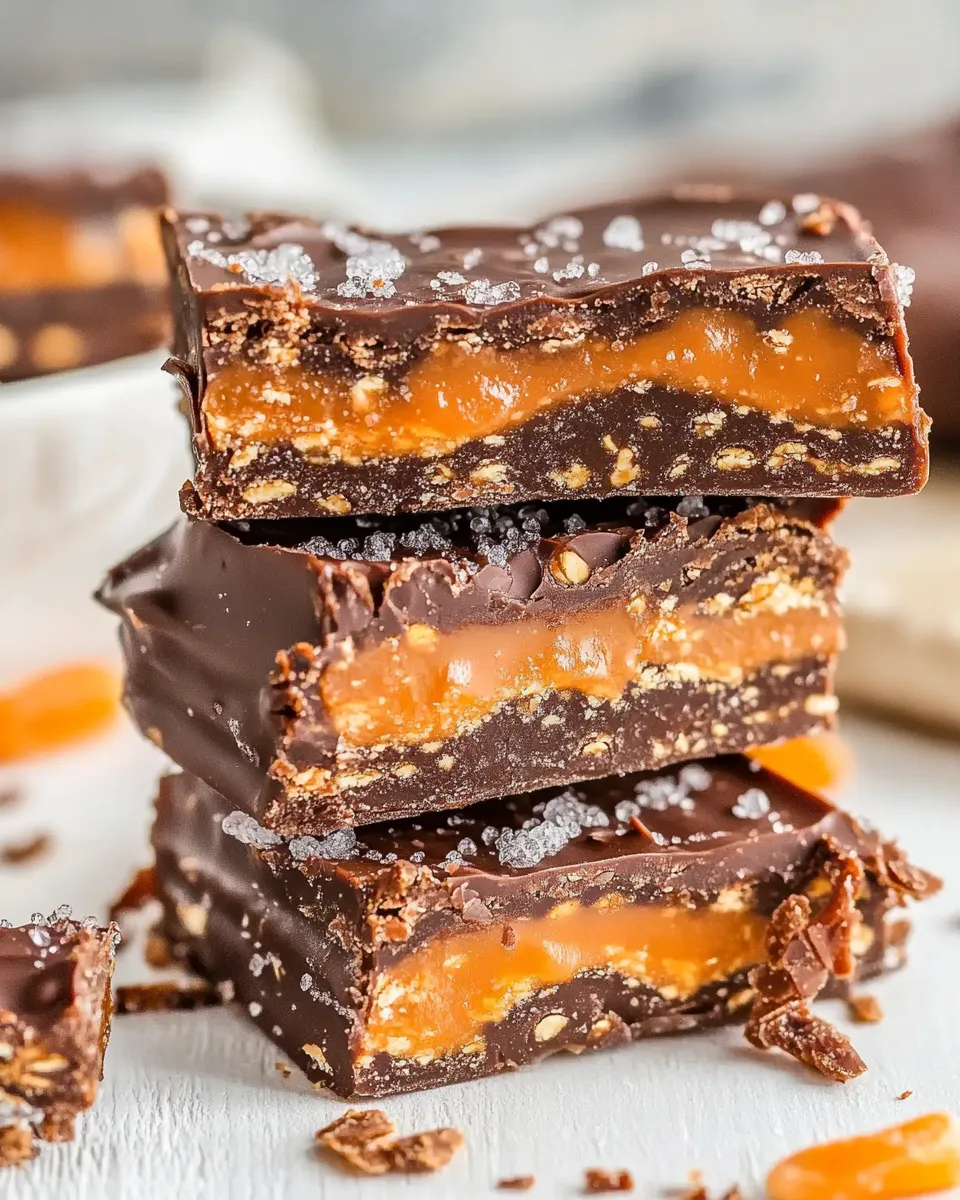
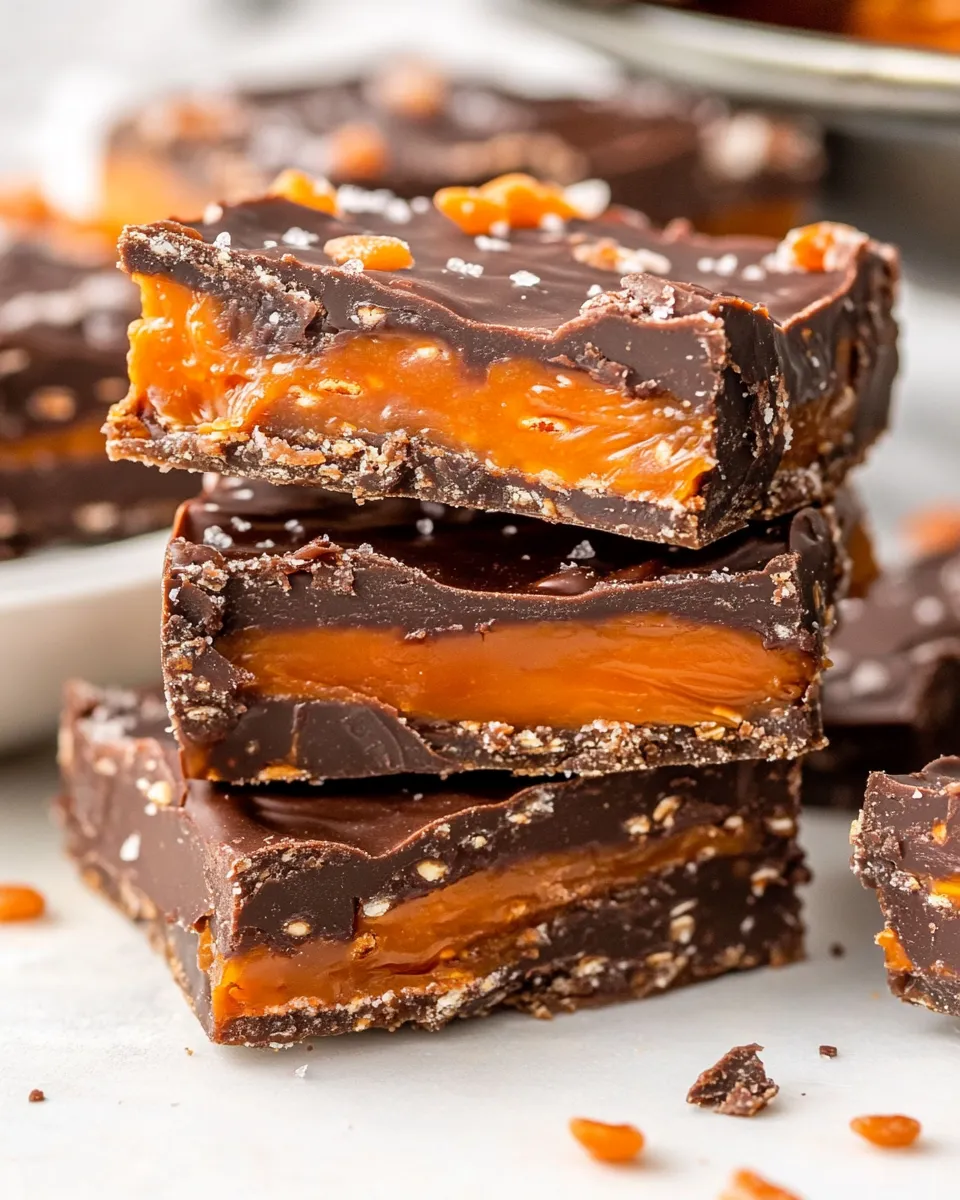
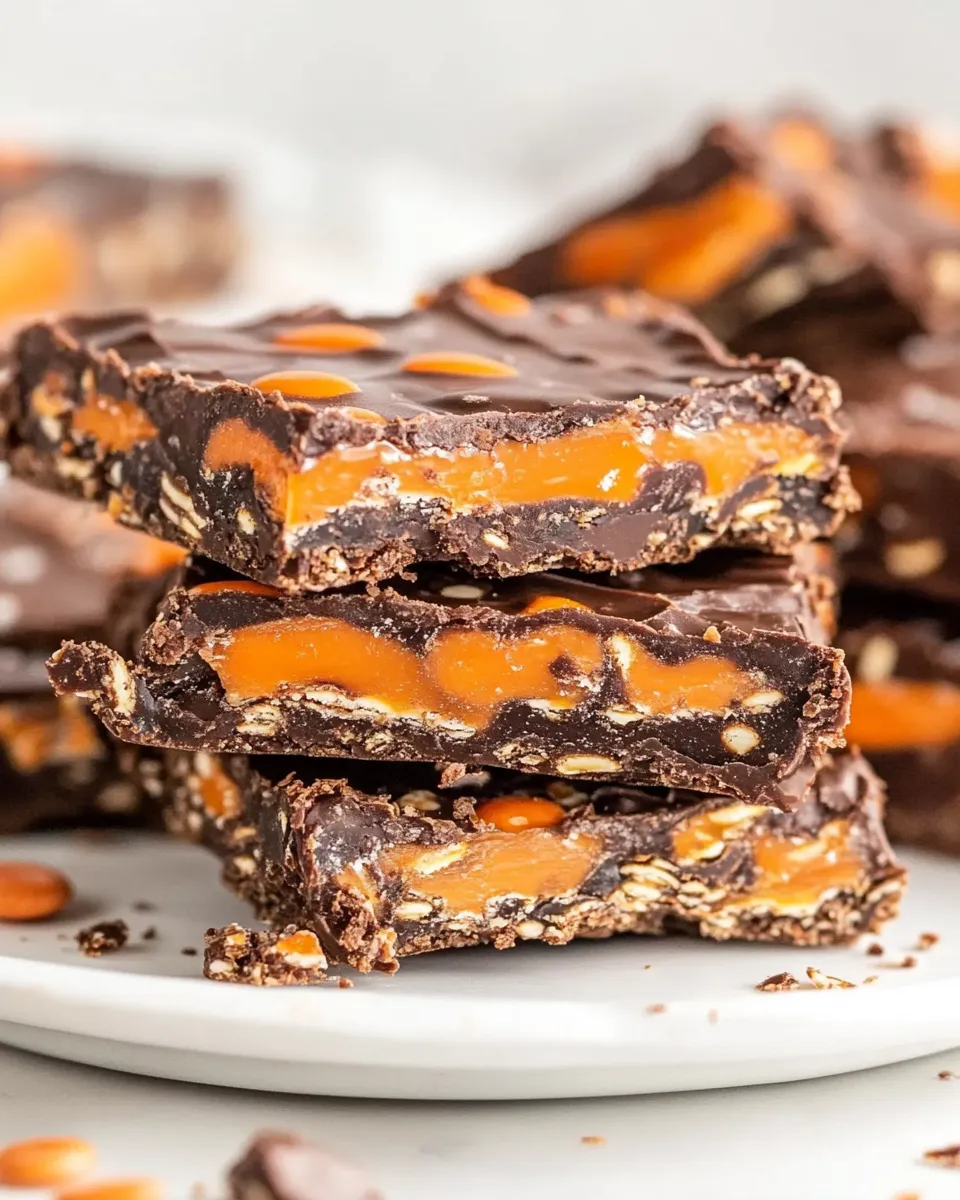
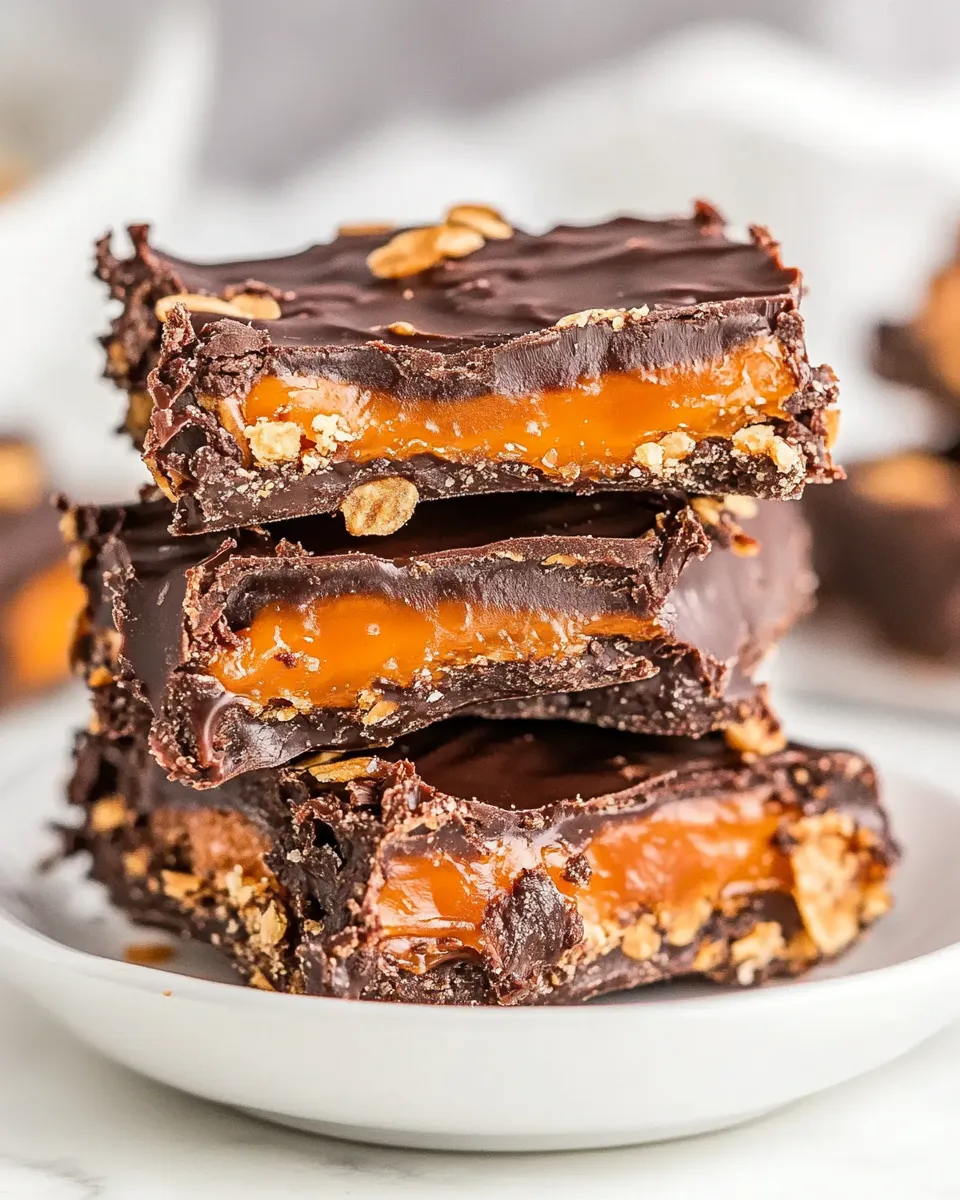
What’s not to love? Homemade 100 Grand Candy Bars are an absolute game-changer. They’re rich, chewy, and every bite is a perfect harmony of flavors. The crispy rice cereal adds an incredible texture, while the melted chocolate envelops everything in a decadent finish. This recipe is not only simple, but it also allows you to customize your bars to your liking. You can make them as sweet as you desire and even experiment with different toppings or fillings if the mood strikes. Plus, there’s something satisfying about making candy from scratch that you just can’t replicate with store-bought versions.
What Goes In
To make these scrumptious 100 Grand Candy Bars, you will need the following ingredients:
- 2 cups dark chocolate chips, divided
- 1 tablespoon salted butter, divided
- 1 cup rice krispie cereal, divided
- 11 ounces caramel bits
- 2 tablespoons heavy cream
Each ingredient plays a crucial role in building the flavors and textures that define these candy bars. The chocolate provides a rich coating, while the caramel adds sweetness and chewiness. The rice krispie cereal contributes that signature crunch that makes every bite simply delightful.
Gear Up: What to Grab
Before you begin, let’s make sure you have the right tools to create your 100 Grand Candy Bars:
- Mixing bowl – For combining your ingredients.
- Microwave-safe bowl – To melt the chocolate and butter.
- Baking pan (9×9 inch) – To set your candy bars.
- Parchment paper – For easy removal of the bars.
- Spatula – For mixing and spreading the ingredients.
- Measuring cups and spoons – To ensure accurate measurements.
Having the right gear on hand will make your candy-making experience smoother and more enjoyable.
Stepwise Method: 100 Grand Candy Bars
Creating these delightful bars is a straightforward process. Follow these steps for a successful batch of 100 Grand Candy Bars:
Step 1: Prepare Your Baking Pan
Line a 9×9 inch baking pan with parchment paper, leaving some overhang on the sides for easy removal later. This will help your bars come out easily without sticking to the pan.
Step 2: Melt the Chocolate and Butter
In a microwave-safe bowl, combine 1 cup of dark chocolate chips and 1/2 tablespoon of salted butter. Microwave in 30-second intervals, stirring in between, until melted and smooth.
Step 3: Combine with Rice Krispies
Once melted, add in 1/2 cup of rice krispie cereal to the chocolate mixture. Stir until the cereal is fully coated in chocolate.
Step 4: Spread the Mixture
Pour the chocolate-coated rice krispies into the prepared baking pan. Press down firmly and evenly to create a solid base. Set aside to cool.
Step 5: Prepare the Caramel Layer
In a separate bowl, combine the caramel bits and heavy cream. Microwave in 30-second intervals, stirring until smooth and fully melted.
Step 6: Pour the Caramel
Pour the melted caramel over the cooled chocolate rice krispie layer in the baking pan. Spread evenly with a spatula and let it cool for about 10-15 minutes.
Step 7: Melt More Chocolate
In another microwave-safe bowl, combine the remaining 1 cup of dark chocolate chips and 1/2 tablespoon of salted butter. Melt in the same way as before until smooth.
Step 8: Top with Chocolate
Once the caramel layer has set, pour the melted chocolate over the caramel and spread it evenly. Top with the remaining 1/2 cup of rice krispie cereal, pressing gently to adhere.
Step 9: Chill and Set
Refrigerate the bars for at least 2 hours, or until fully set. Once set, lift the bars out of the pan using the parchment overhang and cut them into squares or rectangles.
Healthier Substitutions
If you’re looking to make some healthier adjustments to your 100 Grand Candy Bars, consider these substitutions:
- Dark chocolate chips: Use a high-percentage dark chocolate for less sugar.
- Butter: Substitute with coconut oil for a dairy-free option.
- Rice krispie cereal: Look for whole grain or brown rice options.
- Caramel bits: Use homemade caramel made with natural sweeteners.
- Heavy cream: Substitute with almond milk or a non-dairy cream for a lighter version.
These substitutions can help make your candy bars a bit more nutritious without sacrificing flavor.
Pitfalls & How to Prevent Them
Making candy can sometimes come with its challenges. Here are some common pitfalls and how to avoid them:
- Chocolate Seizing: Avoid overheating chocolate by using short bursts of heat and stirring frequently.
- Sticky Caramel: Ensure your caramel is completely melted before pouring; this will help it adhere better.
- Uneven Layers: Press down evenly when spreading the chocolate rice krispie layer to create a stable base.
- Bars Sticking: Always line your baking pan with parchment paper for easy removal.
By keeping these tips in mind, you can enjoy a more successful candy-making experience.
Storing, Freezing & Reheating
Once your 100 Grand Candy Bars are made, proper storage is key to maintaining their deliciousness:
- Storing: Keep the bars in an airtight container at room temperature for up to 1 week.
- Freezing: For longer storage, freeze the bars in a single layer, then transfer to a freezer-safe container. They can be frozen for up to 3 months.
- Reheating: If you prefer a warm treat, microwave the bars for a few seconds until just warm, but be careful not to melt the chocolate too much.
With these tips, you can ensure your homemade candy bars stay fresh and delicious.
Popular Questions
Can I use milk chocolate instead of dark chocolate?
Yes, you can use milk chocolate if you prefer a sweeter flavor, but the overall taste of the bars will be different. Dark chocolate adds a rich depth that balances the sweetness of the caramel.
What if I don’t have caramel bits?
You can make your own caramel using sugar, butter, and cream, or substitute with store-bought caramel sauce. Just be sure to adjust the measurements accordingly.
Can I add nuts to the recipe?
Absolutely! Chopped nuts such as almonds or pecans can be added for extra crunch and flavor. Just sprinkle them on top of the caramel layer before adding the chocolate.
How do I cut the bars without them falling apart?
Make sure the bars are fully set and chilled before cutting. Use a sharp knife and wipe it clean between cuts for neat edges. You can also score the bars before fully cutting through to make it easier.
If you enjoy these 100 Grand Candy Bars, you might also like these recipes:
Each of these recipes offers a delicious twist on classic candy bars that you can easily make at home.
Save & Share
If you love these 100 Grand Candy Bars, don’t forget to save this recipe and share it with your friends and family. Everyone deserves a taste of this sweet homemade delight!
Creating your own 100 Grand Candy Bars is not just a recipe; it’s an experience filled with creativity and enjoyment. Whether you’re indulging yourself or sharing with loved ones, these bars are bound to bring smiles and satisfaction. Happy candy making!

100 Grand Candy Bars
Ingredients
For the Bars:
- 2 cups dark chocolate chips divided
- 1 tablespoon salted butter divided
- 1 cup rice krispie cereal divided
- 11 ounces caramel bits
- 2 tablespoons heavy cream
Instructions
Stepwise Method:
- Step 1: Prepare Your Baking PanLine a 9x9 inch baking pan with parchment paper, leaving some overhang on the sides for easy removal later.
- Step 2: Melt the Chocolate and ButterIn a microwave-safe bowl, combine 1 cup of dark chocolate chips and 1/2 tablespoon of salted butter. Microwave in 30-second intervals, stirring in between, until melted and smooth.
- Step 3: Combine with Rice KrispiesOnce melted, add in 1/2 cup of rice krispie cereal to the chocolate mixture. Stir until the cereal is fully coated in chocolate.
- Step 4: Spread the MixturePour the chocolate-coated rice krispies into the prepared baking pan. Press down firmly and evenly to create a solid base. Set aside to cool.
- Step 5: Prepare the Caramel LayerIn a separate bowl, combine the caramel bits and heavy cream. Microwave in 30-second intervals, stirring until smooth and fully melted.
- Step 6: Pour the CaramelPour the melted caramel over the cooled chocolate rice krispie layer in the baking pan. Spread evenly with a spatula and let it cool for about 10-15 minutes.
- Step 7: Melt More ChocolateIn another microwave-safe bowl, combine the remaining 1 cup of dark chocolate chips and 1/2 tablespoon of salted butter. Melt in the same way as before until smooth.
- Step 8: Top with ChocolateOnce the caramel layer has set, pour the melted chocolate over the caramel and spread it evenly. Top with the remaining 1/2 cup of rice krispie cereal, pressing gently to adhere.
- Step 9: Chill and SetRefrigerate the bars for at least 2 hours, or until fully set. Once set, lift the bars out of the pan using the parchment overhang and cut them into squares or rectangles.
Equipment
- Mixing Bowl
- Microwave-safe bowl
- Baking pan (9x9 inch)
- Parchment Paper
- Spatula
- Measuring cups and spoons
Notes
- Use high-percentage dark chocolate for a healthier option.
- Substitute butter with coconut oil for a dairy-free version.
- Keep in an airtight container at room temperature for up to 1 week.