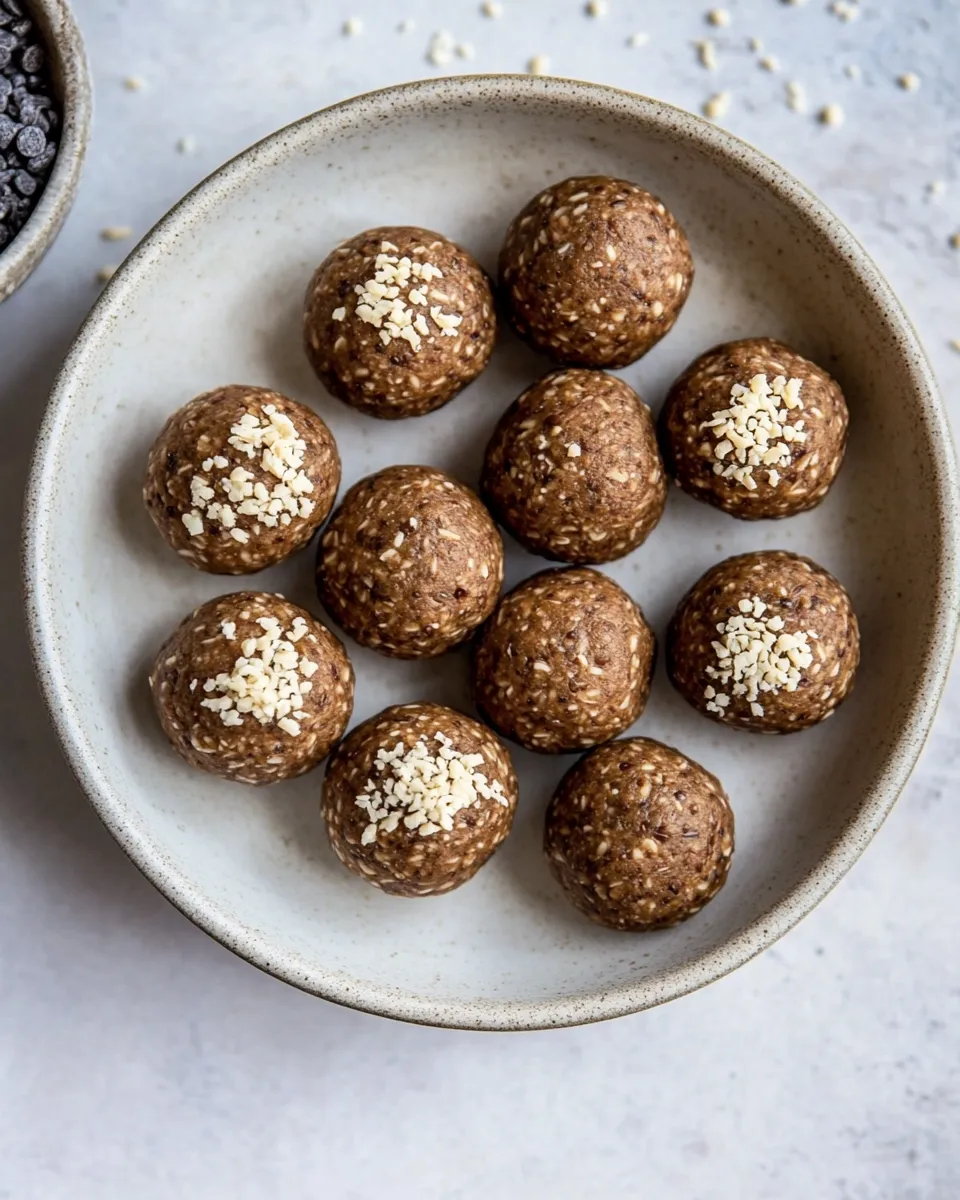
If you’re on the hunt for a snack that’s both nutritious and satisfying, look no further than these No Bake Protein Power Balls. Packed with energy-boosting ingredients, these little bites of goodness are perfect for pre-workout fuel or a midday pick-me-up. They’re simple to whip up, require no baking, and are easily customizable to fit your taste preferences. Plus, they’re a great way to sneak in some protein and healthy fats into your diet, all while satisfying that sweet tooth!
Why It Deserves a Spot
These No Bake Protein Power Balls deserve a prominent place in your snack rotation for several reasons. First, they’re incredibly easy to make and require minimal ingredients. Second, they are versatile; you can tailor them to your liking by adding in extras like nuts, seeds, or dried fruit. Lastly, they are a wholesome alternative to store-bought protein bars that often contain added sugars and preservatives. With just a bit of prep, you can have a batch ready to grab and go!
What’s in the Bowl
To create these delicious No Bake Protein Power Balls, you will need the following ingredients:
- 1 cup quick oats or rolled oats
- 1 cup protein powder of choice*
- 3 Tbsp chia seeds or hemp seeds
- 1 cup unsweetened almond butter or peanut butter**
- 6 pitted medjool dates or 3 to 5 Tbsp pure maple syrup
- Pinch of sea salt
- 1 tsp ground cinnamon (optional)
- 2-6 Tbsp water***
- 1/2 cup mini chocolate chips (optional)
*Choose a protein powder that suits your dietary preferences, such as whey, soy, or pea protein.
**Almond butter and peanut butter both work well; choose based on your flavor preference.
***Adjust the water amount based on the consistency of the mixture.
Toolbox for This Recipe
Before you dive into making these No Bake Protein Power Balls, gather the following kitchen tools:
- Mixing bowl: For combining all the ingredients.
- Measuring cups and spoons: To ensure accurate measurements.
- Food processor or blender: For a smoother mixture, especially if using dates.
- Cookie sheet: For cooling and storing the balls.
- Plastic wrap or airtight container: For storing your power balls.
No Bake Protein Power Balls: Step-by-Step Guide
Creating your No Bake Protein Power Balls is a straightforward process. Follow these steps for snack perfection:
Step 1: Prepare Your Dates
If you are using medjool dates, start by pitting them if they aren’t already and soaking them in warm water for about 10 minutes. This will soften them up, making them easier to blend.
Step 2: Mix the Dry Ingredients
In a large mixing bowl, combine the oats, protein powder, chia seeds (or hemp seeds), sea salt, and ground cinnamon if you’re using it. Stir the dry ingredients until well mixed.
Step 3: Blend the Wet Ingredients
In a food processor, combine the softened dates (or maple syrup) with the almond or peanut butter. Blend until you achieve a smooth consistency. If you find the mixture too thick, you can add a tablespoon of water to help it blend.
Step 4: Combine Wet and Dry Ingredients
Pour the wet mixture into the bowl with the dry ingredients. Using a spatula or your hands, mix everything together until well combined. If the mixture feels too dry, gradually add water, one tablespoon at a time, until it reaches a sticky, moldable consistency.
Step 5: Fold in the Chocolate Chips
If you’re including chocolate chips, fold them into the mixture now. This is the moment to get creative—feel free to add any extras you love!
Step 6: Form the Balls
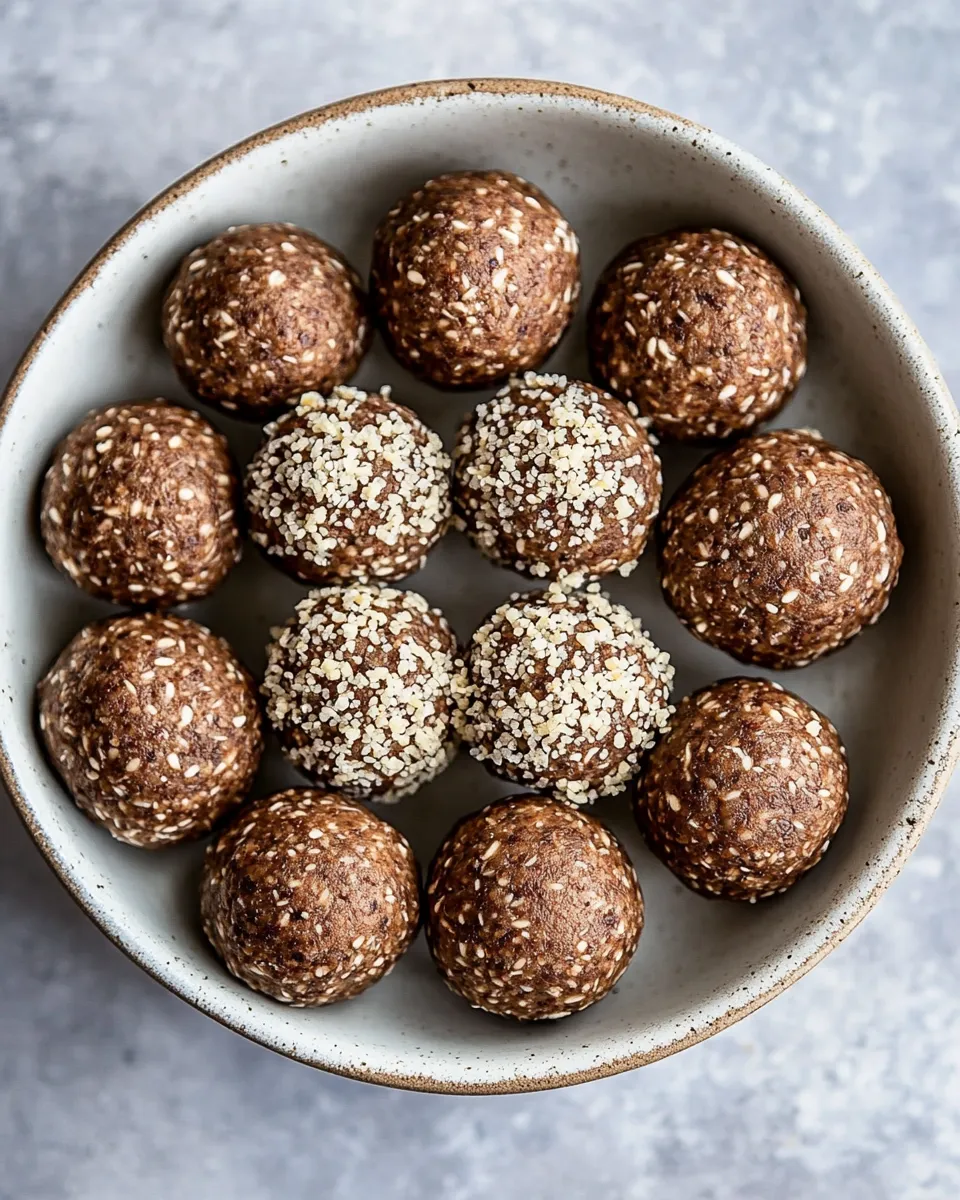
Using your hands, scoop out small amounts of the mixture and roll them into balls about 1 inch in diameter. Place each ball on a cookie sheet lined with parchment paper.
Step 7: Chill and Store
Once you’ve formed all the balls, place the cookie sheet in the refrigerator for about 30 minutes to firm them up. After chilling, you can store the No Bake Protein Power Balls in an airtight container in the fridge for up to a week—or in the freezer for longer-lasting snacks!
Nutrition-Minded Tweaks
If you’re looking to customize your No Bake Protein Power Balls further or modify them for specific dietary needs, consider the following options:
- Nut butters: Swap almond butter for cashew butter or sunflower seed butter for a nut-free option.
- Sweeteners: Use agave syrup or honey instead of maple syrup for a different flavor profile.
- Protein powder: Experiment with flavored protein powders for an extra taste boost.
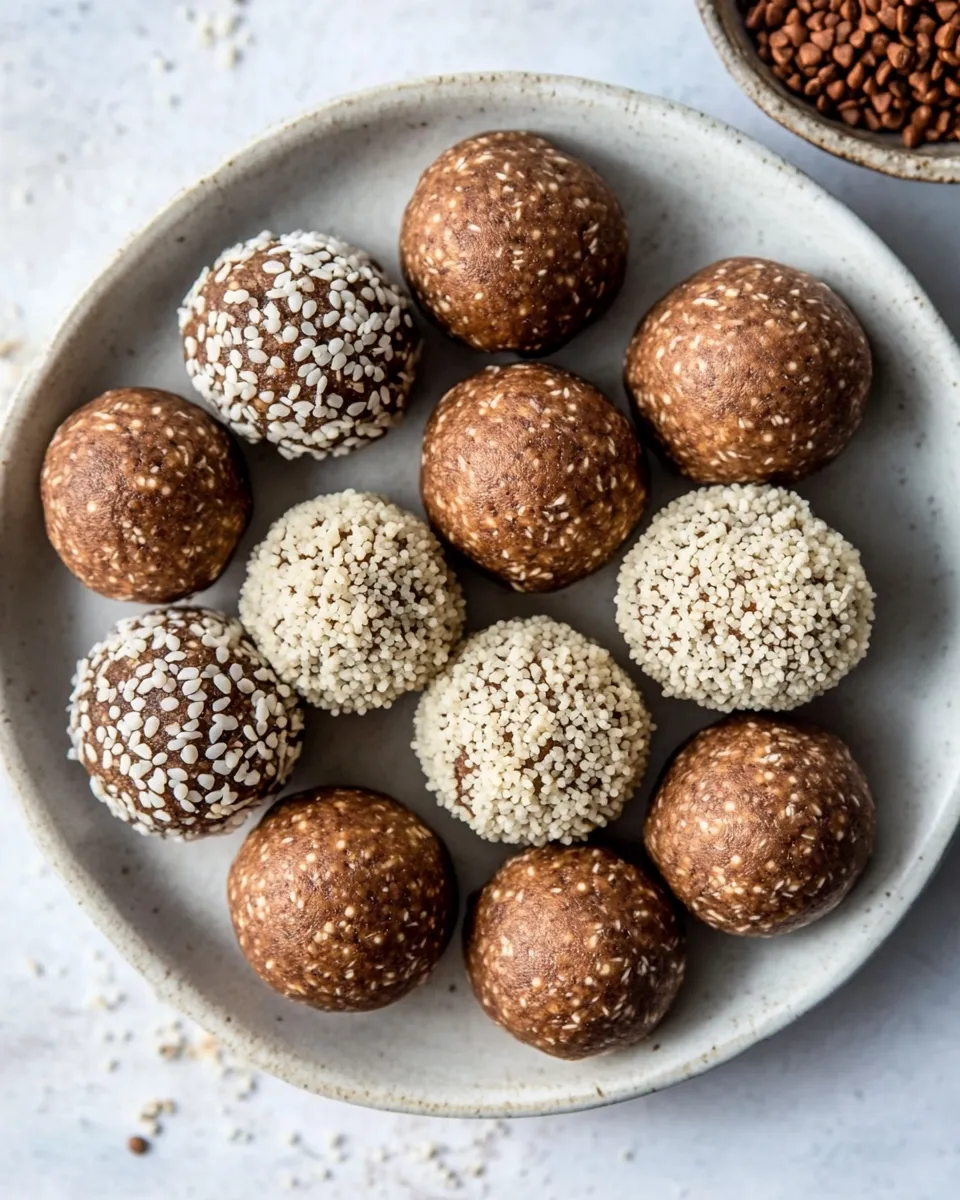
- Add-ins: Include shredded coconut, dried fruit, or chopped nuts for added texture and flavor.
What Not to Do
To ensure your No Bake Protein Power Balls turn out perfectly, avoid the following common mistakes:
- Do not skip soaking the dates if you’re using them; this helps with blending.
- Don’t over-add water—start with a small amount and gradually increase to avoid a soggy mixture.
- Refrain from using flavored nut butters if you want a more neutral flavor in your power balls.
- Do not worry about making perfectly shaped balls; a rustic look adds charm!
Storing Tips & Timelines
To maintain the freshness and quality of your No Bake Protein Power Balls, follow these storing tips:
Keep your power balls in an airtight container in the refrigerator for up to a week. For longer storage, freeze them in a single layer on a baking sheet first, then transfer to a container or freezer bag for up to three months. This way, you always have a healthy snack on hand!
Your Top Questions
Can I use old-fashioned oats instead of quick oats?
Yes, old-fashioned oats can be used, but the texture might be a bit chewier. Quick oats provide a smoother consistency in the final product.
Are these power balls vegan?
Yes, if you use plant-based protein powder and maple syrup, these No Bake Protein Power Balls are completely vegan-friendly.
Can I make these nut-free?
Absolutely! You can substitute almond butter or peanut butter with sunflower seed butter or tahini to keep these power balls nut-free.
How do I know when the mixture is ready?
The mixture should be sticky enough to hold together when rolled into a ball. If it crumbles, add a bit more water or nut butter until it reaches the desired consistency.
If you love these No Bake Protein Power Balls, you might also enjoy trying these delicious recipes:
Make It Tonight
Now that you have your recipe for No Bake Protein Power Balls, there’s no reason to wait! Gather your ingredients and make these nutritious snacks tonight. They are perfect for busy lifestyles and will keep you energized and satisfied throughout your day. Enjoy the fun of customizing them to your liking, and share them with family and friends—they’re bound to be a hit!
These No Bake Protein Power Balls are not just a snack; they’re a delicious way to nourish your body and indulge your sweet tooth simultaneously. Grab your favorite ingredients and start rolling these delightful bites today!
No Bake Protein Power Balls
Ingredients
- 1 cup quick oats or rolled oats
- 1 cup protein powder of choice
- 3 Tbsp chia seeds or hemp seeds
- 1 cup unsweetened almond butter or peanut butter
- 6 pitted medjool dates or 3 to 5 Tbsp pure maple syrup
- 1 pinch sea salt
- 1 tsp ground cinnamon (optional)
- 2-6 Tbsp water ***
- 1/2 cup mini chocolate chips (optional)
Instructions
- Step 1: Prepare Your Dates. If you are using medjool dates, start by pitting them if they aren't already and soaking them in warm water for about 10 minutes.
- Step 2: Mix the Dry Ingredients. In a large mixing bowl, combine the oats, protein powder, chia seeds (or hemp seeds), sea salt, and ground cinnamon if you’re using it. Stir the dry ingredients until well mixed.
- Step 3: Blend the Wet Ingredients. In a food processor, combine the softened dates (or maple syrup) with the almond or peanut butter. Blend until you achieve a smooth consistency.
- Step 4: Combine Wet and Dry Ingredients. Pour the wet mixture into the bowl with the dry ingredients. Using a spatula or your hands, mix everything together until well combined.
- Step 5: Fold in the Chocolate Chips. If you’re including chocolate chips, fold them into the mixture now. Feel free to add any extras you love!
- Step 6: Form the Balls. Using your hands, scoop out small amounts of the mixture and roll them into balls about 1 inch in diameter. Place each ball on a cookie sheet lined with parchment paper.
- Step 7: Chill and Store. Place the cookie sheet in the refrigerator for about 30 minutes to firm them up. Store in an airtight container in the fridge for up to a week or in the freezer for longer-lasting snacks!
Equipment
- Mixing Bowl
- Measuring cups and spoons
- Food processor or blender
- Cookie sheet
- Plastic wrap or airtight container
Notes
- Feel free to customize your protein power balls with your favorite add-ins!
- Store in an airtight container to maintain freshness.
- For longer storage, freeze them for up to three months.