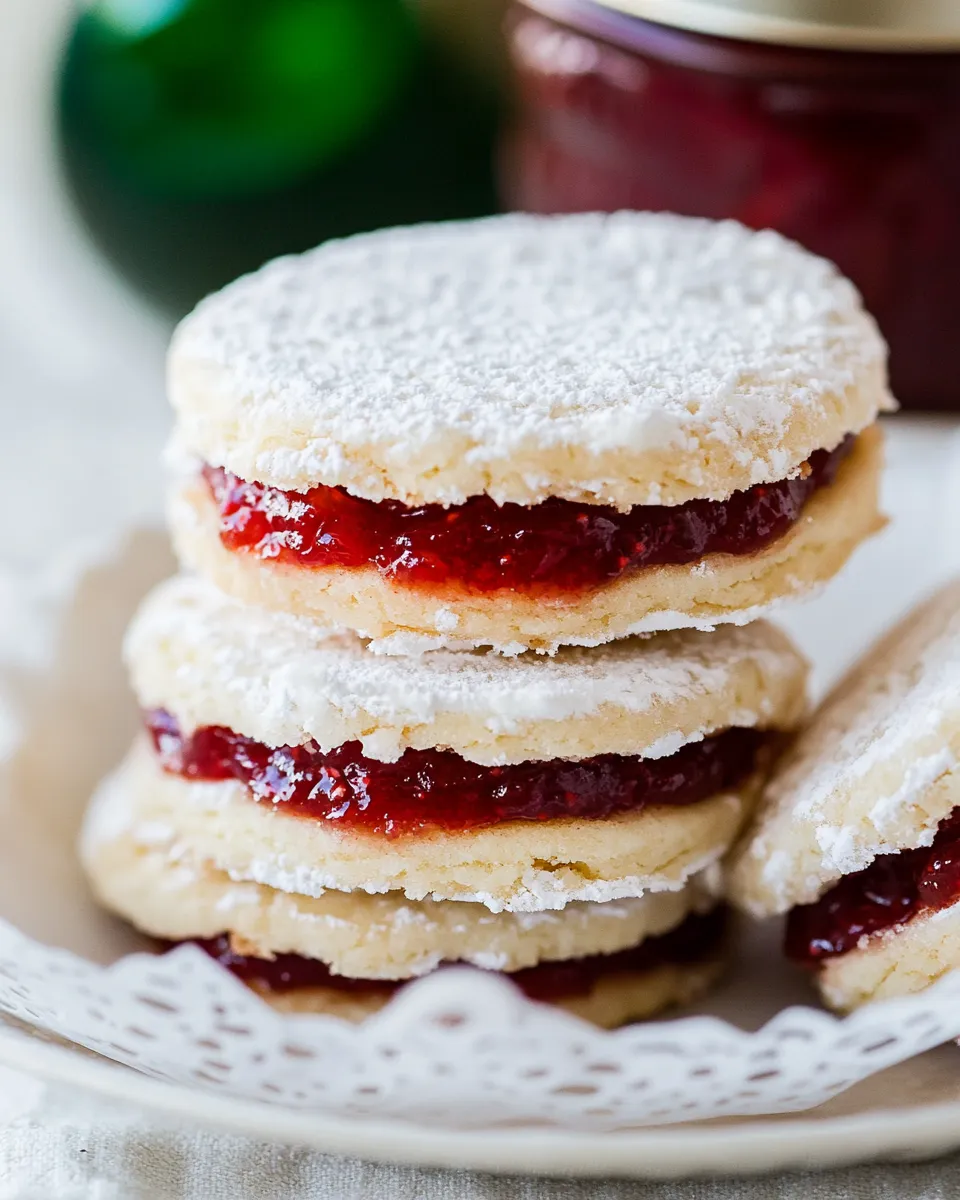
There’s something utterly delightful about baking cookies that evoke warmth and nostalgia. Today, we’re diving into a beloved classic that will make your taste buds sing: Jam Filled Sandwich Cookies, affectionately known as Zirochki. These cookies not only boast a tender, buttery texture but also a luscious jam filling that brings a fruity burst in every bite. Perfect for any occasion, these cookies are as charming as they are delicious. So, roll up your sleeves, and let’s get started on this delightful baking adventure!
Why This Recipe Works
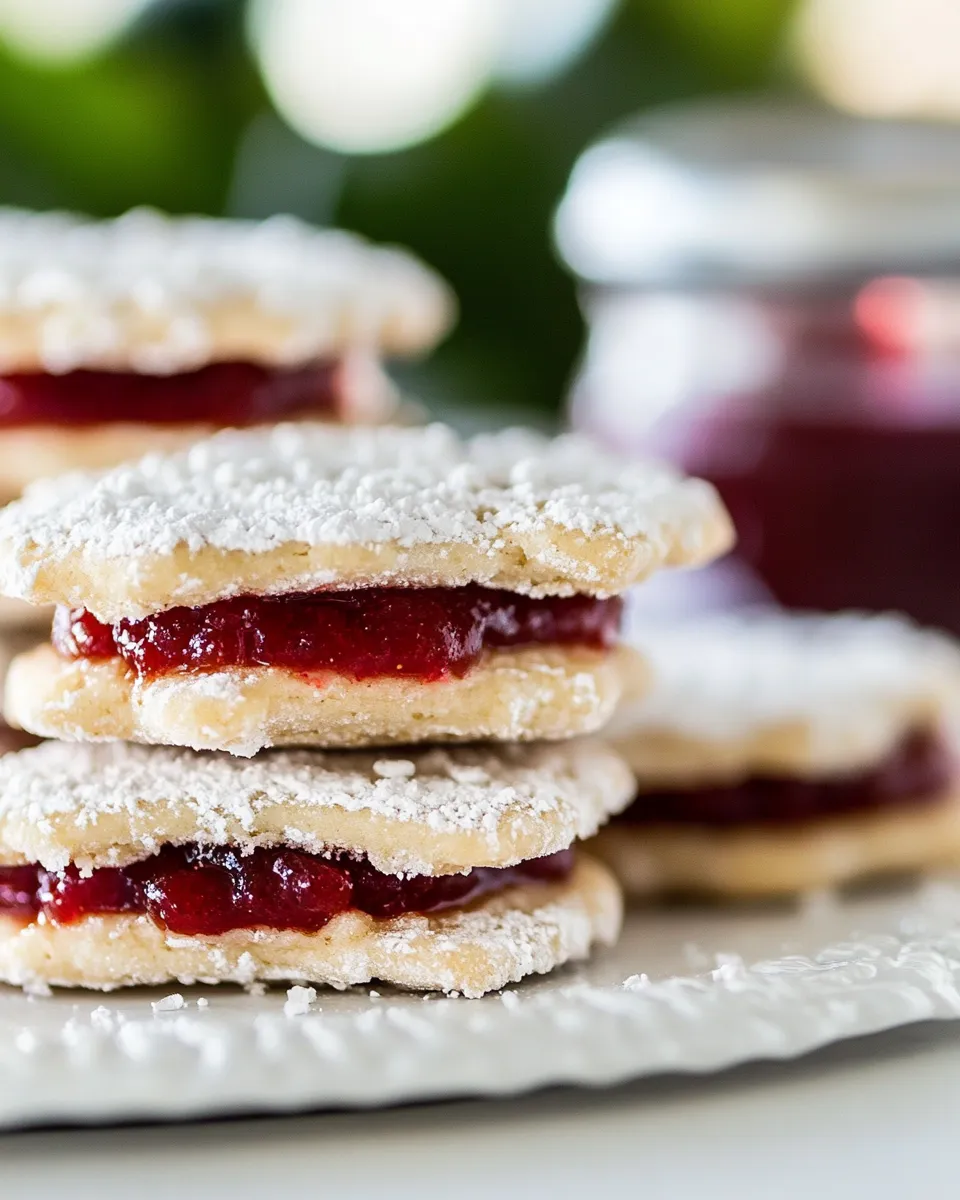
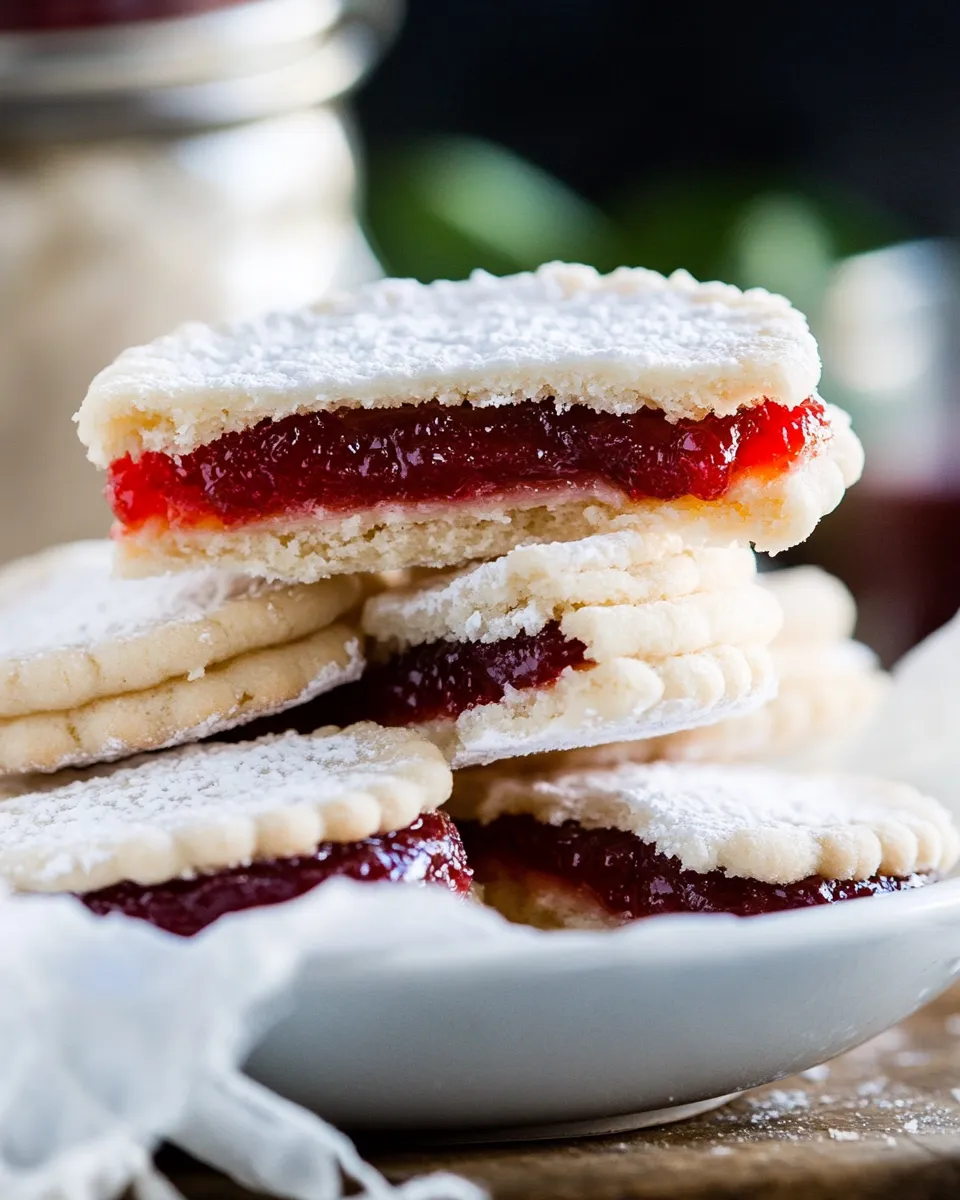
The magic of Jam Filled Sandwich Cookies (Zirochki) lies in the harmonious balance of flavors and textures. Using high-quality unsalted butter ensures a rich, creamy base, while the combination of granulated sugar and honey adds sweetness and depth. The addition of white vinegar and baking soda creates a soft, tender cookie that pairs beautifully with your favorite jam. The choice of jam is entirely personal; whether you opt for tangy lingonberry preserves or a classic raspberry jam, the filling elevates these cookies to a whole new level.
Ingredient List
To create these delightful cookies, gather the following ingredients:
- 3 cups + 2 Tbsp all-purpose flour
- 2 sticks (16 Tbsp) unsalted butter, softened to room temperature
- 2 large eggs, room temperature
- 1 cup granulated sugar
- 1 tsp baking soda
- 2 tsp white vinegar
- 2 Tbsp liquid honey
- 9 oz jar of your favorite jam or thick preserves (I used lingonberry preserves)
- 1/2 cup powdered sugar
Equipment Breakdown
Before you start, it’s useful to have the right tools on hand. Here’s what you’ll need:
- Mixing bowls: For combining ingredients.
- Electric mixer: To cream the butter and sugar effectively.
- Baking sheets: To bake the cookies.
- Parchment paper: To line your baking sheets for easy removal.
- Cookie cutter or round glass: To shape the cookies.
- Cooling rack: To cool the cookies after baking.
- Spatula: For transferring cookies from the baking sheet.
From Start to Finish: Jam Filled Sandwich Cookies (Zirochki)
Step 1: Preheat Your Oven
Begin by preheating your oven to 350°F (175°C). This ensures that your cookies bake evenly and develop a beautiful golden color.
Step 2: Prepare Your Baking Sheets
Line your baking sheets with parchment paper. This will help prevent the cookies from sticking and make cleanup a breeze.
Step 3: Cream the Butter and Sugar
In a large mixing bowl, use an electric mixer to cream together the softened unsalted butter and granulated sugar until the mixture is light and fluffy. This process usually takes about 3-5 minutes.
Step 4: Add Eggs and Honey
Add the room temperature eggs, one at a time, beating well after each addition. Then, mix in the liquid honey until fully combined.
Step 5: Combine Dry Ingredients
In a separate bowl, whisk together the all-purpose flour, baking soda, and powdered sugar. Gradually add this dry mixture to the wet ingredients, mixing until just combined.
Step 6: Incorporate Vinegar
Finally, stir in the white vinegar, which will react with the baking soda to create a tender cookie texture.
Step 7: Shape the Cookies
Using a cookie cutter or a round glass, cut out shapes from the dough. Place them on the prepared baking sheets, leaving some space between each cookie to allow for spreading.
Step 8: Bake the Cookies
Bake in your preheated oven for about 10-12 minutes or until the edges are lightly golden. Keep an eye on them to avoid overbaking.
Step 9: Cool the Cookies
Once baked, remove the cookies from the oven and let them cool on the baking sheets for a few minutes before transferring them to a cooling rack to cool completely.
Step 10: Fill with Jam
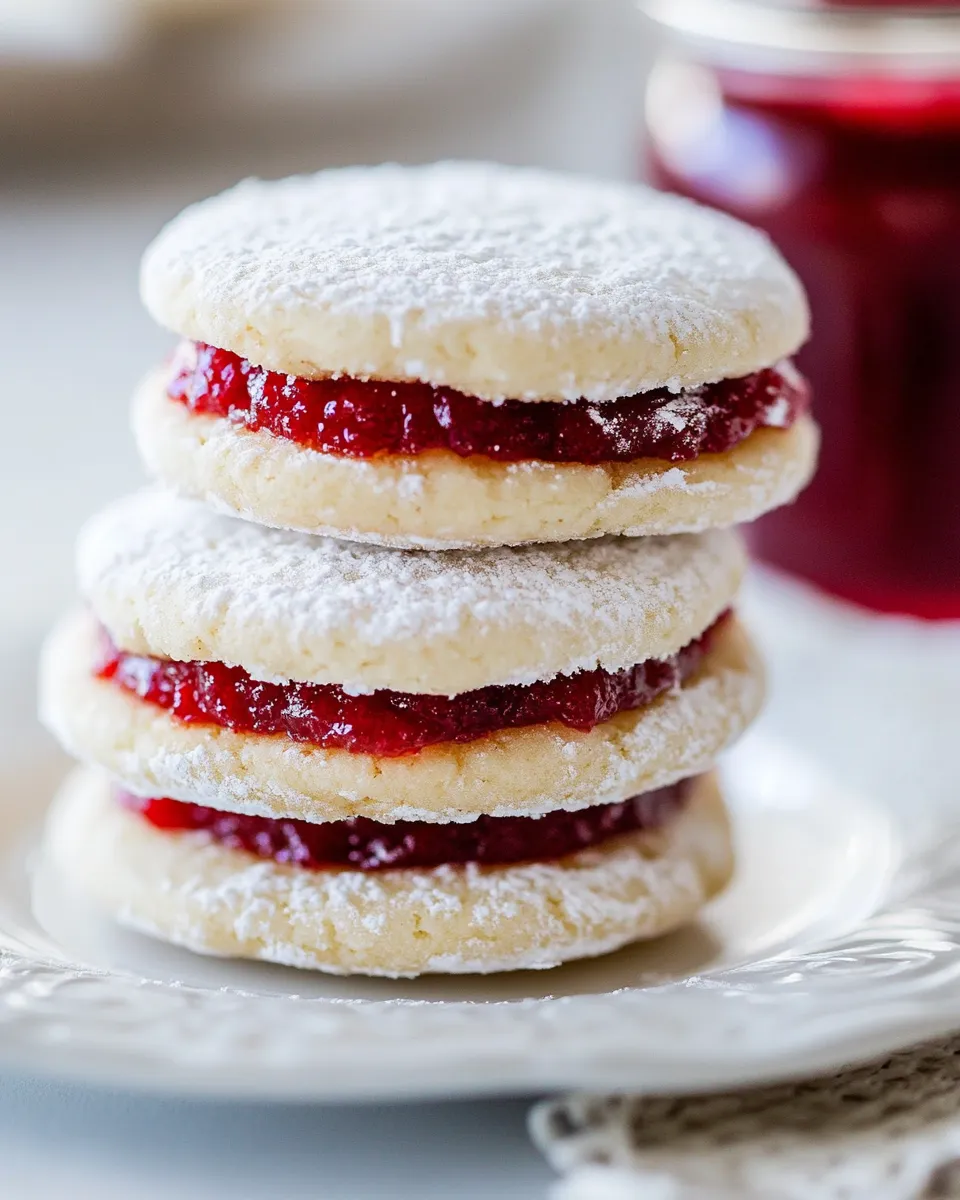
Once the cookies are completely cooled, spread a generous amount of your favorite jam or preserves on the flat side of half the cookies. Top with the remaining cookies to create delightful sandwiches.
Step 11: Dust with Powdered Sugar
For that finishing touch, dust the assembled cookies with powdered sugar before serving. This adds a beautiful presentation and a hint of sweetness.
Allergy-Friendly Substitutes
If you have specific dietary restrictions or allergies, consider these substitutes:
- Gluten-free flour: Substitute all-purpose flour with a 1:1 gluten-free flour blend.
- Dairy-free butter: Use a dairy-free butter alternative for the unsalted butter.
- Egg replacer: Use flax eggs (1 Tbsp ground flaxseed mixed with 2.5 Tbsp water per egg) or a commercial egg replacer.
- Maple syrup: Replace honey with maple syrup for a vegan option.
Insider Tips
- Chill the dough: If you find the dough too soft to handle, chill it in the refrigerator for about 30 minutes before cutting out the cookies.
- Experiment with flavors: Don’t hesitate to try different jams, such as apricot or strawberry, or even a chocolate ganache for a twist!
- Storage: Store cookies in an airtight container at room temperature for up to a week, or freeze for longer storage.
- Decorate: For a festive touch, consider adding sprinkles on top of the jam before sandwiching the cookies!
Save It for Later
If you want to revisit this delicious recipe later, here are some ways you can save it:
- Bookmark this page in your web browser.
- Print the recipe for your recipe binder.
- Share it with friends and family via email or social media.
Popular Questions
Can I use any type of jam for these cookies?
Absolutely! You can use any jam or thick preserves that you love. Raspberry, apricot, or even lemon curd would work beautifully.
How do I know when the cookies are done baking?
Look for lightly golden edges. The cookies will continue to bake slightly after being removed from the oven, so it’s better to take them out when they are just set.
Can I make the dough ahead of time?
Yes! You can prepare the dough, wrap it in plastic wrap, and refrigerate for up to three days or freeze for up to a month. Just allow it to soften before rolling out.
What’s the best way to store leftover cookies?
Store the cookies in an airtight container at room temperature for up to a week. If you’ve already filled them with jam, it’s best to consume them within a few days for optimal freshness.
If you enjoyed these Jam Filled Sandwich Cookies (Zirochki), check out these other delightful recipes:
Serve & Enjoy
Now that you’ve mastered the art of making Jam Filled Sandwich Cookies (Zirochki), it’s time to serve them up! These cookies make for delightful afternoon treats, perfect for a cozy gathering or as a sweet surprise in lunchboxes. Pair them with a warm cup of tea or coffee, and you have a match made in heaven.
Whether you’re sharing them with loved ones or savoring them all by yourself, these cookies will surely become a favorite in your baking repertoire. Enjoy every crumb and the joy that comes with each delicious bite!

Jam Filled Sandwich Cookies (Zirochki)
Ingredients
- 3 cups all-purpose flour
- 2 sticks unsalted butter softened to room temperature
- 2 large eggs room temperature
- 1 cup granulated sugar
- 1 tsp baking soda
- 2 tsp white vinegar
- 2 Tbsp liquid honey
- 9 oz jam or thick preserves your favorite
- 1/2 cup powdered sugar
Instructions
- Preheat your oven to 350°F (175°C).
- Line your baking sheets with parchment paper.
- Cream together the softened unsalted butter and granulated sugar until light and fluffy, about 3-5 minutes.
- Add the eggs one at a time, beating well after each addition, then mix in the honey until fully combined.
- In a separate bowl, whisk together flour, baking soda, and powdered sugar, then gradually add to the wet ingredients.
- Stir in the white vinegar.
- Shape the cookies using a cookie cutter or round glass and place on prepared baking sheets.
- Bake for about 10-12 minutes or until edges are lightly golden.
- Cool the cookies on the baking sheets for a few minutes before transferring to a cooling rack.
- Spread jam on the flat side of half the cookies and top with remaining cookies to create sandwiches.
- Dust with powdered sugar before serving.
Equipment
- Mixing Bowls
- Electric Mixer
- Baking Sheets
- Parchment Paper
- Cookie cutter or round glass
- Cooling Rack
- Spatula
Notes
- Chill the dough if it's too soft to handle.
- Experiment with different jams for unique flavor combinations.
- Store cookies in an airtight container for up to a week.