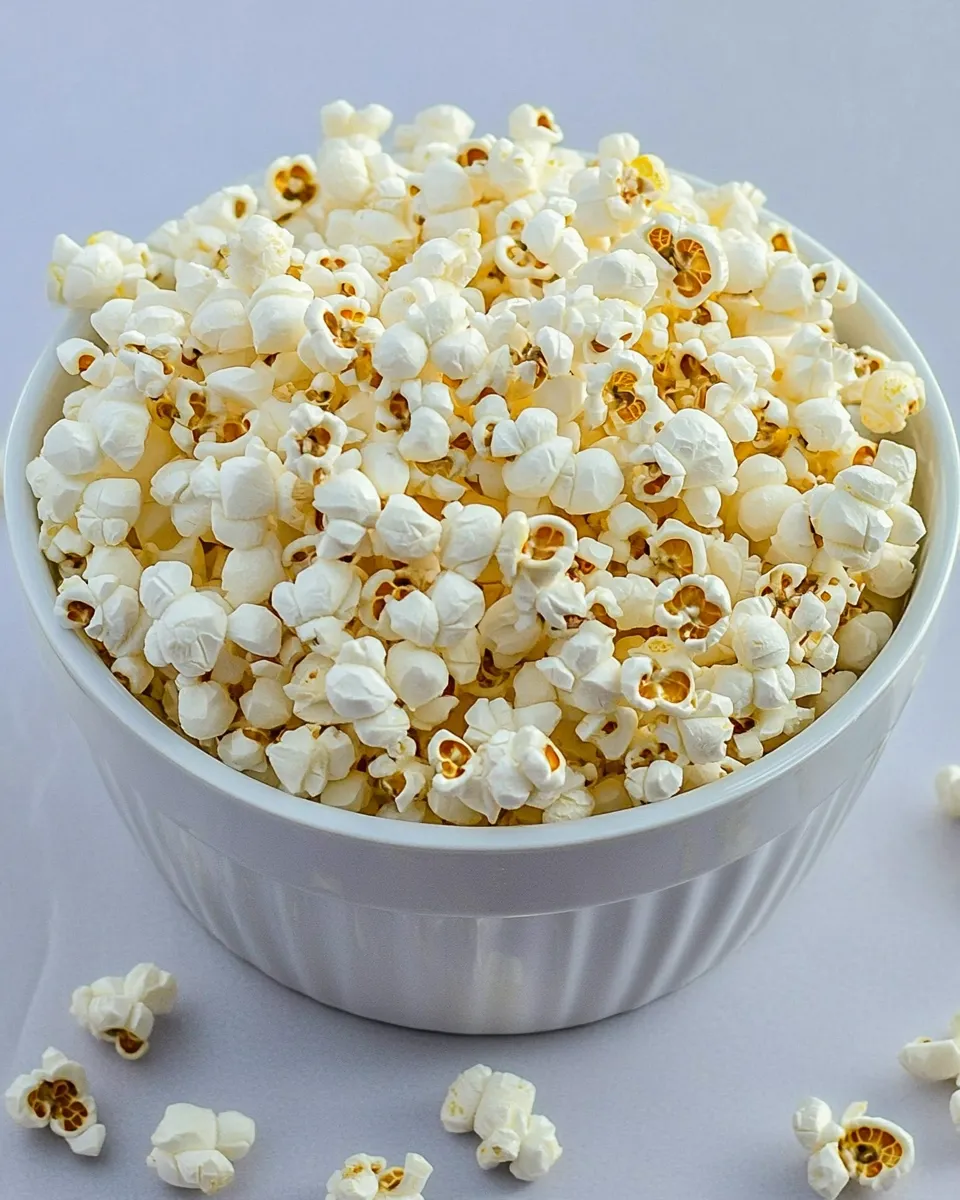
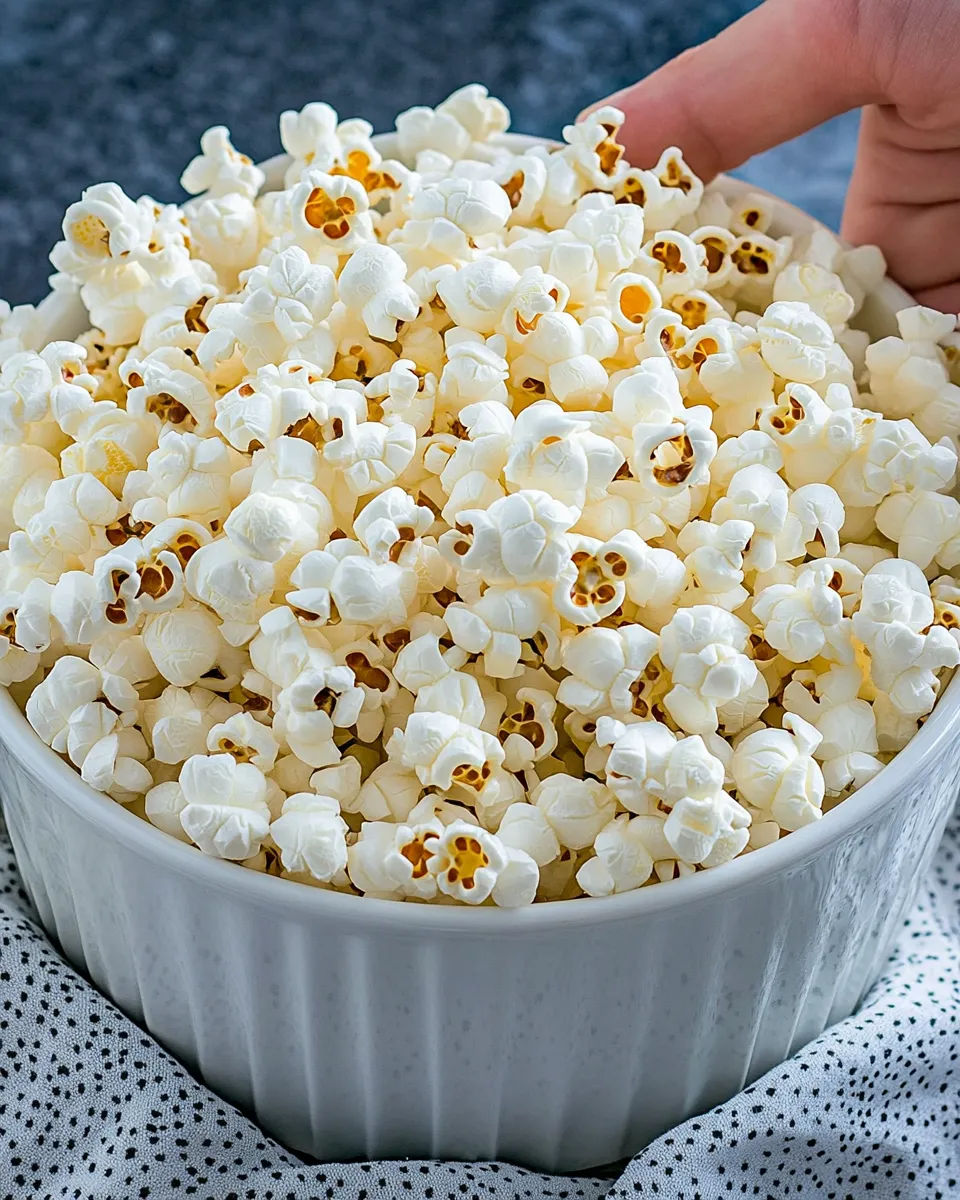
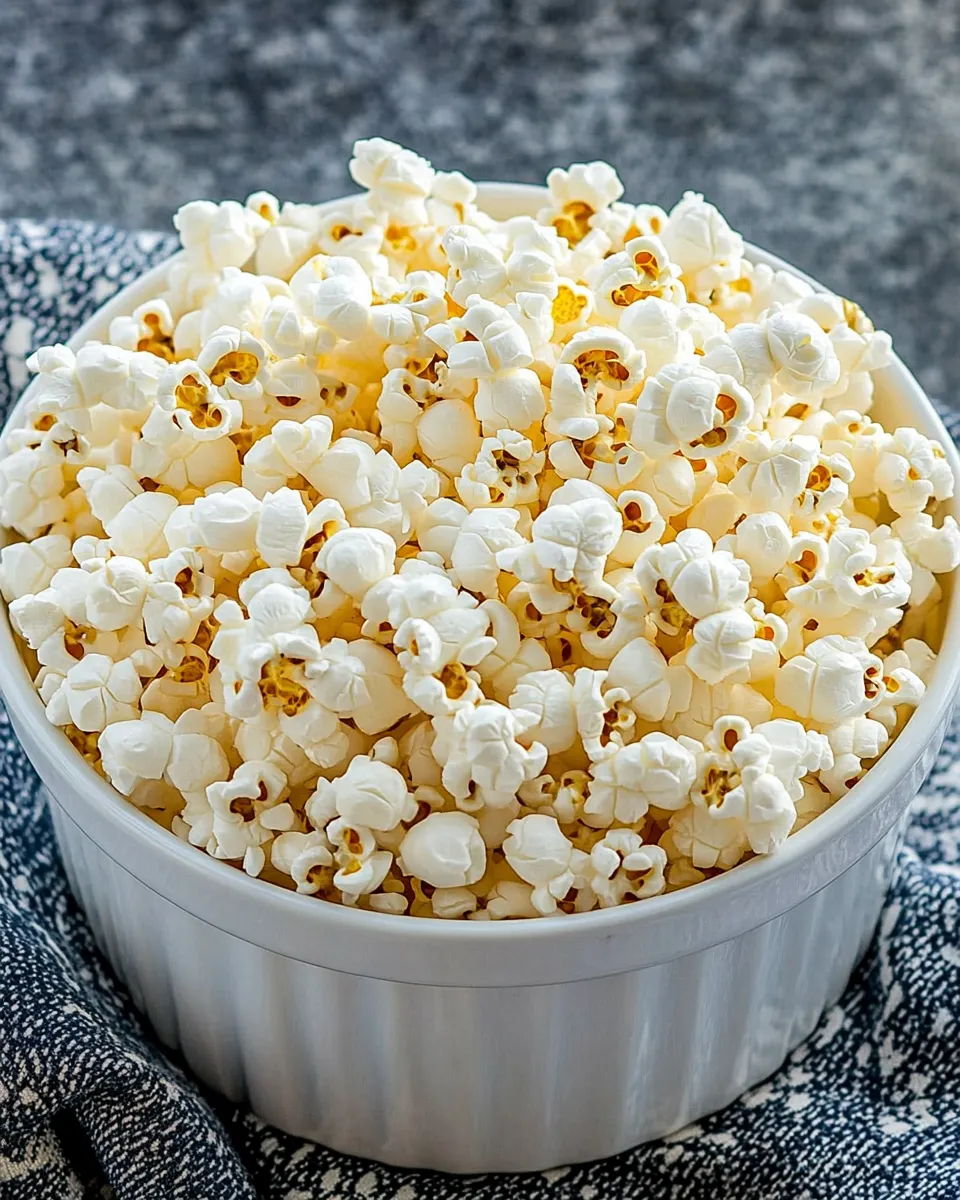
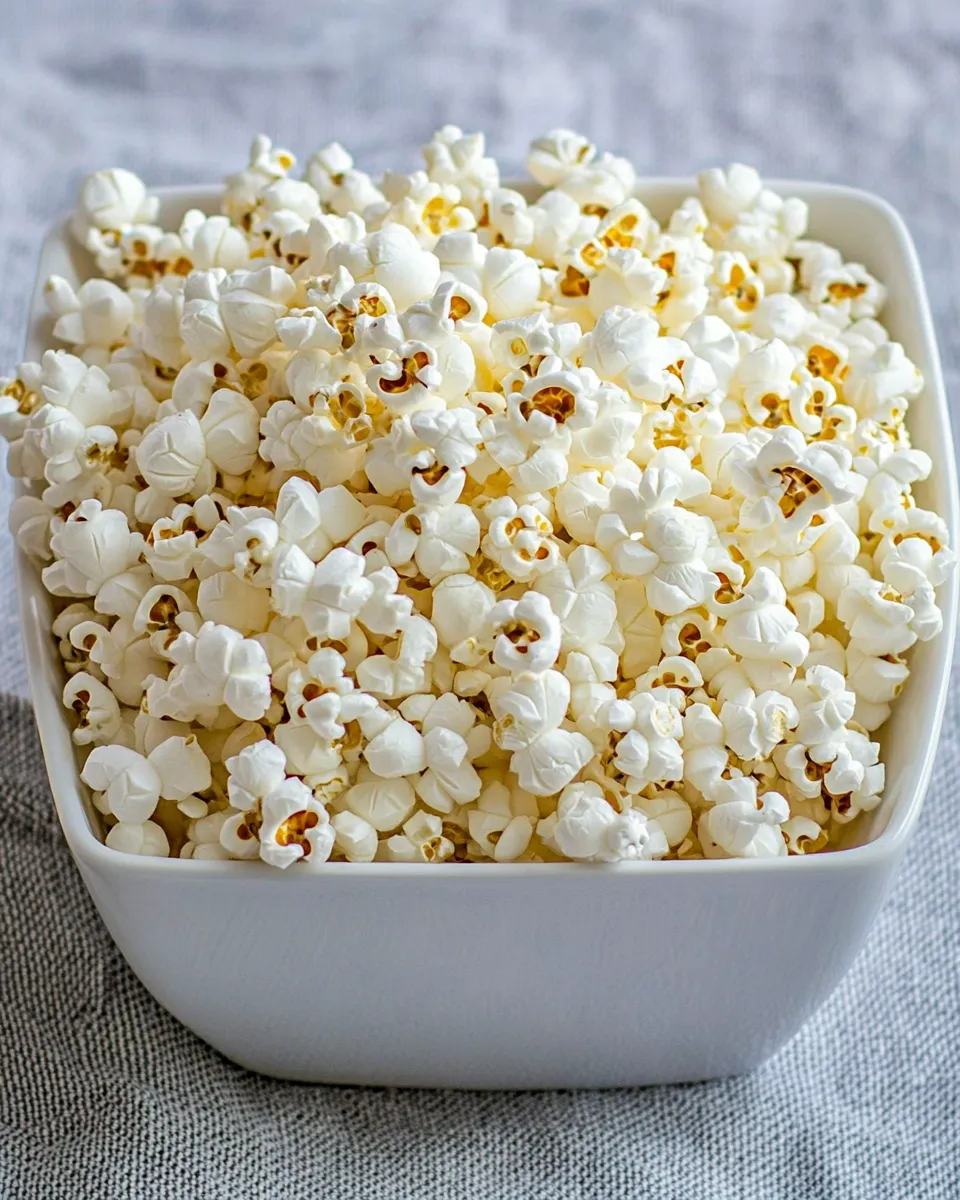
Kettle corn is one of those delightful snacks that evokes memories of summer fairs, movie nights, and cozy gatherings. Its irresistible combination of sweet and salty flavors makes it a favorite among snack lovers of all ages. The best part? You can easily make this scrumptious treat at home with just a few simple ingredients! In this recipe, we’ll walk you through the steps to create the perfect kettle corn using coconut oil for a unique twist. Get ready to pop!
What Sets This Recipe Apart
What makes this homemade kettle corn special is the use of coconut oil instead of traditional vegetable oil. This not only gives the popcorn a hint of tropical flavor but also provides a beautiful, shiny coating that enhances the overall texture. Plus, using coconut oil is a healthier alternative, making your snack taste even better without the guilt. With a perfect balance of sweetness from the sugar and a touch of salt, this kettle corn is sure to become your go-to recipe for movie nights or any gathering where snacks are a must!
Ingredient Breakdown
To make this delicious kettle corn, you’ll need the following ingredients:
- 1/4 cup coconut oil – This is your primary cooking fat, giving flavor and helping the popcorn pop.
- 1/4 cup popcorn kernels – The star of the show! Make sure to use quality kernels for the best popping results.
- 2 tablespoons sugar – This is what delivers that sweet crunch that kettle corn is known for.
- 1/2 teaspoon salt – A crucial ingredient for balancing the sweetness and enhancing the overall flavor.
Prep & Cook Tools
Before you start popping, gather the following tools to make the process smooth:
- Large pot with a lid – A heavy-bottomed pot works best to ensure even heating.
- Wooden spoon or spatula – For stirring and ensuring an even coating of sugar and salt.
- Measuring cups and spoons – Accuracy is key to achieving the perfect flavor balance.
- Large bowl – To transfer your finished kettle corn for serving.
How to Make Kettle Corn — Do This Next
Now, let’s dive into the step-by-step process of making your kettle corn:
Step 1: Heat the Coconut Oil
In your large pot, add the coconut oil and turn the heat to medium. Allow the oil to heat up until it’s fully melted and shimmering.
Step 2: Test the Oil
To check if the oil is hot enough, add a couple of popcorn kernels to the pot. Once they pop, you know the oil is ready.
Step 3: Add the Kernels
Once the test kernels have popped, remove them and add the remaining popcorn kernels to the pot. Quickly cover the pot with the lid.
Step 4: Shake It Up
As the kernels begin to pop, gently shake the pot back and forth over the heat. This helps prevent burning and ensures even cooking.
Step 5: Add Sugar
When the popping slows down to about 2 seconds between pops, carefully remove the lid and sprinkle in the sugar. Cover the pot again quickly.
Step 6: Continue Popping
Continue to shake the pot while the sugar melts and coats the popcorn. This step is essential to avoid burning the sugar.
Step 7: Remove from Heat
Once the popping has nearly stopped, remove the pot from the heat. Let it sit for a minute to allow any remaining pops to finish.
Step 8: Season and Serve
Carefully transfer the kettle corn to a large bowl. Sprinkle it with salt while it’s still warm, and give it a gentle toss to evenly distribute the seasoning. Now, it’s ready to enjoy!
Dairy-Free/Gluten-Free Swaps
This kettle corn recipe is naturally dairy-free and gluten-free, but if you want to explore some variations, consider the following:
- Alternative sweeteners: Replace sugar with maple syrup or agave syrup for a different flavor profile.
- Flavor additions: Spice things up with cinnamon or nutmeg for a seasonal twist.
Avoid These Mistakes
Making kettle corn is simple, but there are a few common pitfalls to watch out for:
- Using too high heat: This can lead to burnt popcorn. Medium heat is ideal for popping without burning.
- Not shaking the pot: Shaking is crucial to prevent the popcorn from burning and ensuring even cooking.
- Adding sugar too early: If you add sugar before the kernels start popping, it will burn and ruin the flavor.
Best Ways to Store
To keep your kettle corn fresh and crunchy, follow these storage tips:
- Cool completely: Allow your kettle corn to cool completely before storing to avoid moisture buildup.
- Airtight container: Store in an airtight container or resealable bag to maintain freshness.
- Room temperature: Kettle corn is best enjoyed at room temperature and should be consumed within a week for optimal taste.
FAQ
Can I use regular vegetable oil instead of coconut oil?
Yes, you can use vegetable oil if you prefer. However, coconut oil adds a unique flavor that enhances the overall taste of the kettle corn.
How can I make kettle corn spicier?
For a spicy kick, try adding a sprinkle of cayenne pepper or chili powder along with the salt after popping.
What is the best type of popcorn to use?
Look for high-quality popcorn kernels, preferably organic. Brands like Orville Redenbacher’s or Jolly Time work well for making kettle corn.
Can I store kettle corn in the fridge?
It’s not recommended to store kettle corn in the fridge as moisture can make it chewy. Keep it at room temperature in an airtight container instead.
If you’re looking for more delicious treats to complement your kettle corn, check out these recipes:
Next Steps
Now that you know how to make kettle corn, it’s time to gather your ingredients and get popping! Whether you’re preparing for a movie night, a party, or simply craving a delicious snack, this kettle corn recipe is your ticket to a tasty treat. Don’t forget to customize it with your favorite flavors or toppings to make it your own. Happy popping!
Making kettle corn is a delightful experience that leaves you with a sweet and salty snack that’s hard to resist. With just a few simple ingredients and steps, you can enjoy this beloved treat right in your own home. So, roll up your sleeves, and let’s get cooking!
How to Make Kettle Corn
Ingredients
- 1/4 cup coconut oil
- 1/4 cup popcorn kernels
- 2 tablespoons sugar
- 1/2 teaspoon salt
Instructions
- Step 1: In your large pot, add the coconut oil and turn the heat to medium. Allow the oil to heat up until it’s fully melted and shimmering.
- Step 2: To check if the oil is hot enough, add a couple of popcorn kernels to the pot. Once they pop, you know the oil is ready.
- Step 3: Once the test kernels have popped, remove them and add the remaining popcorn kernels to the pot. Quickly cover the pot with the lid.
- Step 4: As the kernels begin to pop, gently shake the pot back and forth over the heat to prevent burning and ensure even cooking.
- Step 5: When the popping slows down to about 2 seconds between pops, carefully remove the lid and sprinkle in the sugar. Cover the pot again quickly.
- Step 6: Continue to shake the pot while the sugar melts and coats the popcorn to avoid burning the sugar.
- Step 7: Once the popping has nearly stopped, remove the pot from the heat. Let it sit for a minute to allow any remaining pops to finish.
- Step 8: Carefully transfer the kettle corn to a large bowl. Sprinkle it with salt while it’s still warm, and give it a gentle toss to evenly distribute the seasoning. Now, it’s ready to enjoy!
Equipment
- Large pot with a lid
- Wooden spoon or spatula
- Measuring cups and spoons
- Large Bowl
Notes
- Cool completely before storing to avoid moisture buildup.
- Store in an airtight container or resealable bag to maintain freshness.
- Kettle corn is best enjoyed at room temperature and should be consumed within a week for optimal taste.