
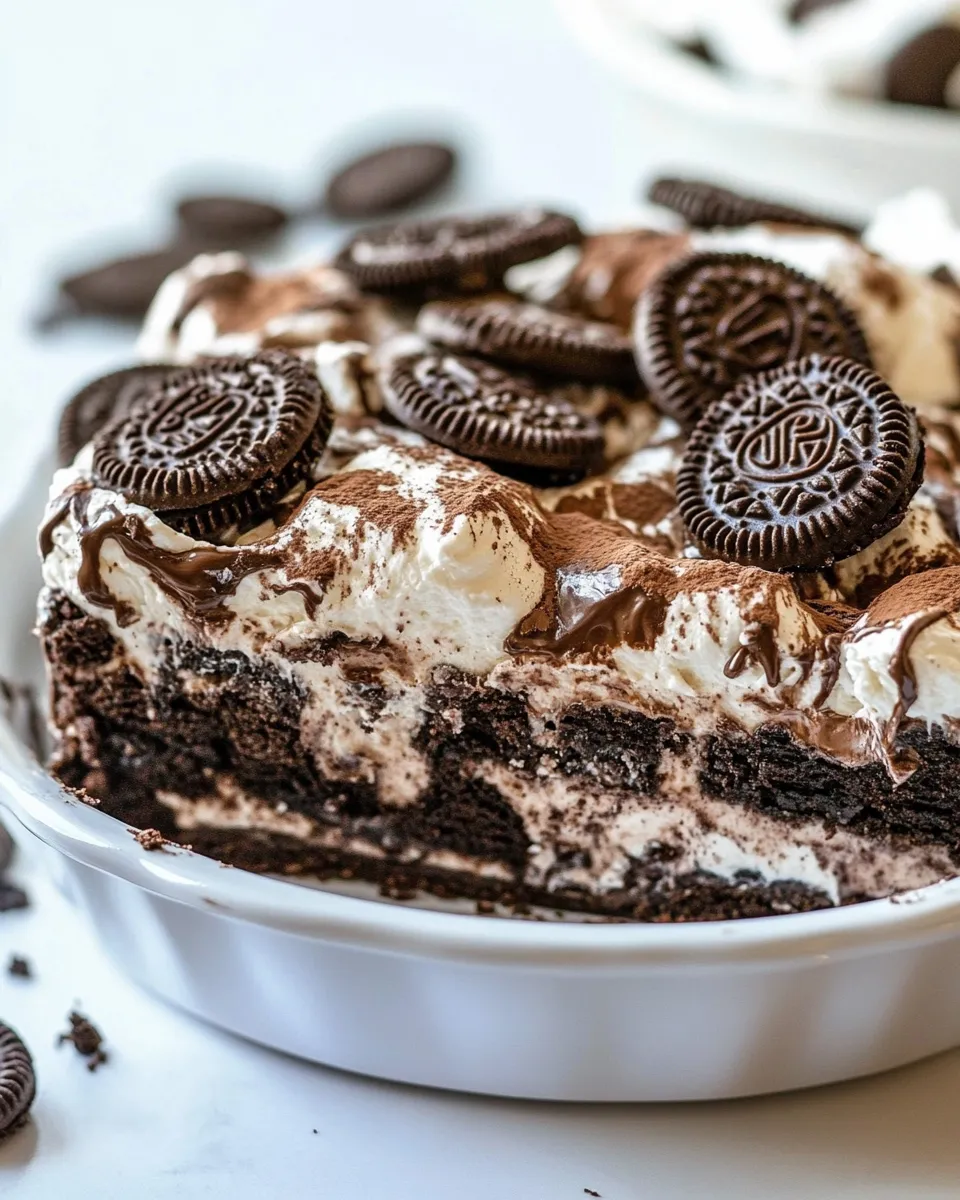
If you’re on the hunt for a dessert that’s rich, creamy, and utterly irresistible, look no further than Oreo Brownie Lush. This decadent treat layers fudgy brownies with smooth cream cheese, fluffy whipped topping, and crunchy Oreo pieces, creating a dessert that’s sure to impress at any gathering. Whether you’re hosting a dinner party, celebrating a birthday, or simply in need of a sweet fix, Oreo Brownie Lush is your answer. With minimal effort and maximum flavor, let’s dive into this delightful recipe!
Why Oreo Brownie Lush is Worth Your Time
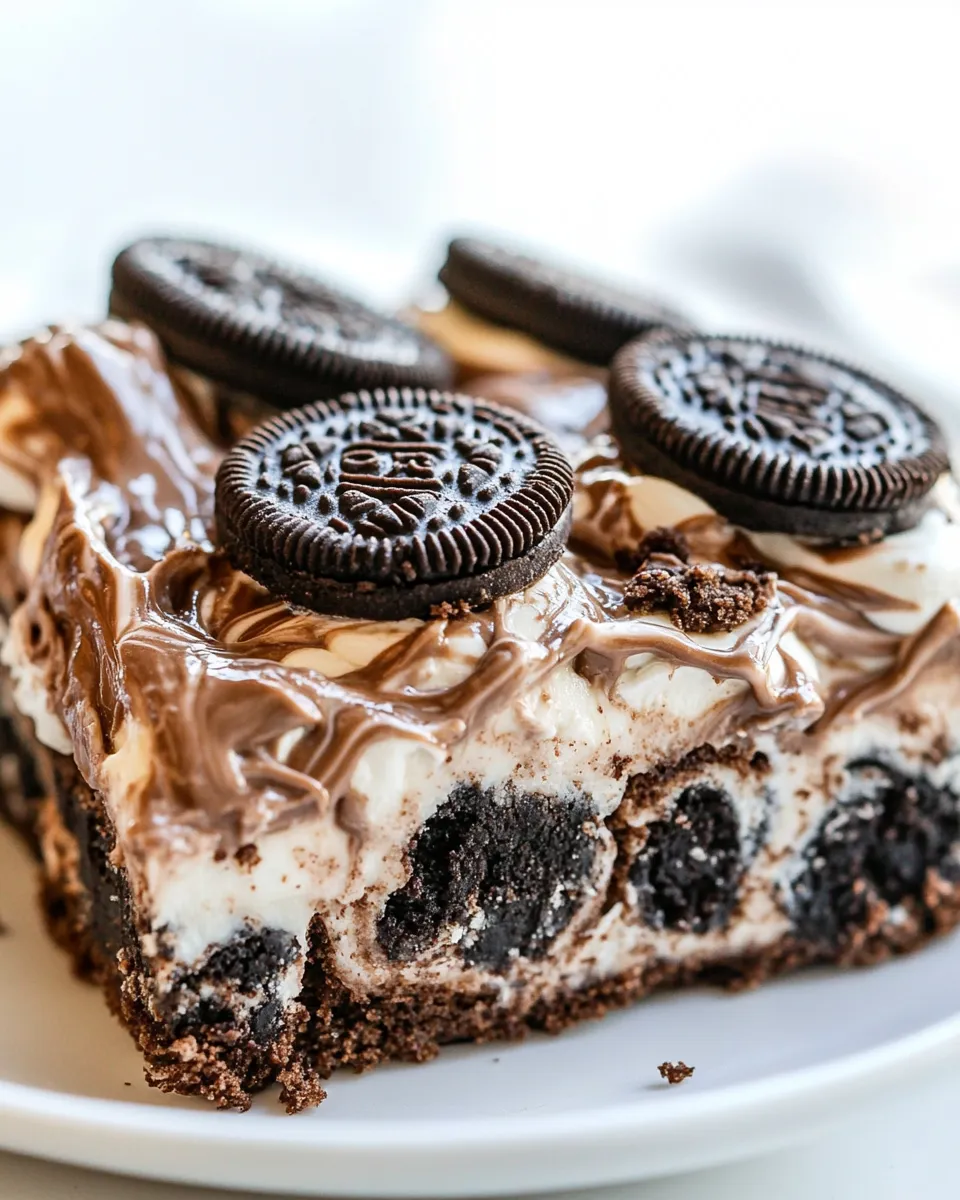
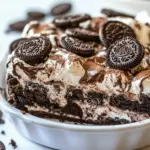
Oreo Brownie Lush is not only a feast for the taste buds but also a visual showstopper. The combination of textures—from the chewy brownie base to the creamy filling and the crunchy Oreo topping—creates a dessert that’s as delightful to eat as it is to look at. It’s incredibly easy to whip up, making it perfect for both novice and seasoned bakers. Plus, the layers can be prepared ahead of time, allowing you to enjoy more time with your guests and less time in the kitchen. Trust me, once you take a bite, you’ll understand why this dessert is a crowd favorite!
Ingredient List
- One 20-ounce box brownie mix, plus ingredients called for to make the brownies
- One 8-ounce block cream cheese, softened (I used lite)
- 1 cup confectioners’ sugar
- One 12-ounce tub whipped topping, thawed (I used fat free)
- 30 Oreo cookies, coarsely chopped (divided)
- Two 3.9-ounce boxes instant chocolate pudding mix
- 3 cups cold milk (use real milk, I used 2%; non-dairy or nut/soy-based milks will not work and pudding won’t set)
Essential Tools for Success
- 9×13-inch baking dish: Perfect for layering your ingredients.
- Mixing bowls: Use different sizes for combining ingredients.
- Electric mixer: Makes mixing the cream cheese and whipped topping a breeze.
- Spatula: Great for spreading and leveling your layers.
- Measuring cups and spoons: Essential for accurate ingredient measurements.
From Start to Finish: Oreo Brownie Lush
Step 1: Prepare the Brownies
Begin by preheating your oven according to the instructions on your brownie mix box. Prepare the brownie batter as directed, which typically involves mixing the brownie mix with eggs, oil, and water. Pour the batter into a greased 9×13-inch baking dish and bake until a toothpick inserted into the center comes out with moist crumbs. Allow the brownies to cool completely.
Step 2: Make the Cream Cheese Layer
In a mixing bowl, beat the softened cream cheese with an electric mixer until smooth and creamy. Gradually add the confectioners’ sugar and continue mixing until well combined. Then, fold in half of the whipped topping gently until the mixture is light and fluffy.
Step 3: Assemble the Layers
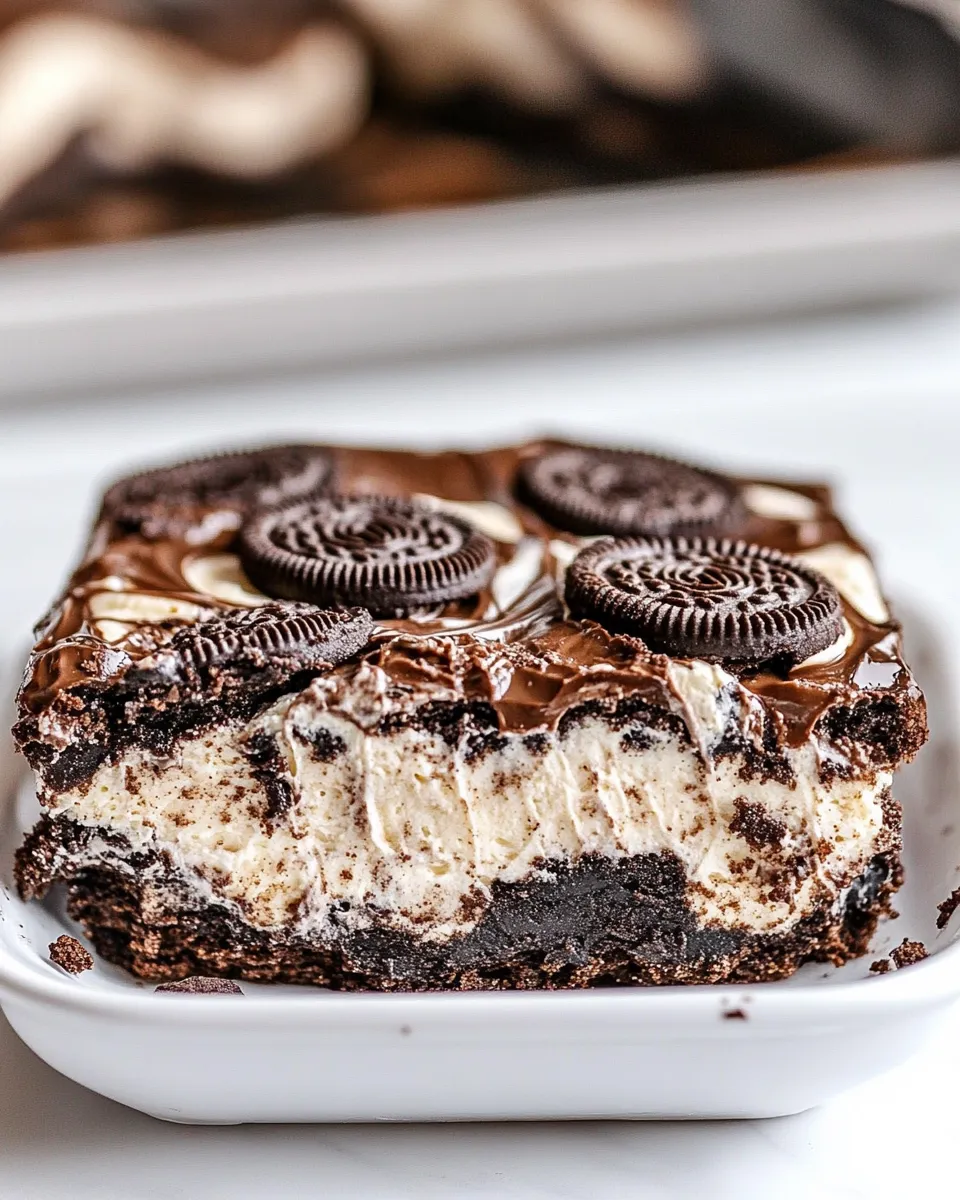
Once the brownies have cooled, spread the cream cheese mixture evenly over the brownie layer. Next, sprinkle half of the coarsely chopped Oreo cookies on top of the cream cheese layer.
Step 4: Prepare the Pudding Layer
In a separate bowl, whisk together the instant chocolate pudding mix and the cold milk. Whisk for about 2 minutes until the mixture thickens. Pour the pudding over the Oreo cookie layer, spreading it out evenly.
Step 5: Add the Final Touches
Top the pudding layer with the remaining whipped topping, spreading it out with a spatula. Finally, sprinkle the rest of the chopped Oreo cookies on top for a crunchy finish. Cover the dish with plastic wrap and refrigerate for at least 4 hours, or overnight if possible, to let everything set.
Variations by Season
- Summer: Add fresh berries like strawberries or raspberries for a fruity twist.
- Fall: Incorporate pumpkin spice into the cream cheese layer for a seasonal flavor.
- Winter: Drizzle melted chocolate or caramel on top for extra indulgence.
- Spring: Mix in some chopped mint or use mint Oreos for a refreshing touch.
Cook’s Notes
- Make sure to let your brownies cool completely before adding the cream cheese layer to avoid melting.
- Feel free to adjust the amount of sugar in the cream cheese layer based on your sweetness preference.
- For a richer flavor, use whole milk instead of 2% milk in the pudding layer.
- If you’re in a hurry, you can use store-bought brownies to save time!
Prep Ahead & Store
Oreo Brownie Lush can be made a day in advance, which makes it perfect for parties or family gatherings. Just store it in the refrigerator covered tightly with plastic wrap. The dessert can be kept in the fridge for up to 3 days, although it’s best enjoyed within the first couple of days for optimal freshness.
Helpful Q&A
Can I use a different type of cookie instead of Oreos?
Absolutely! While Oreos are a classic choice, you can experiment with other chocolate cookies or even graham crackers for a different flavor profile.
Can I make this dessert gluten-free?
Yes, you can use a gluten-free brownie mix and gluten-free cookies to make a delicious gluten-free version of Oreo Brownie Lush.
What if I don’t have whipped topping?
If you prefer, you can make your own whipped cream by whipping heavy cream until stiff peaks form and sweetening it to your taste. Just make sure to use it right away!
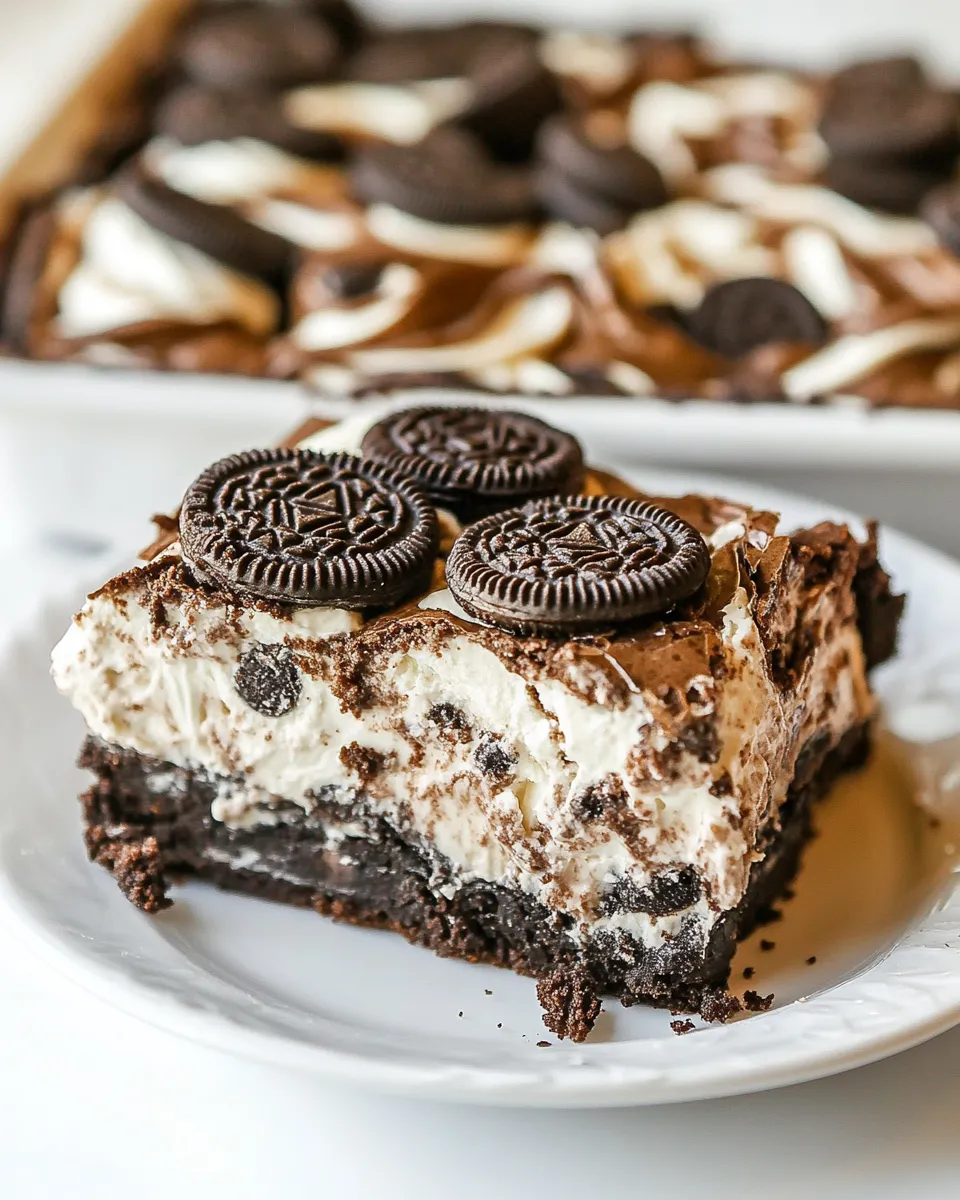
How do I cut the layers cleanly for serving?
To get clean cuts, use a sharp knife and wipe it clean between each cut. This will help maintain the beautiful layers of your Oreo Brownie Lush.
Ready to Cook?
Now that you have everything you need to create this stunning Oreo Brownie Lush, it’s time to get started! With its delightful layers and heavenly taste, this dessert is sure to become a staple in your recipe collection. Gather your ingredients, channel your inner baker, and enjoy every delicious bite. Your friends and family will be asking for seconds, and you’ll be the star of the dessert table!
Oreo Brownie Lush
Ingredients
For the Brownies:
- 1 box brownie mix 20-ounce box, plus ingredients called for to make the brownies
For the Cream Cheese Layer:
- 1 block cream cheese 8-ounce, softened (lite recommended)
- 1 cup confectioners’ sugar
- 1 tub whipped topping 12-ounce, thawed (fat free recommended)
- 30 cookies Oreo coarsely chopped (divided)
For the Pudding Layer:
- 2 boxes instant chocolate pudding mix 3.9-ounce boxes
- 3 cups cold milk real milk recommended (2% used)
Instructions
Preparation Steps:
- Preheat your oven according to the instructions on your brownie mix box. Prepare the brownie batter as directed and pour into a greased 9x13-inch baking dish. Bake until a toothpick comes out with moist crumbs. Cool completely.
- In a mixing bowl, beat the softened cream cheese until smooth. Gradually add confectioners’ sugar and mix well. Fold in half of the whipped topping until light and fluffy.
- Spread the cream cheese mixture evenly over the cooled brownies. Sprinkle half of the chopped Oreo cookies on top.
- In a separate bowl, whisk together the instant pudding mix and cold milk for about 2 minutes until thickened. Pour over the Oreo layer, spreading evenly.
- Top with the remaining whipped topping and sprinkle the rest of the chopped Oreos. Cover with plastic wrap and refrigerate for at least 4 hours or overnight.
Equipment
- 9x13-inch Baking Dish
- Mixing Bowls
- Electric Mixer
- Spatula
- Measuring cups and spoons
Notes
- Let brownies cool completely before adding the cream cheese layer to prevent melting.
- Adjust sugar in the cream cheese layer to your sweetness preference.
- For richer flavor, use whole milk in the pudding layer.
- Store-bought brownies can save time if you're in a hurry!


