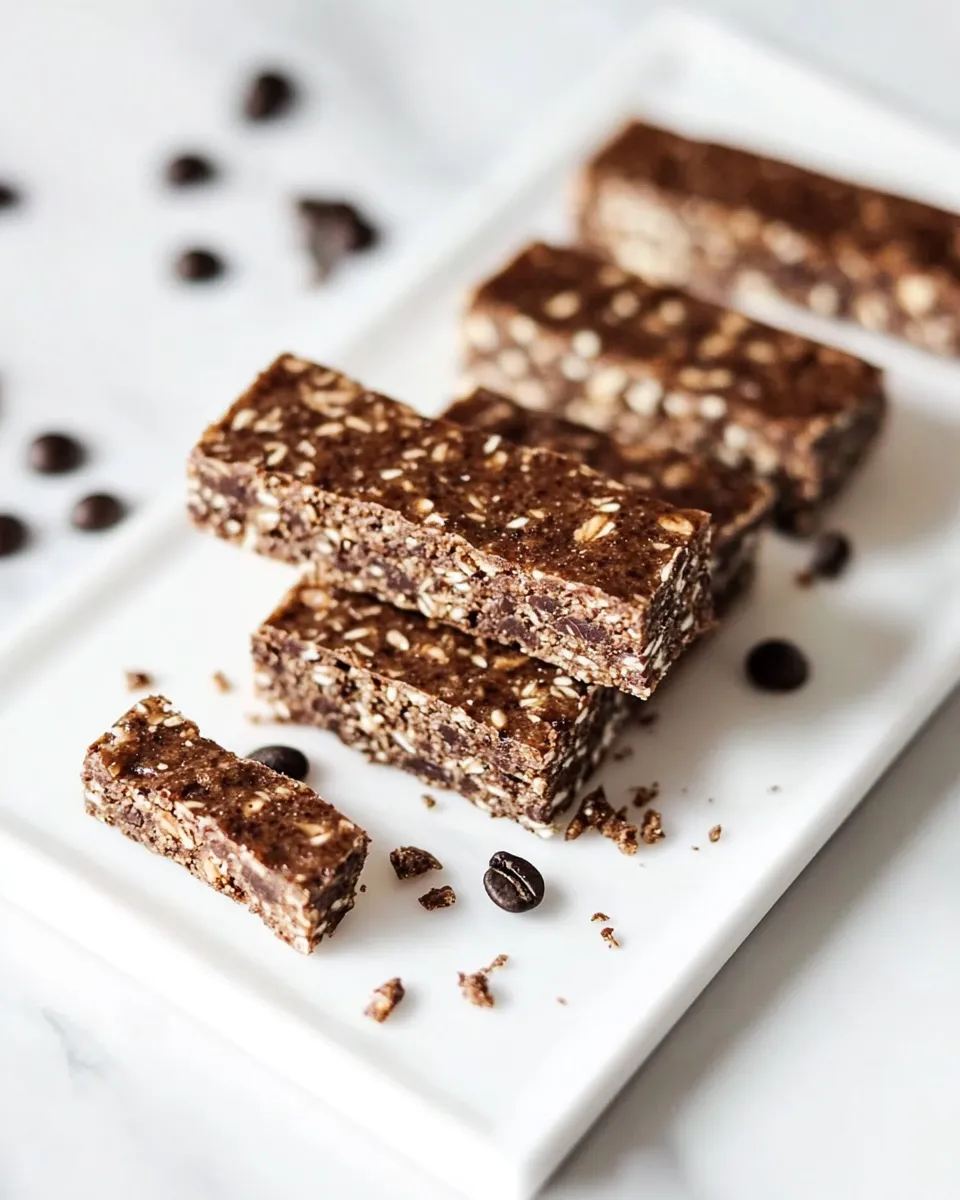
If you love the rich, robust flavor of coffee and the indulgence of chocolate, you’re in for a treat with these No-Bake Mocha Protein Bars. Perfect for a quick snack, a pre-workout boost, or a healthy dessert, these bars pack a punch of protein and flavor without the need for an oven. With wholesome ingredients like oats, chia seeds, and almond butter, they’re not only delicious but also provide lasting energy to keep you going throughout the day. Let’s dive into the world of no-bake goodness!
The Upside of No-Bake Mocha Protein Bars
No-bake recipes are a game-changer in the kitchen. They save time, reduce the mess, and keep your kitchen cool, especially during those hot summer months. Plus, these No-Bake Mocha Protein Bars are incredibly versatile, easily customizable, and perfect for meal prep. You can whip them up in under 30 minutes, and they require no fancy equipment. The combination of coffee and chocolate makes for a delightful treat that’s both energizing and satisfying.
The Essentials
To make your own No-Bake Mocha Protein Bars, you’ll need the following ingredients:
- 2 cups rolled oats
- 1/4 cup clean protein powder (try Tera’s Chocolate Whey)
- 1/3 cup cocoa powder
- 1 cup mini chocolate chips (Enjoy Life mini chocolate chips recommended)
- 1/2 cup chia seeds
- 3 tablespoons ground flax seed
- 2 tablespoons sesame seeds
- 1/2 cup dried cherries
- 1/2 cup brewed coffee, cooled (dark roast is best)
- 1 cup natural almond butter
- 1/4 cup raw honey
These ingredients combine to create a deliciously chewy and nutritious bar that is sure to become a staple in your kitchen.
Equipment & Tools
Before you start, gather the following equipment:
- Mixing Bowl: For combining the ingredients.
- Spatula: To mix thoroughly and press the mixture into the pan.
- 9×9 inch Baking Dish: For shaping the bars. A parchment-lined dish makes for easy removal.
- Measuring Cups & Spoons: For precise ingredient measurements.
- Knife: To cut your bars into perfect squares once set.
With these tools on hand, you’ll be ready to create your No-Bake Mocha Protein Bars in no time!
No-Bake Mocha Protein Bars, Made Easy
Making these bars is as straightforward as it gets. Follow these simple steps:
Step 1: Prepare Your Dish
Start by lining a 9×9 inch baking dish with parchment paper. This will help with easy removal of the bars once they are set.
Step 2: Mix Dry Ingredients
In a large mixing bowl, combine the rolled oats, clean protein powder, cocoa powder, chia seeds, ground flax seed, sesame seeds, and dried cherries. Stir until evenly mixed.
Step 3: Combine Wet Ingredients
In a separate bowl, mix the cooled brewed coffee, almond butter, and raw honey until smooth. Make sure the mixture is well combined, as this will be the glue that holds your bars together.
Step 4: Combine Wet and Dry Mixtures
Pour the wet mixture into the dry mixture. Stir with a spatula until fully combined. The mixture should be thick and sticky.
Step 5: Fold in Chocolate Chips
Gently fold in the mini chocolate chips, ensuring they are evenly distributed throughout the mixture.
Step 6: Press Into the Dish
Transfer the mixture to the prepared baking dish. Use a spatula to press it down firmly and evenly. The more compact the mixture, the better your bars will hold together.
Step 7: Chill and Set
Place the dish in the refrigerator for at least 1-2 hours to allow the bars to set. This step is crucial for achieving the perfect texture.
Step 8: Cut and Enjoy
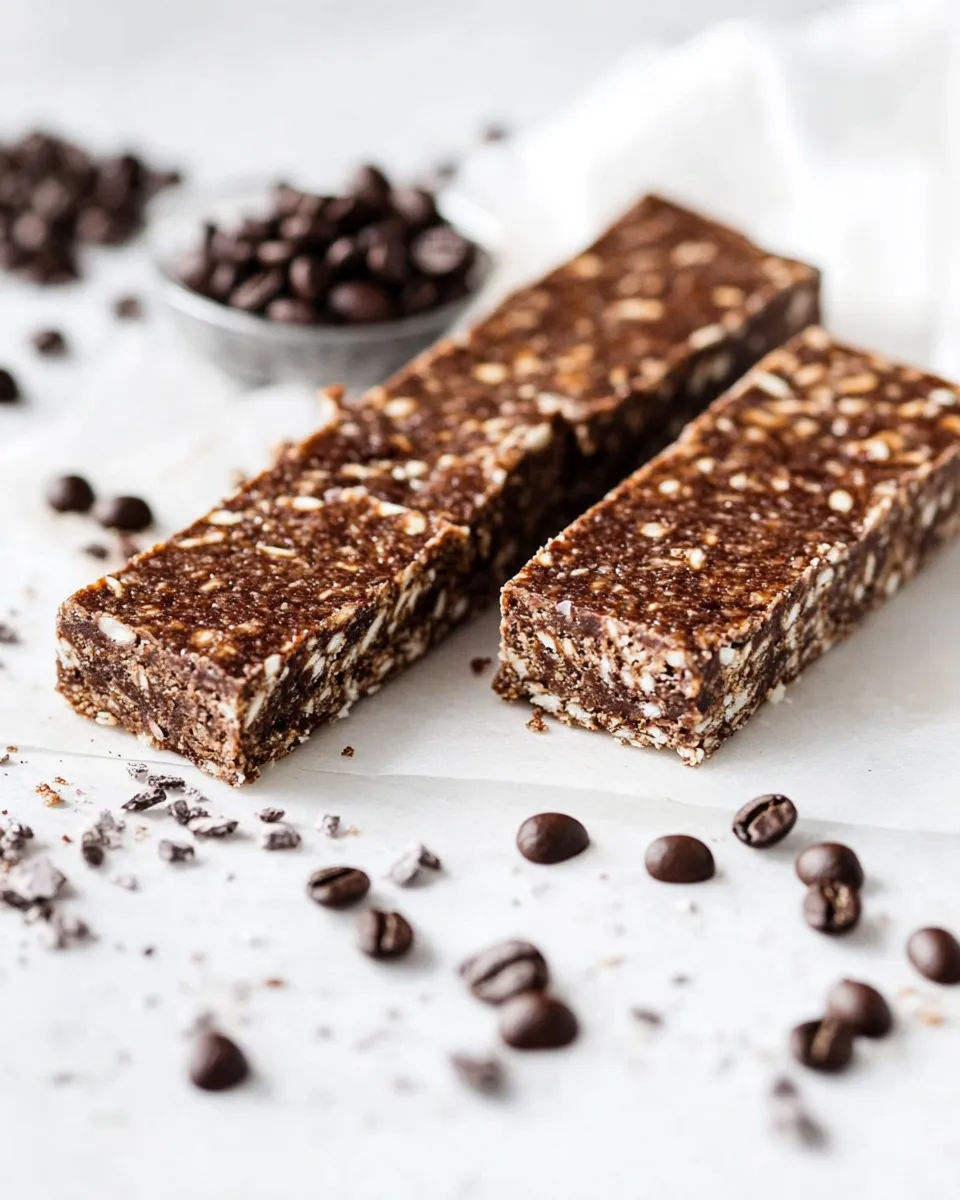
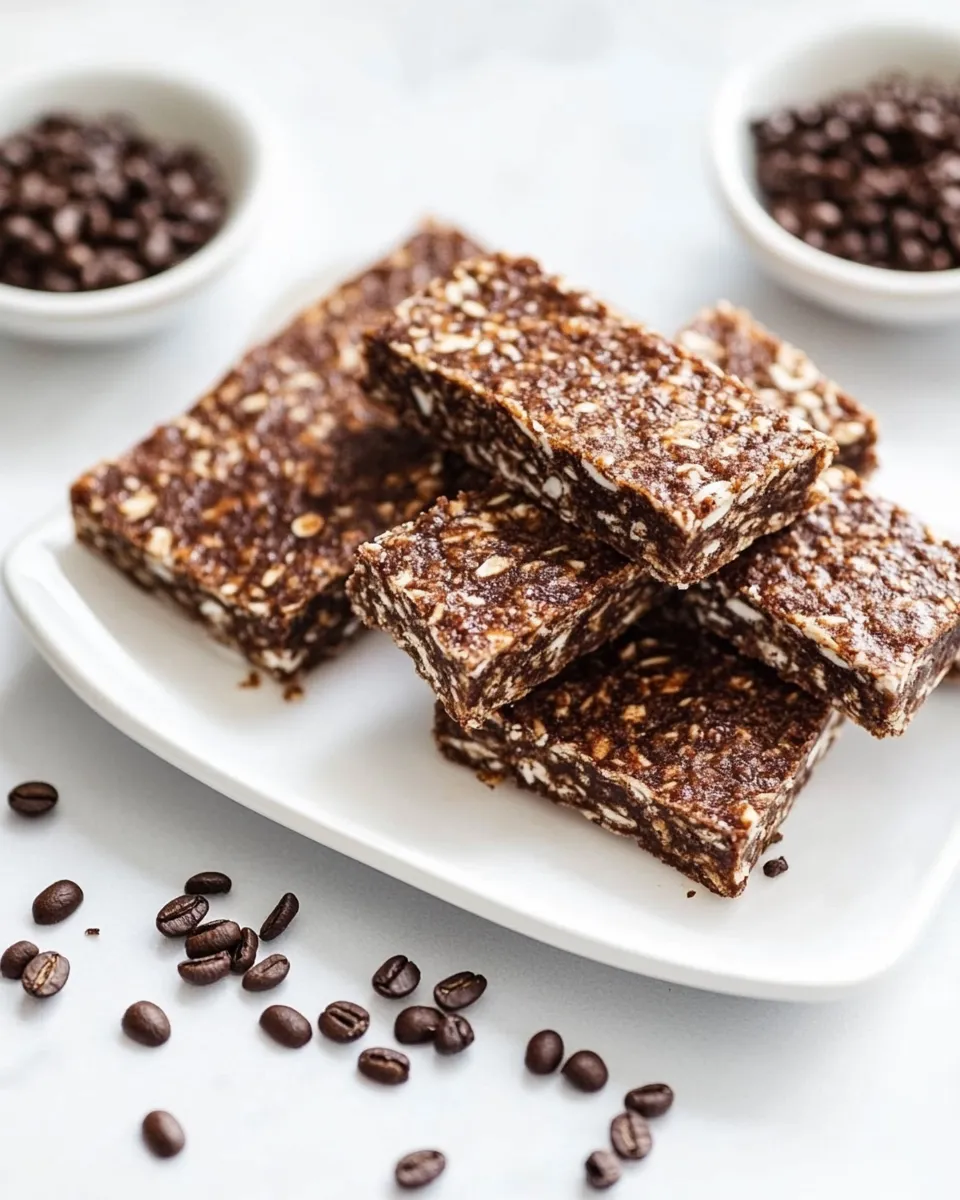
Once set, remove the mixture from the dish using the parchment paper. Cut into squares or rectangles, depending on your preference. Enjoy immediately or store for later!
Make It Year-Round
These No-Bake Mocha Protein Bars are perfect for any season! Here are some ways to switch things up:
- Spring: Add in some dried apricots or coconut flakes for a tropical twist.
- Summer: Swap out the cherries for dried blueberries for a refreshing burst of flavor.
- Fall: Incorporate pumpkin spice and chopped pecans for a seasonal flair.
- Winter: Use peppermint extract instead of coffee for a minty version.
Feel free to experiment with flavors and ingredients to keep your No-Bake Mocha Protein Bars exciting all year round!
Missteps & Fixes
Even the best chefs make mistakes! Here are some common missteps and how to fix them:
- Bars Crumbling: If your bars crumble, they may need more binding. Try adding an extra tablespoon of almond butter or honey to help them stick together.
- Too Sticky: If the mixture is too sticky, consider adding a bit more oats or protein powder to absorb the moisture.
- Not Setting Properly: Ensure you chill them long enough. If they still don’t set, try freezing them for a short time before cutting.
- Flavor Too Strong: If the coffee flavor is overpowering, reduce the amount of coffee next time or balance it out with more chocolate chips.
With these tips, you’ll be well-prepared to tackle any issues that may arise!
Keep It Fresh: Storage Guide
Proper storage is essential to keep your No-Bake Mocha Protein Bars fresh and delicious. Here’s how to do it:
Store your bars in an airtight container in the refrigerator for up to one week. For longer storage, you can also freeze them. Just make sure to separate layers with parchment paper to prevent sticking. Frozen bars can last up to three months. When you’re ready to enjoy, simply thaw them in the fridge or at room temperature.
Common Questions
Can I use a different type of nut butter?
Absolutely! Feel free to substitute almond butter with peanut butter, cashew butter, or sunbutter for a different flavor profile.
Are these bars gluten-free?
Yes, as long as you use certified gluten-free rolled oats, these bars can easily be made gluten-free.
Can I make them vegan?
To make these bars vegan, substitute honey with maple syrup or agave nectar, and use a plant-based protein powder.
How can I enhance the flavor?
Consider adding spices like cinnamon or vanilla extract to enhance the flavor profile and give your bars a unique twist.
If you’re looking for more delicious treats to complement your No-Bake Mocha Protein Bars, check out these recipes:
See You at the Table
These No-Bake Mocha Protein Bars are not just a snack; they’re a celebration of flavor, nutrition, and simplicity. Whether you’re fueling up for a workout or satisfying your sweet tooth, these bars have you covered. So, gather your ingredients, and let’s get started on a delicious journey!
With a mix of wholesome ingredients and the delightful flavors of coffee and chocolate, your taste buds are in for a treat. Enjoy these bars as part of your balanced diet, and feel free to share them with friends and family. They’ll be a hit, and who doesn’t love a homemade treat that’s both tasty and nutritious? Happy snacking!

No-Bake Mocha Protein Bars
Ingredients
- 2 cups rolled oats
- 1/4 cup clean protein powder (try Tera's Chocolate Whey)
- 1/3 cup cocoa powder
- 1 cup mini chocolate chips (Enjoy Life mini chocolate chips recommended)
- 1/2 cup chia seeds
- 3 tablespoons ground flax seed
- 2 tablespoons sesame seeds
- 1/2 cup dried cherries
- 1/2 cup brewed coffee (cooled, dark roast is best)
- 1 cup natural almond butter
- 1/4 cup raw honey
Instructions
- Step 1: Prepare Your Dish - Start by lining a 9x9 inch baking dish with parchment paper. This will help with easy removal of the bars once they are set.
- Step 2: Mix Dry Ingredients - In a large mixing bowl, combine the rolled oats, clean protein powder, cocoa powder, chia seeds, ground flax seed, sesame seeds, and dried cherries. Stir until evenly mixed.
- Step 3: Combine Wet Ingredients - In a separate bowl, mix the cooled brewed coffee, almond butter, and raw honey until smooth. Make sure the mixture is well combined, as this will be the glue that holds your bars together.
- Step 4: Combine Wet and Dry Mixtures - Pour the wet mixture into the dry mixture. Stir with a spatula until fully combined. The mixture should be thick and sticky.
- Step 5: Fold in Chocolate Chips - Gently fold in the mini chocolate chips, ensuring they are evenly distributed throughout the mixture.
- Step 6: Press Into the Dish - Transfer the mixture to the prepared baking dish. Use a spatula to press it down firmly and evenly. The more compact the mixture, the better your bars will hold together.
- Step 7: Chill and Set - Place the dish in the refrigerator for at least 1-2 hours to allow the bars to set. This step is crucial for achieving the perfect texture.
- Step 8: Cut and Enjoy - Once set, remove the mixture from the dish using the parchment paper. Cut into squares or rectangles, depending on your preference. Enjoy immediately or store for later!
Equipment
- Mixing Bowl
- Spatula
- 9x9-inch Baking Dish
- Measuring Cups & Spoons
- Knife
Notes
- Store your bars in an airtight container in the refrigerator for up to one week.
- For longer storage, freeze them separated by parchment paper for up to three months.
- Feel free to substitute almond butter with other nut butters for different flavors.