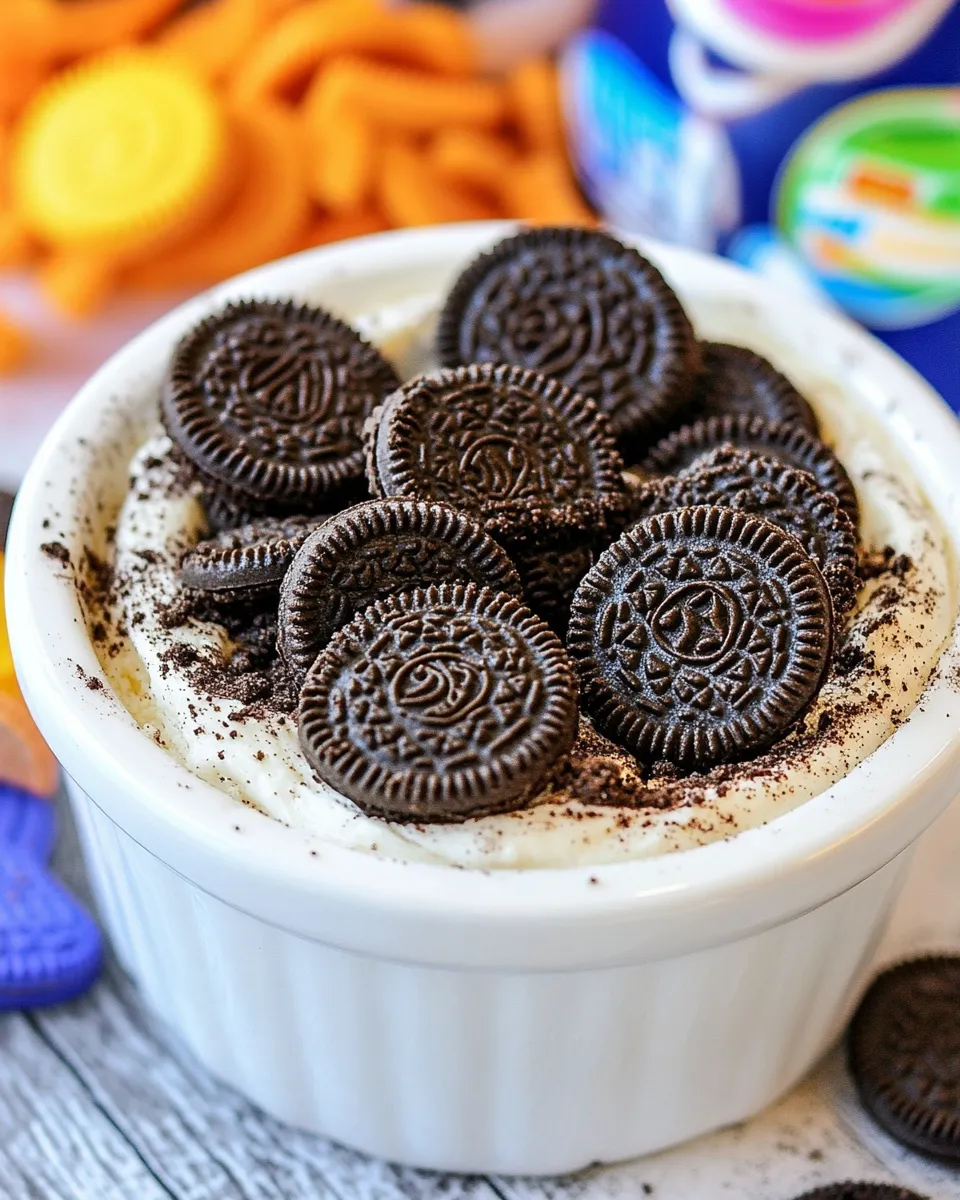
If you’re looking for a dessert that’s as fun to make as it is to eat, the Oreo Dirt Pie Recipe is your answer! This delightful no-bake treat combines the rich flavors of Oreo cookies with a creamy chocolate filling, resulting in a dessert that’s sure to please both kids and adults alike. Perfect for parties, picnics, or just a cozy night in, this Oreo Dirt Pie is not only delicious but also an absolute showstopper. So, let’s dig in and get started on this delightful dessert!
What You’ll Love About This Recipe
- Quick and easy preparation with no baking required.
- Rich chocolate flavor paired with the crunchiness of Oreos.
- Customizable decorations for any occasion.
- Perfectly creamy texture that melts in your mouth.
- A fun treat that brings out your inner child.
Ingredient List
- 2 cups Oreo cookie crumbs (about 22-24 whole Oreo cookies)
- 6 tablespoons unsalted butter, melted
- 1 box instant chocolate pudding (3.9 oz)
- 1 ½ cups half and half
- 1 cup Oreo cookie crumbs (about 11-12 whole Oreo cookies)
- 8 ounces Cool Whip, thawed
- ½ cup Oreo cookie crumbs (about 6-8 whole Oreo cookies)
- 6 gummy worms
- RIP cookies (for decoration)
- Edible eyes (for decoration)
- Spiders (for decoration)
Setup & Equipment
- 9-inch pie dish for assembling the pie.
- Mixing bowls for combining ingredients.
- Whisk or spatula for mixing and folding.
- Measuring cups and spoons for accurate ingredient measurement.
- Plastic wrap or foil for covering the pie while chilling.
Step-by-Step: Oreo Dirt Pie Recipe
Step 1: Prepare the Oreo Crust
Begin by preheating your oven to 350°F (if you prefer a baked crust, although this recipe can be made as a no-bake). In a mixing bowl, combine 2 cups of Oreo cookie crumbs with the melted unsalted butter. Mix until the crumbs are evenly coated and resemble wet sand.
Step 2: Form the Crust
Press the mixture firmly into the bottom and up the sides of your pie dish to form a crust. Ensure it’s compact for a sturdy base. If baking, place the crust in the oven for 10 minutes, then let cool completely. If you’re doing a no-bake version, skip to the next step.
Step 3: Make the Chocolate Filling
In another bowl, whisk together the instant chocolate pudding mix and half and half until smooth and thickened, about 2 minutes.
Step 4: Fold in the Cool Whip
Gently fold in the thawed Cool Whip into the chocolate pudding mixture until fully combined and creamy. This adds a light and fluffy texture to your filling.
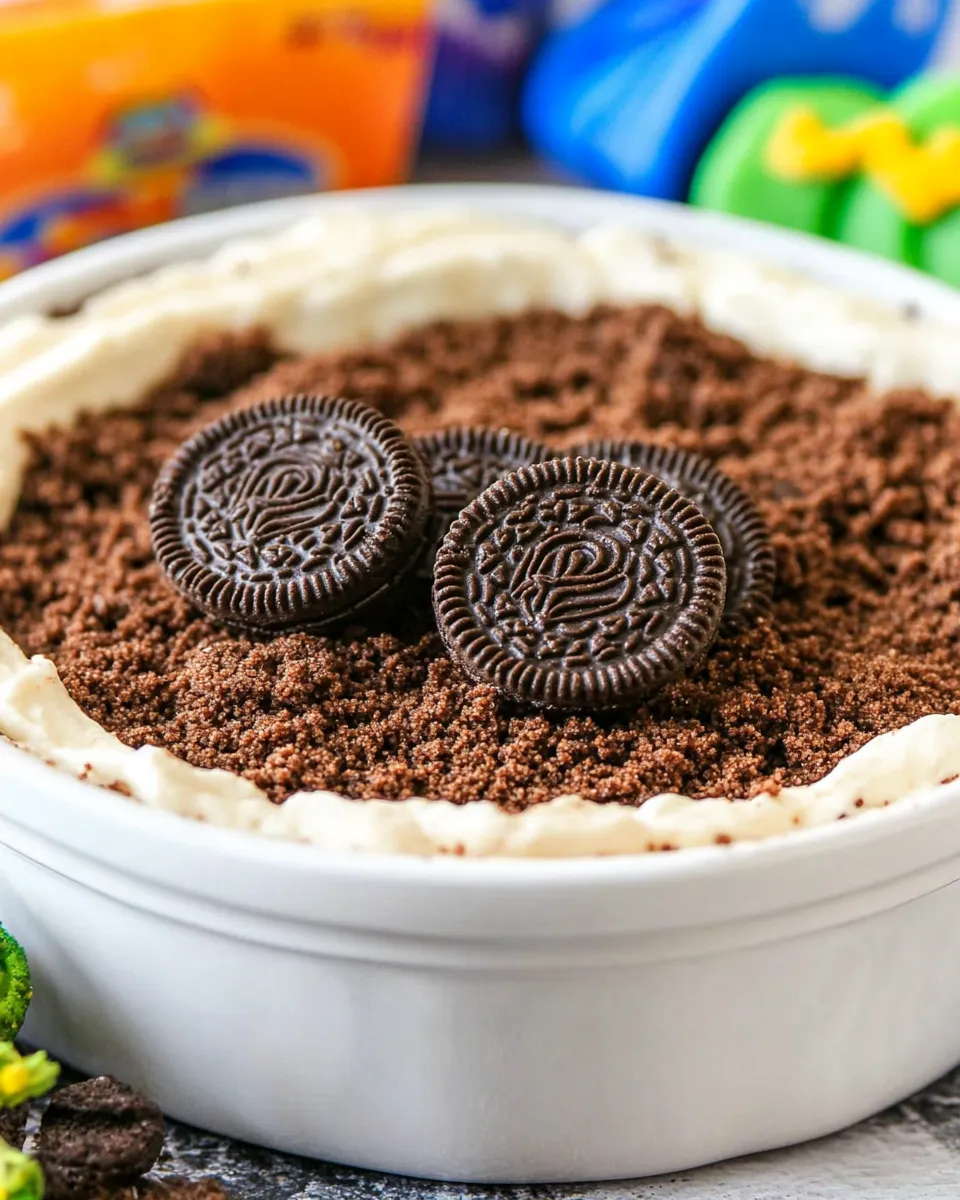
Step 5: Assemble the Pie
Spread half of the chocolate filling into the prepared Oreo crust. Sprinkle 1 cup of Oreo cookie crumbs evenly over the filling. Then, layer the remaining chocolate filling on top and smooth it out with a spatula.
Step 6: Chill the Pie
Cover the pie with plastic wrap or foil and refrigerate for at least 4 hours, or overnight if possible. This allows the flavors to meld and the filling to set properly.
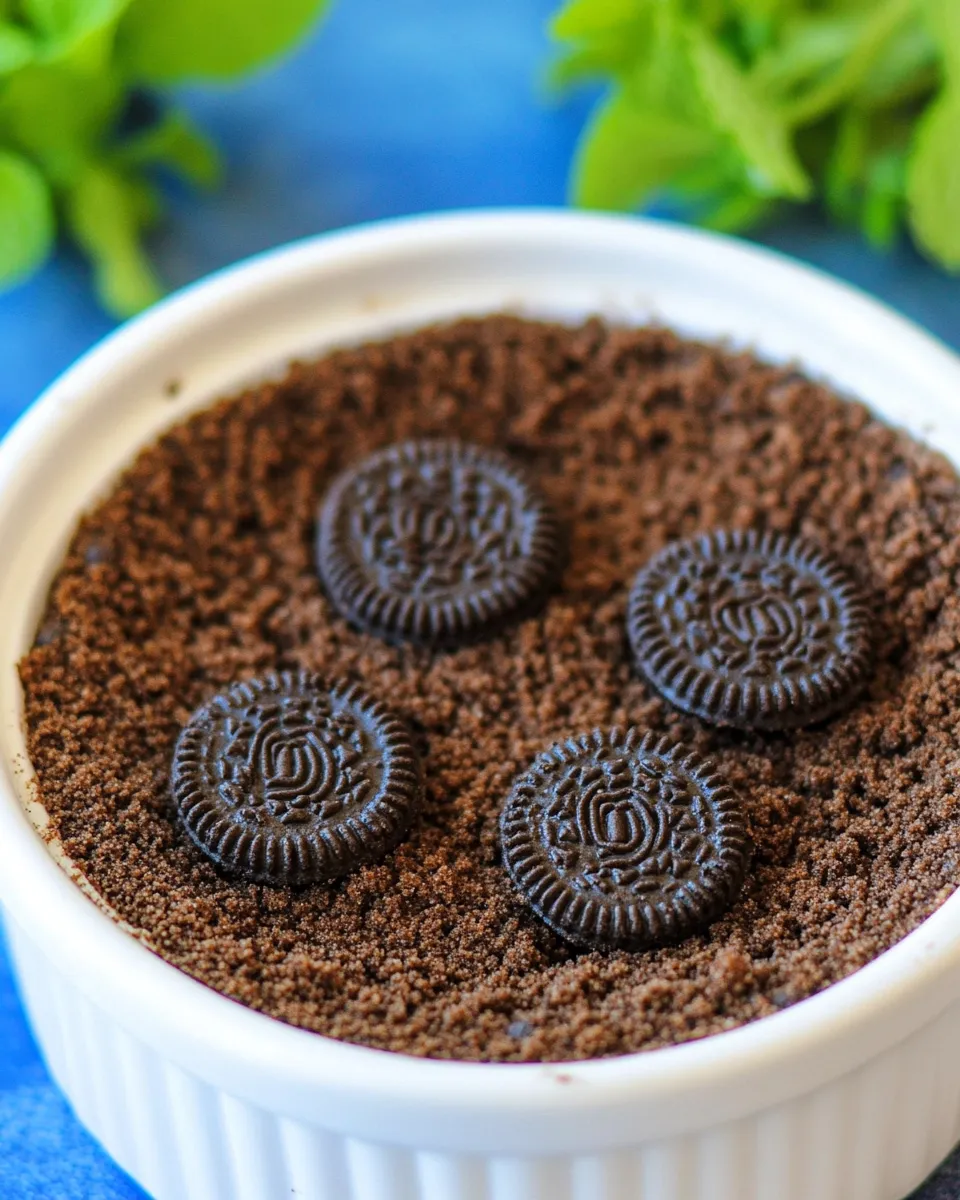
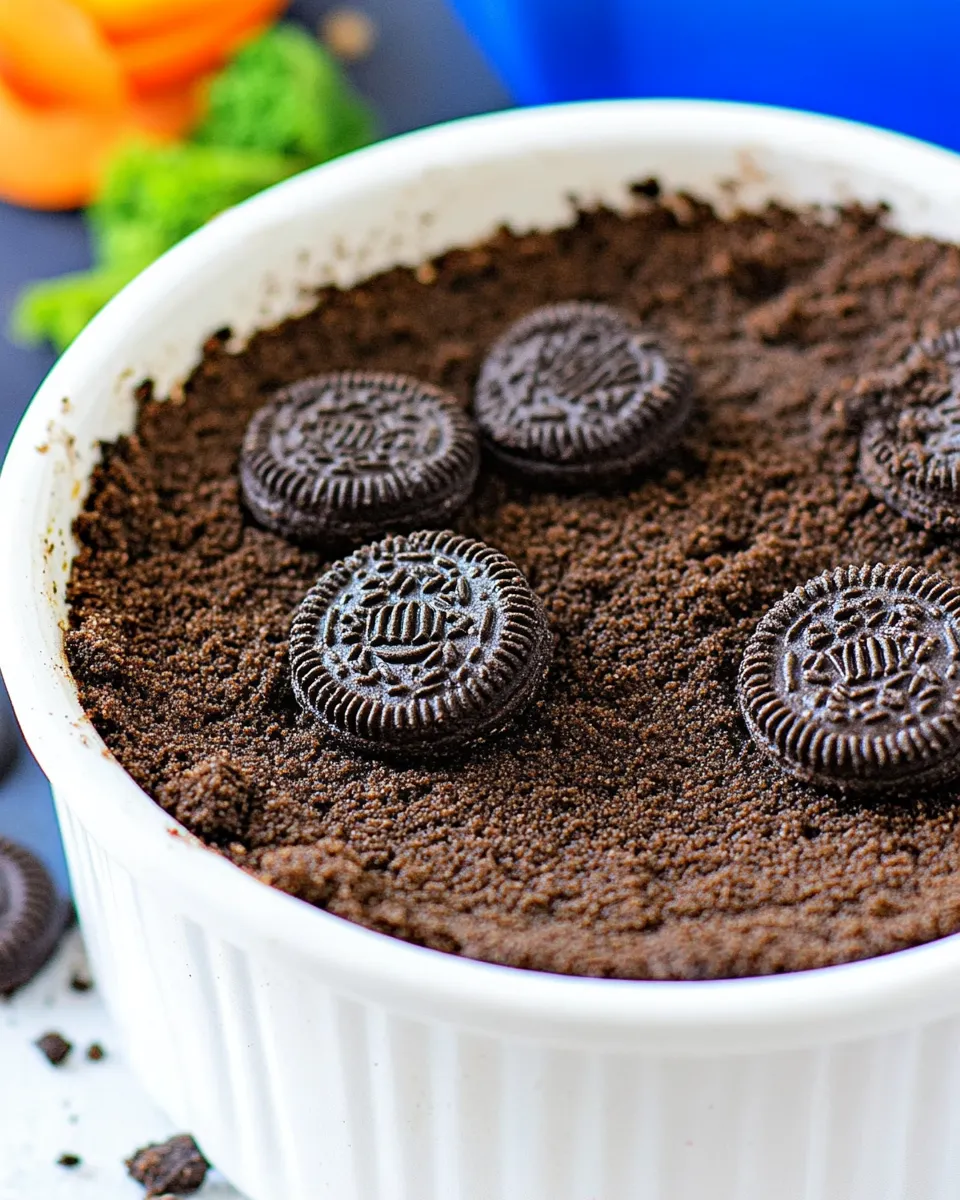
Step 7: Decorate
Once chilled, sprinkle the top of the pie with ½ cup of Oreo cookie crumbs. Decorate with gummy worms, RIP cookies, edible eyes, and plastic spiders for that spooky dirt pie effect.
Step 8: Serve and Enjoy!
Slice the pie into wedges and serve. Watch as your guests dig into this fun and delicious dessert!
Spring to Winter: Ideas
- For a spring-themed pie, decorate with pastel-colored gummy worms and mini edible flowers.
- In the fall, use candy pumpkins and ghost decorations for a Halloween twist.
- For a winter treat, top with crushed peppermint candies and snowflake sprinkles.
- In summer, add fresh berries on top for a fruity and colorful addition.
Easy-to-Miss Gotchas
- Be sure to let the Cool Whip thaw completely for easier mixing.
- Allow the pie to chill long enough for the filling to set properly; it’s worth the wait!
- When mixing the pudding and half and half, whisk thoroughly to avoid lumps.
- Use a sturdy pie dish to prevent any spills when moving the pie.
How to Store & Reheat
Store any leftovers in the refrigerator, covered with plastic wrap or foil. The Oreo Dirt Pie will keep well for up to 3 days. There’s no need to reheat this dessert, as it’s best enjoyed cold straight from the fridge.
Your Top Questions
Can I use different flavors of pudding for this recipe?
Absolutely! Vanilla, butterscotch, or even cheesecake pudding can be great alternatives if you want to switch up the flavors.
What if I can’t find Cool Whip?
You can substitute Cool Whip with homemade whipped cream. Just whip 1 cup of heavy cream with 2 tablespoons of powdered sugar until soft peaks form.
Can I make this pie ahead of time?
Yes! In fact, making it a day in advance allows the flavors to develop even more. Just keep it covered in the refrigerator until you’re ready to serve.
Is there a way to make this pie gluten-free?
Yes! Use gluten-free Oreo cookies for the crust and filling to make this dessert suitable for a gluten-free diet.
See You at the Table
This Oreo Dirt Pie Recipe is not just a dessert; it’s an experience that brings joy to any gathering. Whether you’re serving it for a birthday party, a family dinner, or a simple movie night at home, it never fails to impress. The crunchy Oreo base, the creamy chocolate filling, and the playful decorations make it a standout dessert that everyone will love.
So gather your ingredients, roll up your sleeves, and let’s create a delicious masterpiece that’s both fun and delectable. Your friends and family will thank you for this delightful treat, and you might just find it becoming a staple in your dessert rotation. Happy baking!
Oreo Dirt Pie Recipe
Ingredients
For the Crust:
- 2 cups Oreo cookie crumbs (about 22-24 whole Oreo cookies)
- 6 tablespoons unsalted butter (melted)
For the Filling:
- 1 box instant chocolate pudding (3.9 oz)
- 1.5 cups half and half
- 1 cup Oreo cookie crumbs (about 11-12 whole Oreo cookies)
- 8 ounces Cool Whip (thawed)
- 0.5 cup Oreo cookie crumbs (about 6-8 whole Oreo cookies)
For Decoration:
- 6 gummy worms
- RIP cookies (for decoration)
- edible eyes (for decoration)
- spiders (for decoration)
Instructions
Step-by-Step Instructions:
- Step 1: Prepare the Oreo Crust - Begin by preheating your oven to 350°F (if you prefer a baked crust, although this recipe can be made as a no-bake). In a mixing bowl, combine 2 cups of Oreo cookie crumbs with the melted unsalted butter. Mix until the crumbs are evenly coated and resemble wet sand.
- Step 2: Form the Crust - Press the mixture firmly into the bottom and up the sides of your pie dish to form a crust. Ensure it’s compact for a sturdy base. If baking, place the crust in the oven for 10 minutes, then let cool completely. If you’re doing a no-bake version, skip to the next step.
- Step 3: Make the Chocolate Filling - In another bowl, whisk together the instant chocolate pudding mix and half and half until smooth and thickened, about 2 minutes.
- Step 4: Fold in the Cool Whip - Gently fold in the thawed Cool Whip into the chocolate pudding mixture until fully combined and creamy. This adds a light and fluffy texture to your filling.
- Step 5: Assemble the Pie - Spread half of the chocolate filling into the prepared Oreo crust. Sprinkle 1 cup of Oreo cookie crumbs evenly over the filling. Then, layer the remaining chocolate filling on top and smooth it out with a spatula.
- Step 6: Chill the Pie - Cover the pie with plastic wrap or foil and refrigerate for at least 4 hours, or overnight if possible. This allows the flavors to meld and the filling to set properly.
- Step 7: Decorate - Once chilled, sprinkle the top of the pie with ½ cup of Oreo cookie crumbs. Decorate with gummy worms, RIP cookies, edible eyes, and plastic spiders for that spooky dirt pie effect.
- Step 8: Serve and Enjoy! - Slice the pie into wedges and serve. Watch as your guests dig into this fun and delicious dessert!
Equipment
- 9-inch pie dish
- Mixing Bowls
- Whisk or spatula
- Measuring cups and spoons
- Plastic wrap or foil
Notes
- Let the Cool Whip thaw completely for easier mixing.
- Allow the pie to chill long enough for the filling to set properly; it’s worth the wait!
- When mixing the pudding and half and half, whisk thoroughly to avoid lumps.
- Use a sturdy pie dish to prevent any spills when moving the pie.