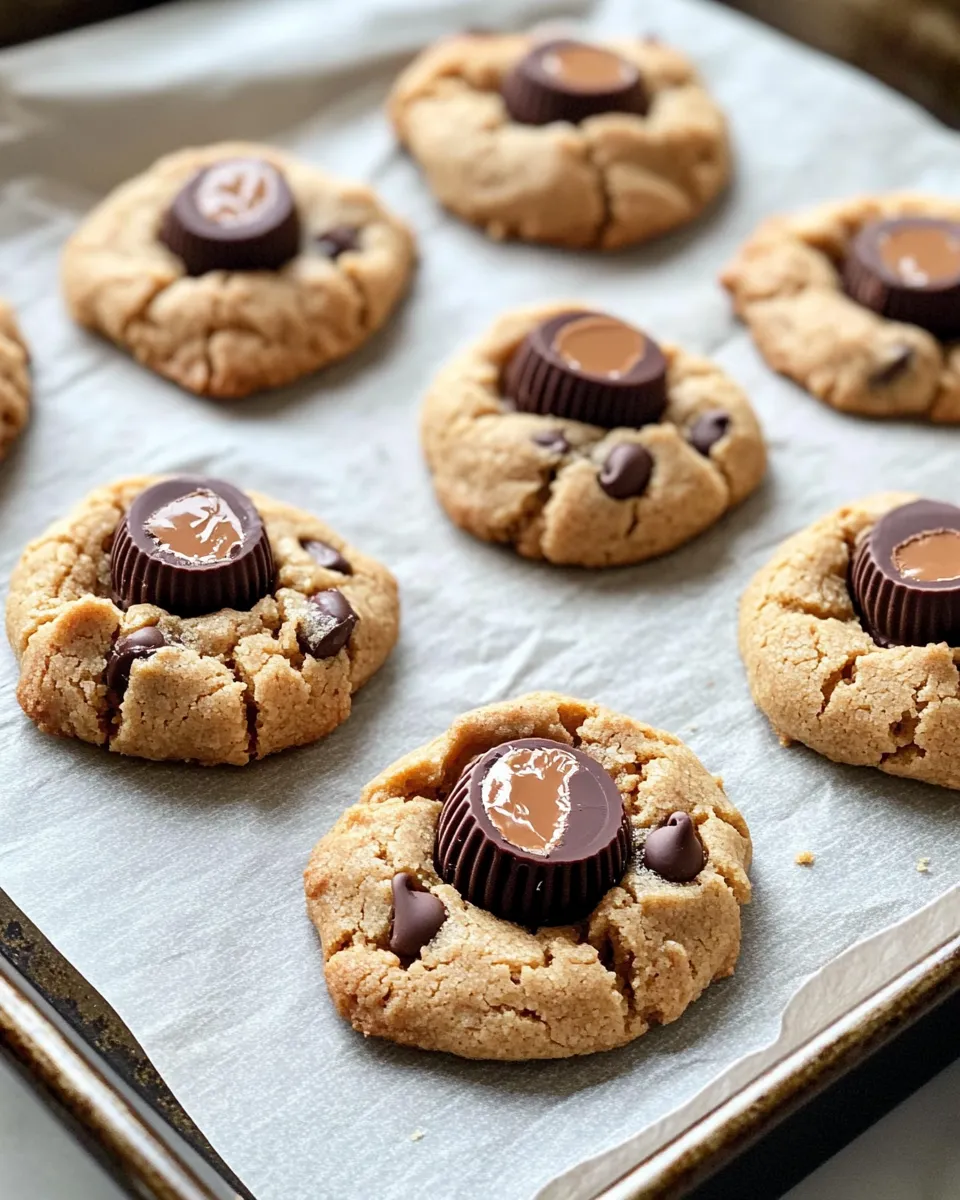
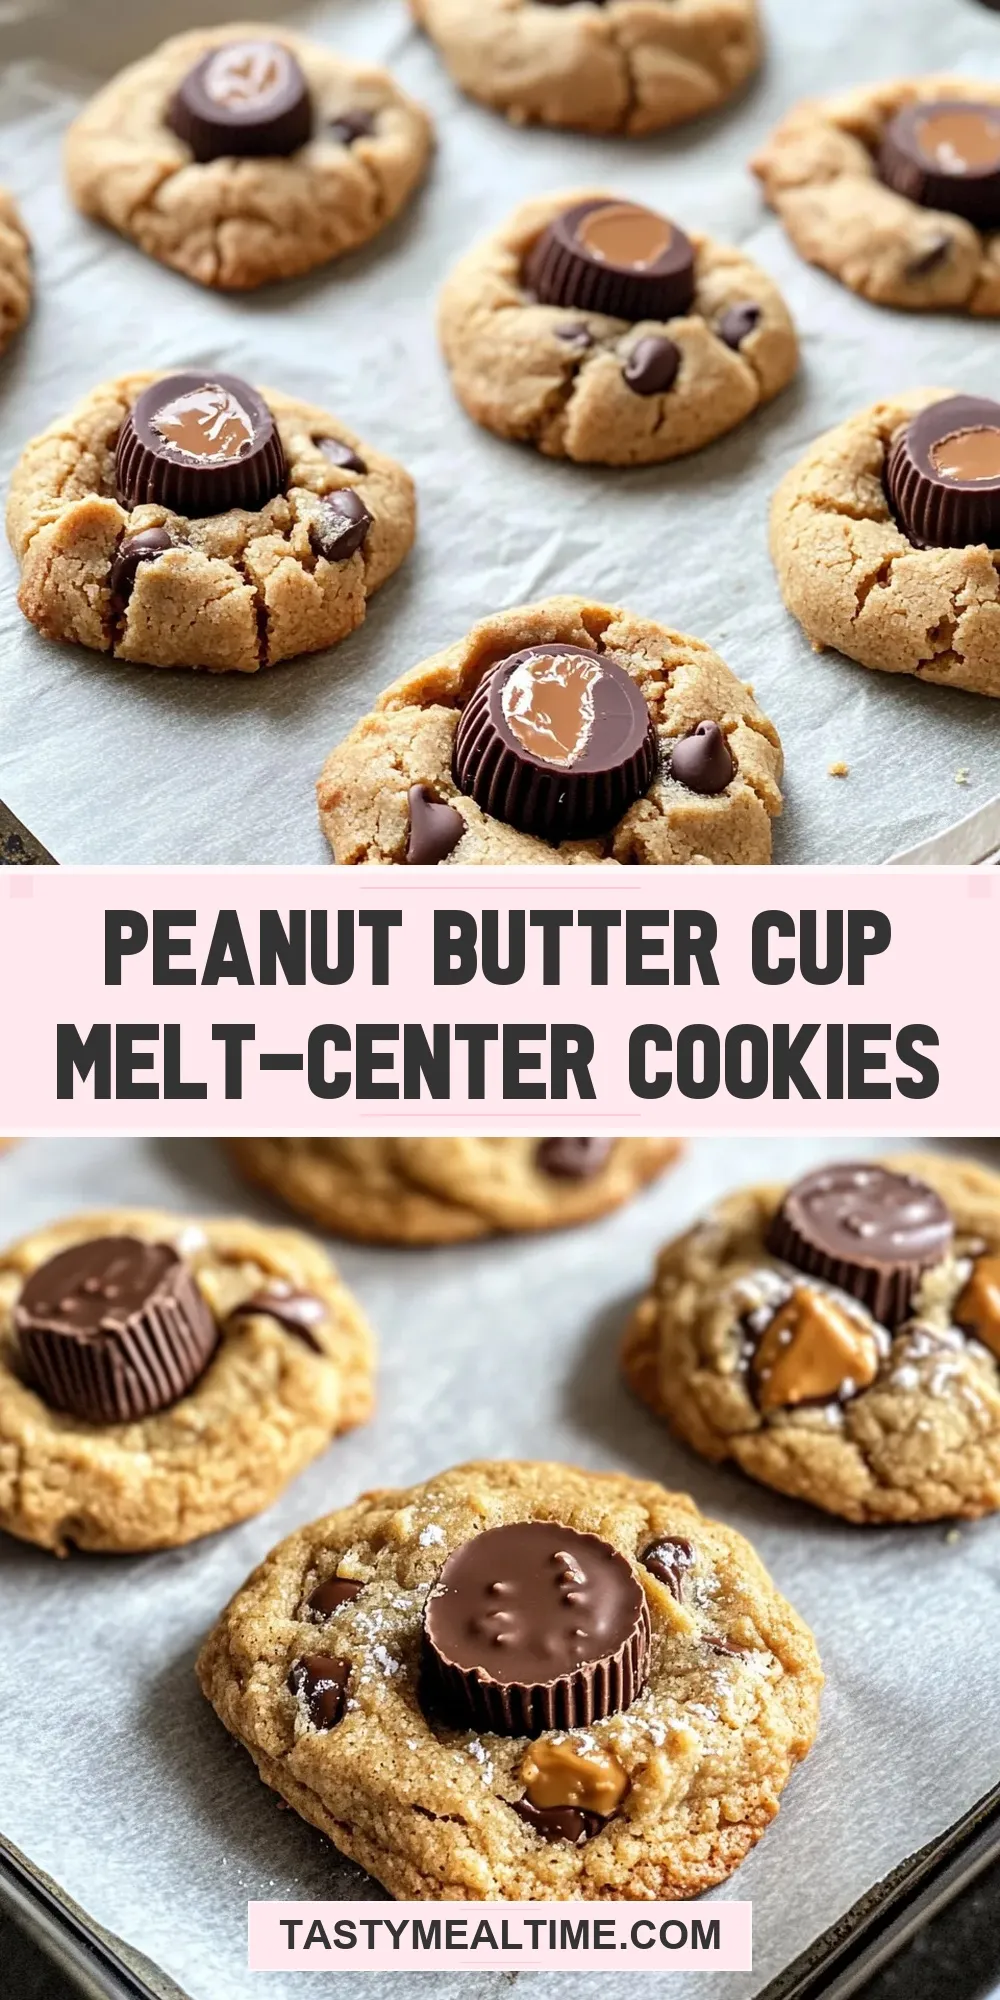
If you’re on the hunt for a cookie that combines rich peanut butter flavor with a gooey, melt-in-your-mouth chocolate center, look no further than these Peanut Butter Cup Melt-Center Cookies. These cookies are the ultimate indulgence, featuring a soft, chewy peanut butter base with pockets of melted milk chocolate chips and mini peanut butter cups that ooze with every bite. Perfect for any occasion—from a cozy night in to impressing guests at a gathering—this recipe is straightforward, quick, and yields bakery-quality results right from your own kitchen. Ready to dive into a peanut butter and chocolate lover’s dream? Let’s get baking!
Why This Recipe Belongs in Your Rotation
This recipe is a treasure because it hits all the right notes: creamy peanut butter, balanced sweetness from both granulated and brown sugars, and that irresistible melty chocolate surprise inside each cookie. Unlike other peanut butter cookie recipes that can be dry or crumbly, these cookies stay soft and chewy thanks to the egg and the perfect proportion of ingredients. Plus, the mini peanut butter cups add a fun texture and flavor boost that makes these cookies truly special.
Whether you’re a seasoned baker or just starting out, these cookies are forgiving and straightforward, meaning you can whip up a batch anytime you want a comforting treat. Also, they come together with pantry staples and require minimal equipment—ideal for busy weeknights or last-minute dessert plans. Once you try these Peanut Butter Cup Melt-Center Cookies, they’ll earn a regular spot in your baking lineup.
The Essentials
- 1 cup creamy peanut butter: Provides the rich, nutty base and moisture for the cookies.
- 1/2 cup granulated sugar: Adds sweetness and helps with cookie structure.
- 1/2 cup packed brown sugar: Brings a deeper, caramel-like flavor and chewiness.
- 1 teaspoon vanilla extract: Enhances flavor depth and aroma.
- 1 large egg: Binds ingredients together and adds moisture.
- 1/2 teaspoon baking soda: Leavens the cookies slightly for softness.
- 1/4 teaspoon salt: Balances the sweetness and intensifies flavors.
- 1 cup milk chocolate chips: Melts into rich pockets of chocolate throughout the cookie.
- 1/2 cup mini peanut butter cups, unwrapped: Offers that gooey, melt-center surprise inside each cookie.
Must-Have Equipment
- Mixing bowls: For combining your wet and dry ingredients separately.
- Electric mixer or sturdy spoon: To blend ingredients until creamy and smooth.
- Baking sheet: To bake your cookies evenly.
- Parchment paper or silicone baking mat: Prevents sticking and makes cleanup easier.
- Measuring cups and spoons: For precise ingredient amounts.
- Cooling rack: Allows cookies to cool evenly and maintain their texture.
The Method for Peanut Butter Cup Melt-Center Cookies
Step 1: Preheat and Prepare
Preheat your oven to 350°F (175°C). Line a baking sheet with parchment paper or a silicone baking mat to prevent sticking and ensure easy cleanup.
Step 2: Mix the Wet Ingredients
In a large mixing bowl, combine the creamy peanut butter, granulated sugar, and brown sugar. Use an electric mixer or a sturdy spoon to blend until smooth and creamy. Add the vanilla extract and the large egg, mixing well until fully incorporated.
Step 3: Add Dry Ingredients
Sprinkle in the baking soda and salt. Stir gently until just combined. The dough will be thick and slightly sticky, which is perfect for forming your cookies.
Step 4: Fold in Chocolate Chips and Mini Peanut Butter Cups
Add the milk chocolate chips and mini peanut butter cups to the dough. Fold them in carefully to distribute evenly without breaking up the mini cups too much.
Step 5: Scoop and Shape
Using a cookie scoop or tablespoon, scoop out rounded spoonfuls of dough and place them spaced about 2 inches apart on the prepared baking sheet. Gently press each cookie down just a bit to flatten slightly, helping them bake evenly.
Step 6: Bake
Place the baking sheet in the preheated oven and bake for 10-12 minutes. The edges should look set and slightly golden, but the centers might still appear soft—that’s exactly what you want for a gooey cookie.
Step 7: Cool and Enjoy
Allow the cookies to cool on the baking sheet for 5 minutes before transferring them to a wire rack to cool completely. This resting time helps them set up while keeping the centers delightfully melty.
Low-Carb/Keto Alternatives
- Replace granulated and brown sugars with a keto-friendly sweetener like erythritol or monk fruit sweetener to reduce carbs.
- Use natural peanut butter with no added sugar and check the label for carb content.
- Swap milk chocolate chips for sugar-free or dark chocolate chips with a high cocoa percentage.
- Choose peanut butter cups made with keto-friendly ingredients or make your own with sugar-free chocolate and peanut butter.
Mistakes That Ruin Peanut Butter Cup Melt-Center Cookies
- Overbaking: Leaving cookies in the oven too long will dry them out and eliminate that melt-in-the-center magic.
- Using crunchy peanut butter: This recipe works best with creamy peanut butter for smooth texture.
- Skipping the cooling time: Moving cookies too soon can cause them to break apart or lose structure.
- Not unwrapping mini peanut butter cups: Wrappers will ruin the texture and might cause the cups to burn.
- Incorrect measuring: Too much flour or sugar can change texture and taste—be precise!
Storage & Reheat Guide
Store your Peanut Butter Cup Melt-Center Cookies in an airtight container at room temperature for up to 4 days. For longer storage, freeze them in a sealed container or freezer-safe bag for up to 3 months. To reheat, warm cookies in the microwave for 10-15 seconds or in a preheated oven at 300°F (150°C) for about 5 minutes to revive their gooey centers.
Popular Questions
Can I use natural peanut butter instead of creamy peanut butter?
Yes, you can, but natural peanut butter tends to be thinner and less sweet, which might affect the cookie’s texture and flavor slightly. If using natural peanut butter, you may want to chill the dough before baking to help maintain shape.
What if I don’t have mini peanut butter cups?
No worries! You can chop regular peanut butter cups into small pieces or substitute with peanut butter-filled chocolates. Alternatively, increase the chocolate chips for a similar melty effect.
Why are my cookies spreading too much?
Overly soft dough or too much sugar can cause spreading. Make sure to measure ingredients accurately and chill the dough for 15-30 minutes before baking if your kitchen is warm.
Can I make these cookies vegan?
To make vegan versions, use a flax egg (1 tablespoon ground flaxseed mixed with 3 tablespoons water) instead of the egg, and opt for dairy-free chocolate chips and peanut butter without any animal-derived ingredients.
Let’s Eat
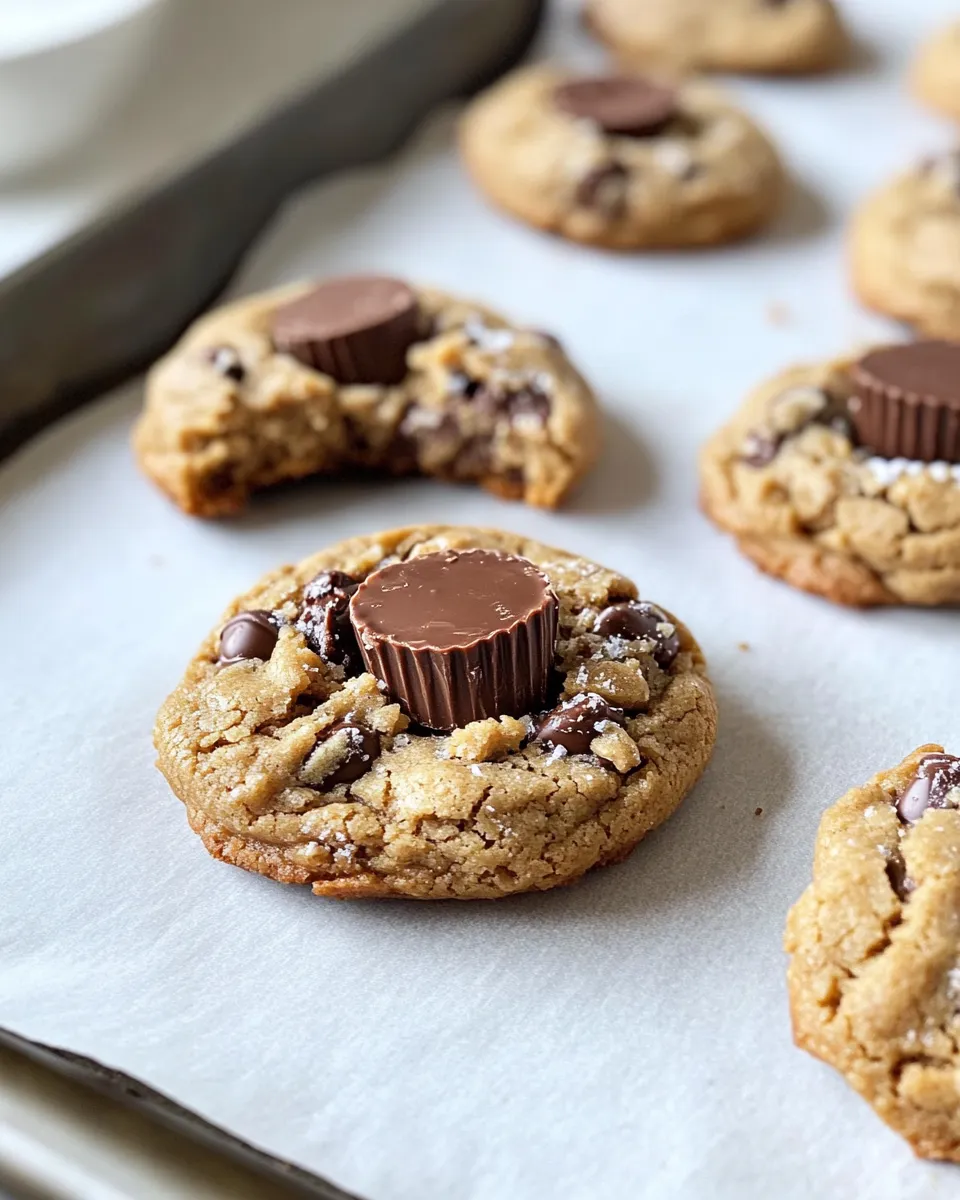
There’s nothing quite like biting into a warm Peanut Butter Cup Melt-Center Cookie fresh from the oven. The way the chocolate melts into the soft peanut butter dough is pure bliss. Pair these cookies with a cold glass of milk or your favorite hot beverage for the perfect cozy treat. Whether you’re sharing with friends or savoring one quietly to yourself, these cookies never disappoint—they’re comfort food elevated to a delicious new level. Now that you’ve got the recipe and all the tips, it’s time to grab your mixing bowl and get baking. Trust me, your taste buds will thank you!
Share on Pinterest
Peanut Butter Cup Melt-Center Cookies
Ingredients
- 1 cup creamy peanut butter
- 1/2 cup granulated sugar
- 1/2 cup packed brown sugar
- 1 teaspoon vanilla extract
- 1 large egg
- 1/2 teaspoon baking soda
- 1/4 teaspoon salt
- 1 cup milk chocolate chips
- 1/2 cup mini peanut butter cups unwrapped
Instructions
- Preheat your oven to 350°F (175°C). Line a baking sheet with parchment paper or a silicone baking mat.
- In a large mixing bowl, combine the creamy peanut butter, granulated sugar, and brown sugar. Blend until smooth and creamy using an electric mixer or a sturdy spoon.
- Add the vanilla extract and the large egg, mixing well until fully incorporated.
- Sprinkle in the baking soda and salt. Stir gently until just combined. The dough will be thick and slightly sticky.
- Add the milk chocolate chips and mini peanut butter cups to the dough. Fold them in carefully to distribute evenly without breaking up the mini cups too much.
- Using a cookie scoop or tablespoon, scoop out rounded spoonfuls of dough and place them spaced about 2 inches apart on the prepared baking sheet. Gently press each cookie down slightly.
- Bake for 10-12 minutes. The edges should look set and slightly golden, but centers may still appear soft.
- Allow the cookies to cool on the baking sheet for 5 minutes before transferring them to a wire rack to cool completely.
Equipment
- Mixing Bowls
- Electric mixer or sturdy spoon
- Baking Sheet
- Parchment paper or silicone baking mat
- Measuring cups and spoons
- Cooling Rack
Notes
- Store cookies in an airtight container at room temperature for up to 4 days or freeze for up to 3 months.
- For a keto-friendly version, substitute sugars and chocolate chips with sugar-free alternatives.
- Do not overbake to keep the centers gooey and soft.
- Use creamy peanut butter for best texture; avoid crunchy peanut butter.
- Chill dough before baking if your kitchen is warm to prevent spreading.