
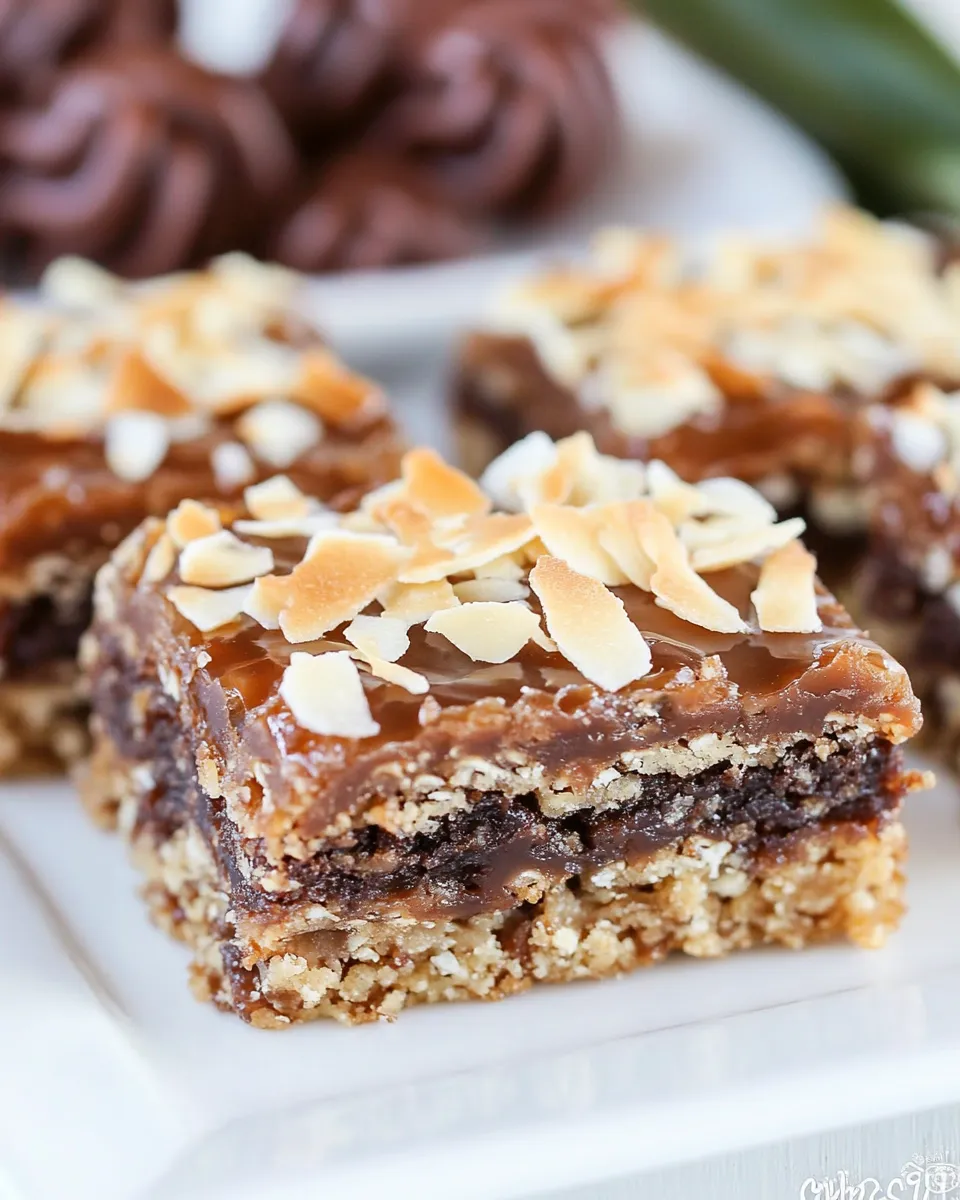
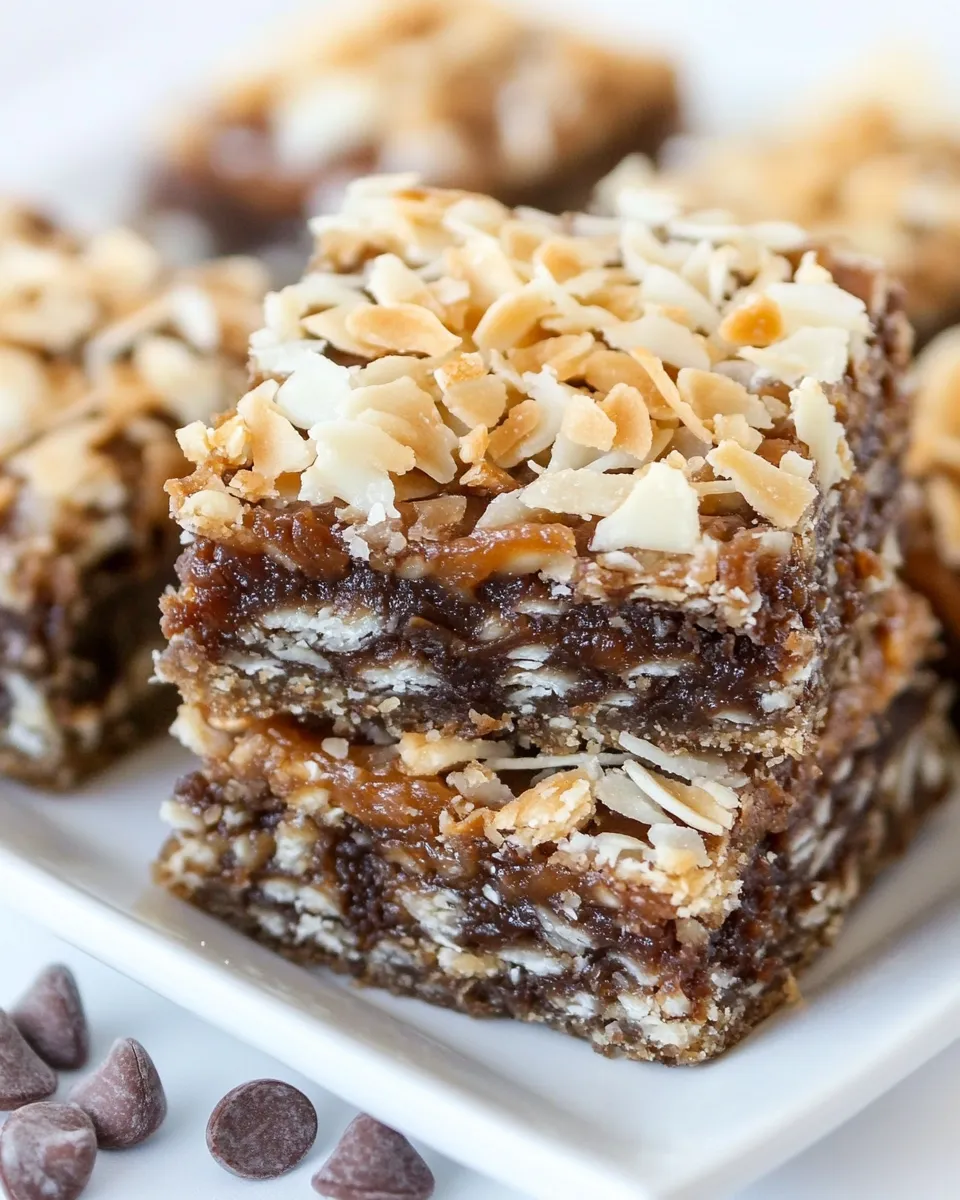
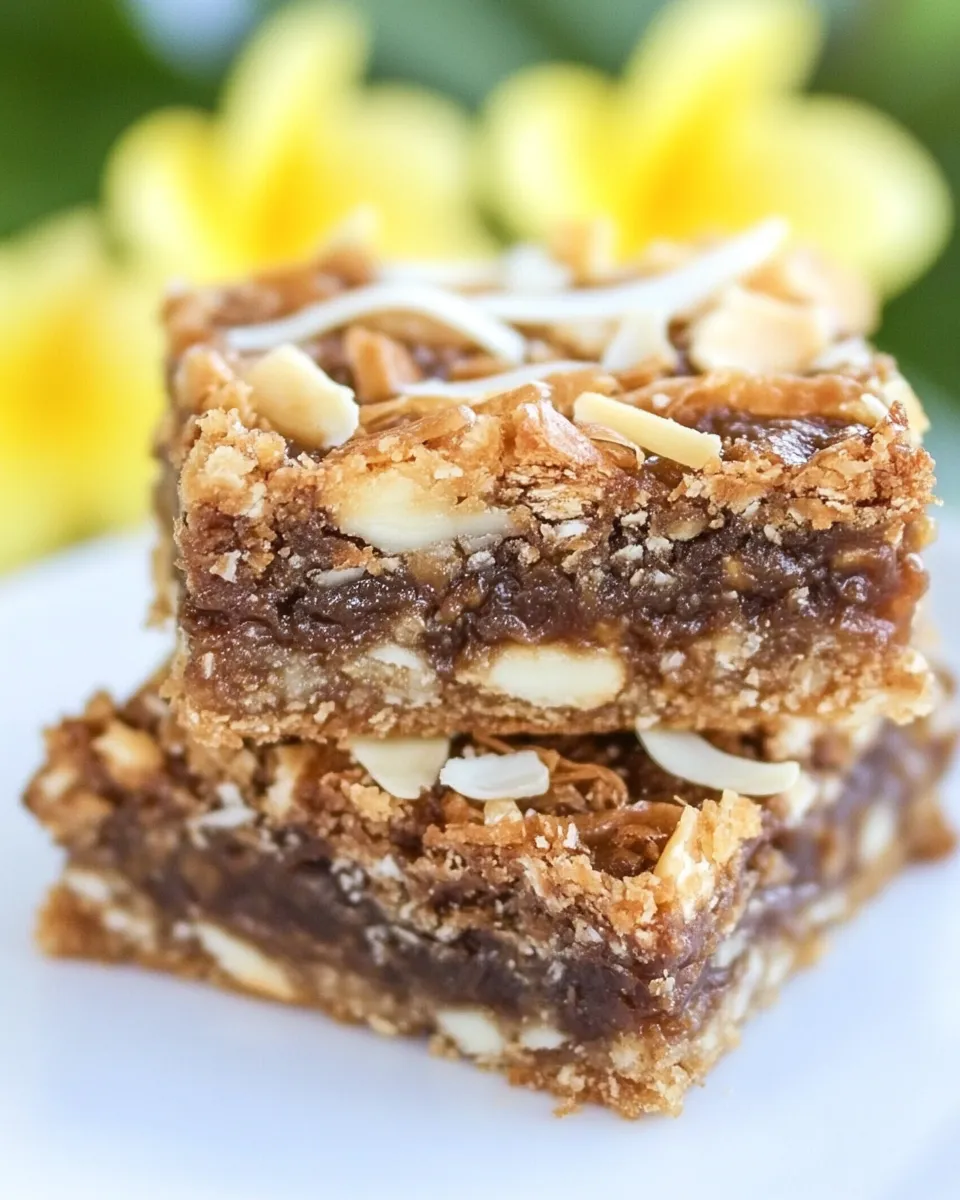
If you’re a fan of those delightful Samoa cookies, then you’re in for a treat with these Samoa Magic Bars! This recipe captures all the flavors you love about the classic cookie—rich caramel, sweet coconut, and luscious chocolate—all in a simple bar format. Perfect for gatherings, potlucks, or just a cozy evening at home, these bars are sure to be a hit. So, roll up your sleeves and prepare to indulge in a dessert that’s as magical as it is delicious.
Why You’ll Love This Recipe
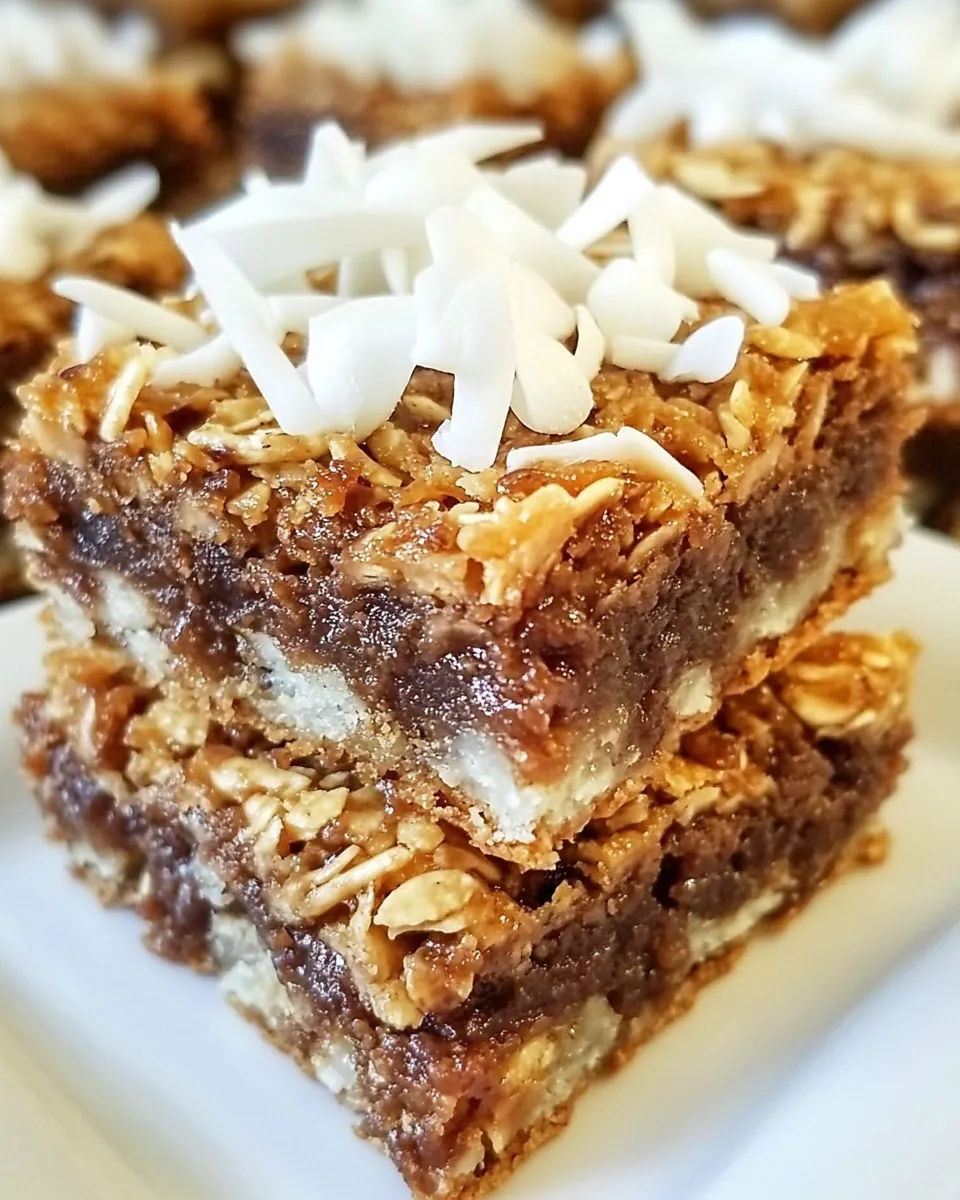
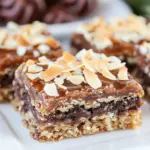
Samoa Magic Bars are a dream come true for anyone who loves sweet treats. They combine the chewy texture of shredded coconut with the creamy goodness of caramel and the rich flavor of chocolate. Not only are they easy to make, but they also require minimal equipment and no complicated techniques. Plus, the bars can be made in advance, making them an ideal choice for busy bakers. With these bars, you can enjoy all the goodness of a classic Samoa cookie without the fuss!
Ingredient List
To create these delicious Samoa Magic Bars, you’ll need the following ingredients:
- 1/2 cup unsalted butter, softened
- 1 1/2 cups all-purpose flour
- 1/2 cup sugar
- Pinch of salt
- 2 cups semi-sweet or milk chocolate chips
- 1 cup sweetened shredded coconut
- 3/4 cup Kraft caramel bits (or about 18 square caramels, cut in half)
- 1 can (14 ounces) regular or fat-free sweetened condensed milk
Kitchen Gear Checklist
Before you start baking, gather the following kitchen tools:
- Baking pan: A 9×13-inch pan works perfectly for these bars.
- Mixing bowls: Have a couple on hand for mixing dry and wet ingredients.
- Spatula: A rubber spatula will help you mix and spread the batter evenly.
- Measuring cups and spoons: Accurate measurements are key to delicious bars.
- Microwave-safe bowl: For melting the butter and caramel bits.
How to Prepare Samoa Magic Bars
Follow these simple steps to create your own batch of Samoa Magic Bars:
Step 1: Preheat the Oven
Preheat your oven to 350°F (175°C). This ensures that your bars bake evenly.
Step 2: Prepare the Baking Pan
Grease your 9×13-inch baking pan lightly with cooking spray or line it with parchment paper for easy removal.
Step 3: Mix the Crust
In a mixing bowl, combine the softened butter, all-purpose flour, sugar, and a pinch of salt. Mix until everything is well combined and you have a crumbly texture.
Step 4: Press the Crust into the Pan
Evenly press the crumb mixture into the bottom of the prepared baking pan. Use your fingers or the back of a measuring cup to ensure it’s compact and even.
Step 5: Bake the Crust
Place the crust in the preheated oven and bake for about 10-12 minutes until it’s lightly golden. Remove from the oven and let it cool slightly.
Step 6: Add the Coconut and Chocolate Chips
Sprinkle the shredded coconut and chocolate chips evenly over the baked crust.
Step 7: Prepare the Caramel Layer
In a microwave-safe bowl, combine the caramel bits and sweetened condensed milk. Heat in the microwave in 30-second intervals, stirring in between, until the mixture is smooth and fully melted.
Step 8: Pour the Caramel Mixture
Pour the caramel mixture over the coconut and chocolate chip layer, spreading it gently to cover everything evenly.
Step 9: Bake Again
Return the pan to the oven and bake for an additional 15-20 minutes, or until the edges are bubbly and the center is set.
Step 10: Cool and Cut
Remove from the oven and let the bars cool completely in the pan on a wire rack. Once cooled, cut into squares and serve!
Make It Diet-Friendly
If you’re looking to adapt this recipe to fit specific dietary needs, here are some suggestions:
- Gluten-free: Substitute all-purpose flour with a 1:1 gluten-free baking blend.
- Dairy-free: Use dairy-free butter and non-dairy sweetened condensed milk.
- Lower sugar: Reduce the sugar in the crust or use a sugar substitute suitable for baking.
Avoid These Mistakes
To ensure your Samoa Magic Bars turn out perfectly, keep these tips in mind:
- Don’t skip greasing the pan or using parchment paper; it makes for easier removal!
- Make sure to mix the crust thoroughly; it should hold together when pressed.
- Don’t overbake the crust—watch it closely to avoid burning.
- Allow the bars to cool completely before cutting; this helps them set properly.
Meal Prep & Storage Notes
These Samoa Magic Bars are perfect for meal prep and can be stored easily:
After cutting the bars, store them in an airtight container at room temperature for up to 5 days. If you want to keep them longer, you can refrigerate them for up to 2 weeks. They also freeze well! Just wrap them tightly in plastic wrap and place them in a freezer-safe container. When you’re ready to enjoy, let them thaw at room temperature.
FAQ
Can I use different types of chocolate chips?
Absolutely! You can use semi-sweet, milk, or even dark chocolate chips depending on your preference. Each will give a slightly different flavor to the bars.
What can I use instead of Kraft caramel bits?
If you can’t find caramel bits, you can use regular square caramels. Just cut them in half before using, or make your own homemade caramel sauce for a richer flavor.
Can I add nuts to the recipe?
Yes! Chopped pecans or walnuts would make a delightful addition. Just sprinkle them in with the coconut and chocolate chips.
Why are my bars too soft?
If your bars are too soft, they may not have baked long enough. Make sure to bake until the edges are bubbly and the center is set. Also, ensure they are cooled completely before cutting.
If you love Samoa Magic Bars, you’ll definitely want to check out these other delicious recipes:
See You at the Table
There you have it—your ultimate guide to making Samoa Magic Bars! With their sweet layers of coconut, caramel, and chocolate, these bars are bound to bring joy to your table. Whether you’re sharing them with friends or treating yourself, they are sure to satisfy your sweet tooth. So gather your ingredients, follow the steps, and indulge in a batch of these magical bars. Happy baking!
Samoa Magic Bars
Ingredients
- 1/2 cup unsalted butter softened
- 1 1/2 cups all-purpose flour
- 1/2 cup sugar
- Pinch salt
- 2 cups semi-sweet or milk chocolate chips
- 1 cup sweetened shredded coconut
- 3/4 cup Kraft caramel bits (or about 18 square caramels, cut in half)
- 1 can (14 ounces) regular or fat-free sweetened condensed milk
Instructions
- Preheat your oven to 350°F (175°C). This ensures that your bars bake evenly.
- Grease your 9x13-inch baking pan lightly with cooking spray or line it with parchment paper for easy removal.
- In a mixing bowl, combine the softened butter, all-purpose flour, sugar, and a pinch of salt. Mix until everything is well combined and you have a crumbly texture.
- Evenly press the crumb mixture into the bottom of the prepared baking pan. Use your fingers or the back of a measuring cup to ensure it’s compact and even.
- Place the crust in the preheated oven and bake for about 10-12 minutes until it’s lightly golden. Remove from the oven and let it cool slightly.
- Sprinkle the shredded coconut and chocolate chips evenly over the baked crust.
- In a microwave-safe bowl, combine the caramel bits and sweetened condensed milk. Heat in the microwave in 30-second intervals, stirring in between, until the mixture is smooth and fully melted.
- Pour the caramel mixture over the coconut and chocolate chip layer, spreading it gently to cover everything evenly.
- Return the pan to the oven and bake for an additional 15-20 minutes, or until the edges are bubbly and the center is set.
- Remove from the oven and let the bars cool completely in the pan on a wire rack. Once cooled, cut into squares and serve!
Equipment
- 9x13-inch baking pan
- Mixing Bowls
- Rubber spatula
- Measuring cups and spoons
- Microwave-safe bowl
Notes
- Store in an airtight container at room temperature for up to 5 days.
- Refrigerate for up to 2 weeks for longer storage.
- These bars freeze well; wrap tightly and thaw at room temperature.


